本教程是关于汽车渲染技术高级教程。
Automotive Rendering Techniques
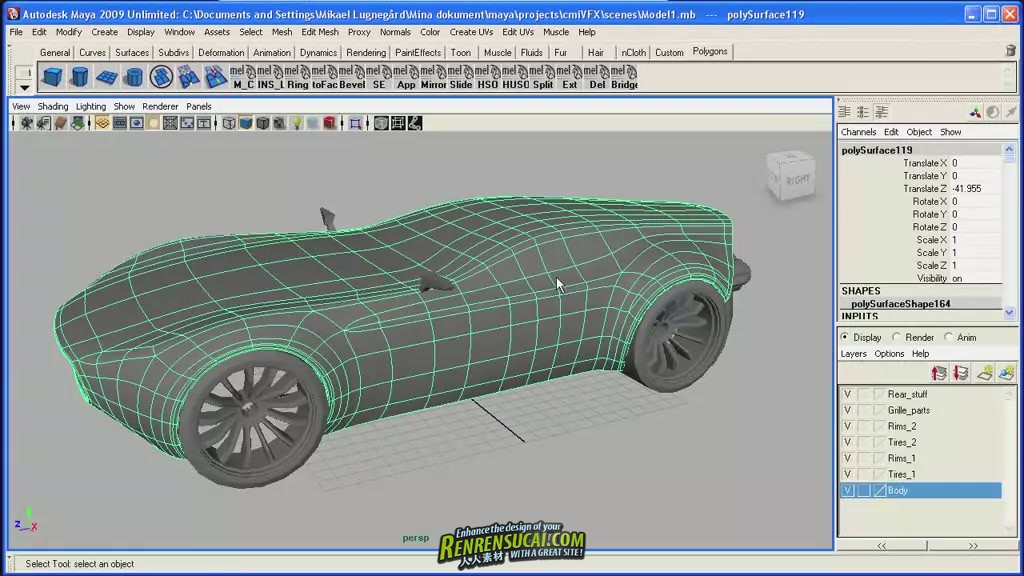
3D MOCKUP IN MAYAStarting off in Maya we will quickly show a very rough car model that will be the foundation for the design. The car is done with traditional polygon techniques which are not covered in this tutorial. The car was modeled in just a few hours and is very rough, but serves the overall purpose of a sketch model.
THE SKETCH MODEL
By toggling between a standard polygon mesh and a smooth mesh preview you will get an instant preview of the final surfaces. This technique is very useful when making sketch models. Sketch models are important in the process as it allows for easy straight-on modeling and evaluation. Using a polygon modeler like Maya makes the process both faster but also more flexible then it would be with Nurbs.
RENDERING IN HYPER SHOT
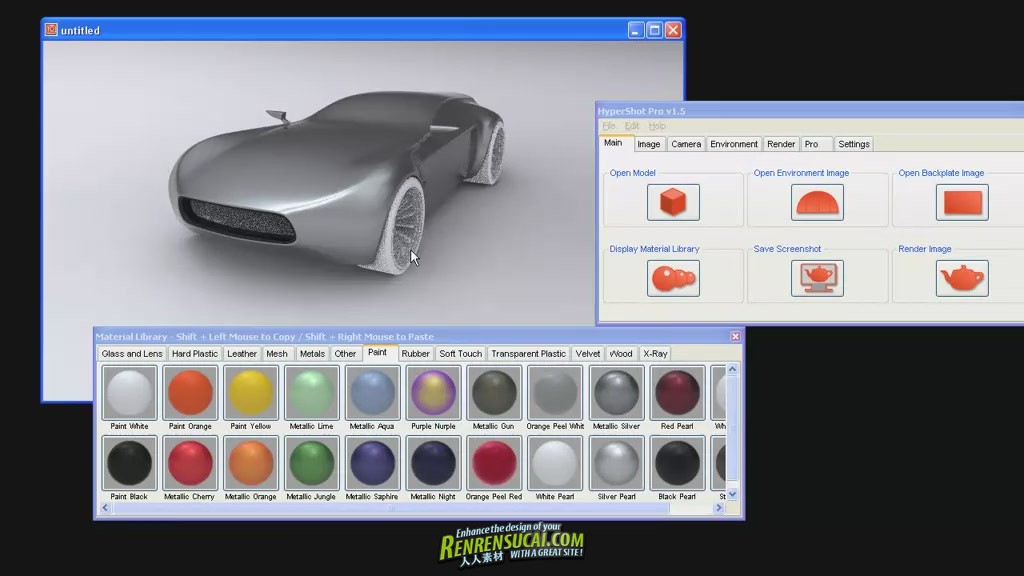
Export the entire model to an .OBJ file and then import into Hyper Shot. Learn how to apply materials, change the environment, set up the camera for a successful rendering. Hyper Shot is indeed a great application for fast renderings and this section aims to reveal how it can be used in a slightly more advanced way and efficient way.
EXPERIMENTING
Different camera angles are evaluated and once the camera is locked down. Multiple renderings can be created using the same exact camera. Different materials and environments are tried out and this material will later be composited together in Photoshop.
IMAGE ASSEMBLY
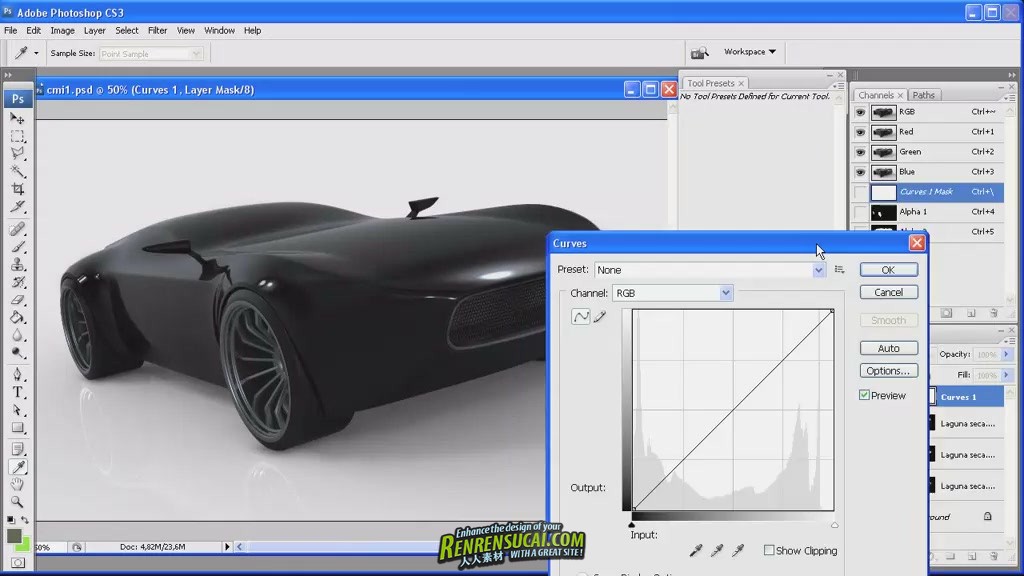
The renderings are now brought into Photoshop for assembly and initial color corrections. Bits and pieces from different renderings are put together using layers and blend modes. Some initial color correction can be made to make sure that the overall palette is consistent and coherent. By using adjustment layers it is possible to work in a non-destructive manner and really tune the levels and colors.
COLOR CORRECTION IN PHOTOSHOP
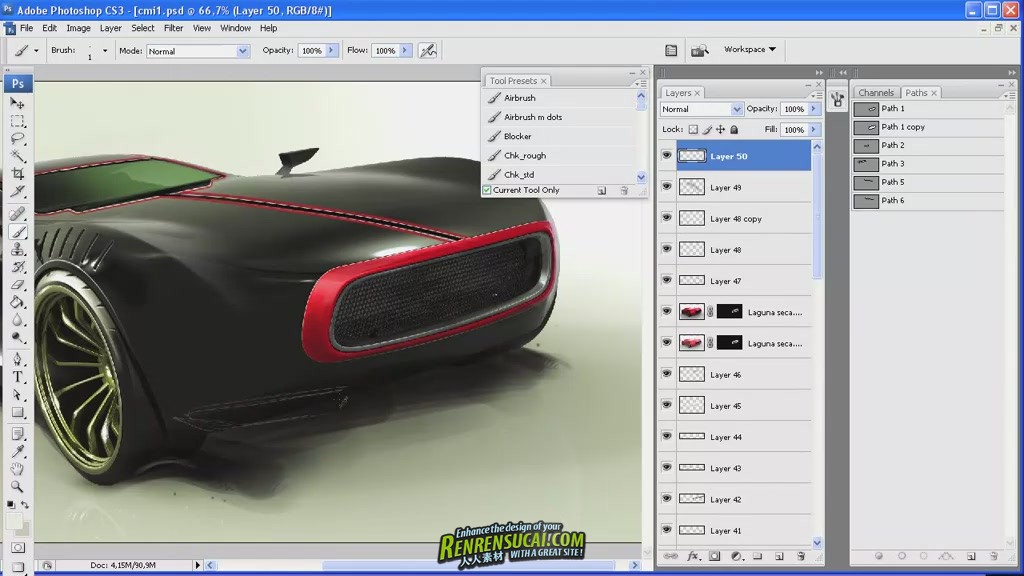
Learn how to work with the path-tool to create sharp and accurate design element such as cut-lines, vents and body creases. Utilizing a set of brushes in combination with selections created with the path-tool a painted look is achieved. This technique allows for both precision rendering as well as for a more painterly style.
DETAILS
Utilizing the path-tool, details and color trims are created in a fast and creative manner. The front is given some extra attention as well as a number of other key elements. Headlamps and splitters are designed and painted in using different tools.
FINAL TOUCHES
Learn to fine tune the project by continuing the work all over the rendering, adding details and sharpness, paying extra attention to textures. Utilizing a variety of techniques, learn to add sharpness, key lines and highlights to accentuate. The final step before completion is the introduction of overlay textures that really make the project come alive. By using a variety of textures, the original colors are mixed and blended in a very artistic manner. This technique is somewhat of a signature to the artist and really takes the rendering to a whole new level.
ABOUT THE AUTHOR
Mikael Lugnegård is a 30 year old conceptual designer from Sweden. He′s is currently working as a freelancer and CG/Industrial Design/Fine art-instructor with a long history in CG-graphics and Industrial design. Mikael has an neverending passion for everything that involves petrol, paint and pistons. Trained as an Industrial designer, he is today specialized in conceptual transportation design and can′t get enough of extreme vehicle design such as cars, motorcycles, snowmobiles and helicopters.
While working on various concept design projects and as an instructor, he has gained a deep knowledge of the visualisation process using tools such as Photoshop, Maya, Modo, Hypershot, Vray and 3Ds Max.


|  /3
/3 