游客,您需要 回复才可以查看:下载地址 或 解压密码! 立即注册
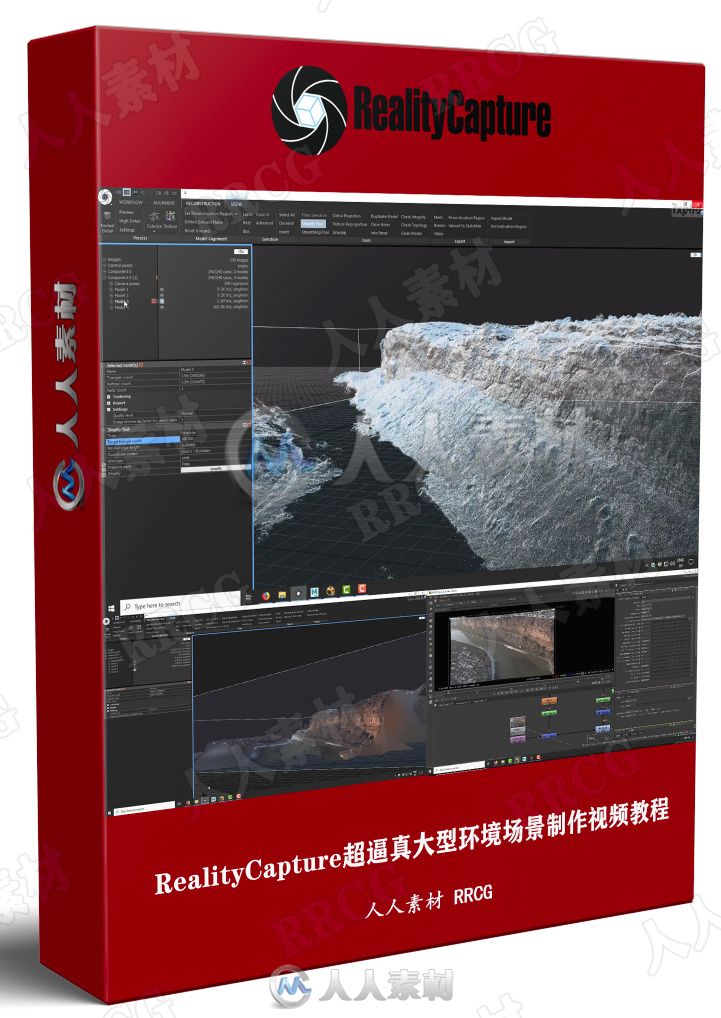
本教程是关于RealityCapture超逼真大型环境场景制作完整工作流视频教程,时长:4小时10分,大小:18.3 GB,MP4高清视频格式,教程使用软件:RealityCapture,Maya,Clarisse,Nuek等,附源文件,作者:Juggernaut Bend,共8个章节,语言:英语。人人素材分享
RealityCapture是一款模型扫描软件,通过本软件,可以用户在分析实体模型的时候拥有更快的建模平台,其实现在很多模型都是通过3D扫描完成的,也别是在游戏开发方面,通过3D扫描可以将人类的动作传输到软件上,让软件帮助您自动计算出运动的轨迹代码,从而完成虚拟的游戏模型建立,这款realitycapture就是通过3D扫描技术将物体扫描到软件上制作模型,软件可以记录全部扫描的数据,并利用高级运算分析以及代码工具快速生成虚拟模型,从而实现更快的3D建模!
更多相关教程请关注:3D教程专区,中文字幕教程专区




CLASS 1: PHOTOGRAMMETRY
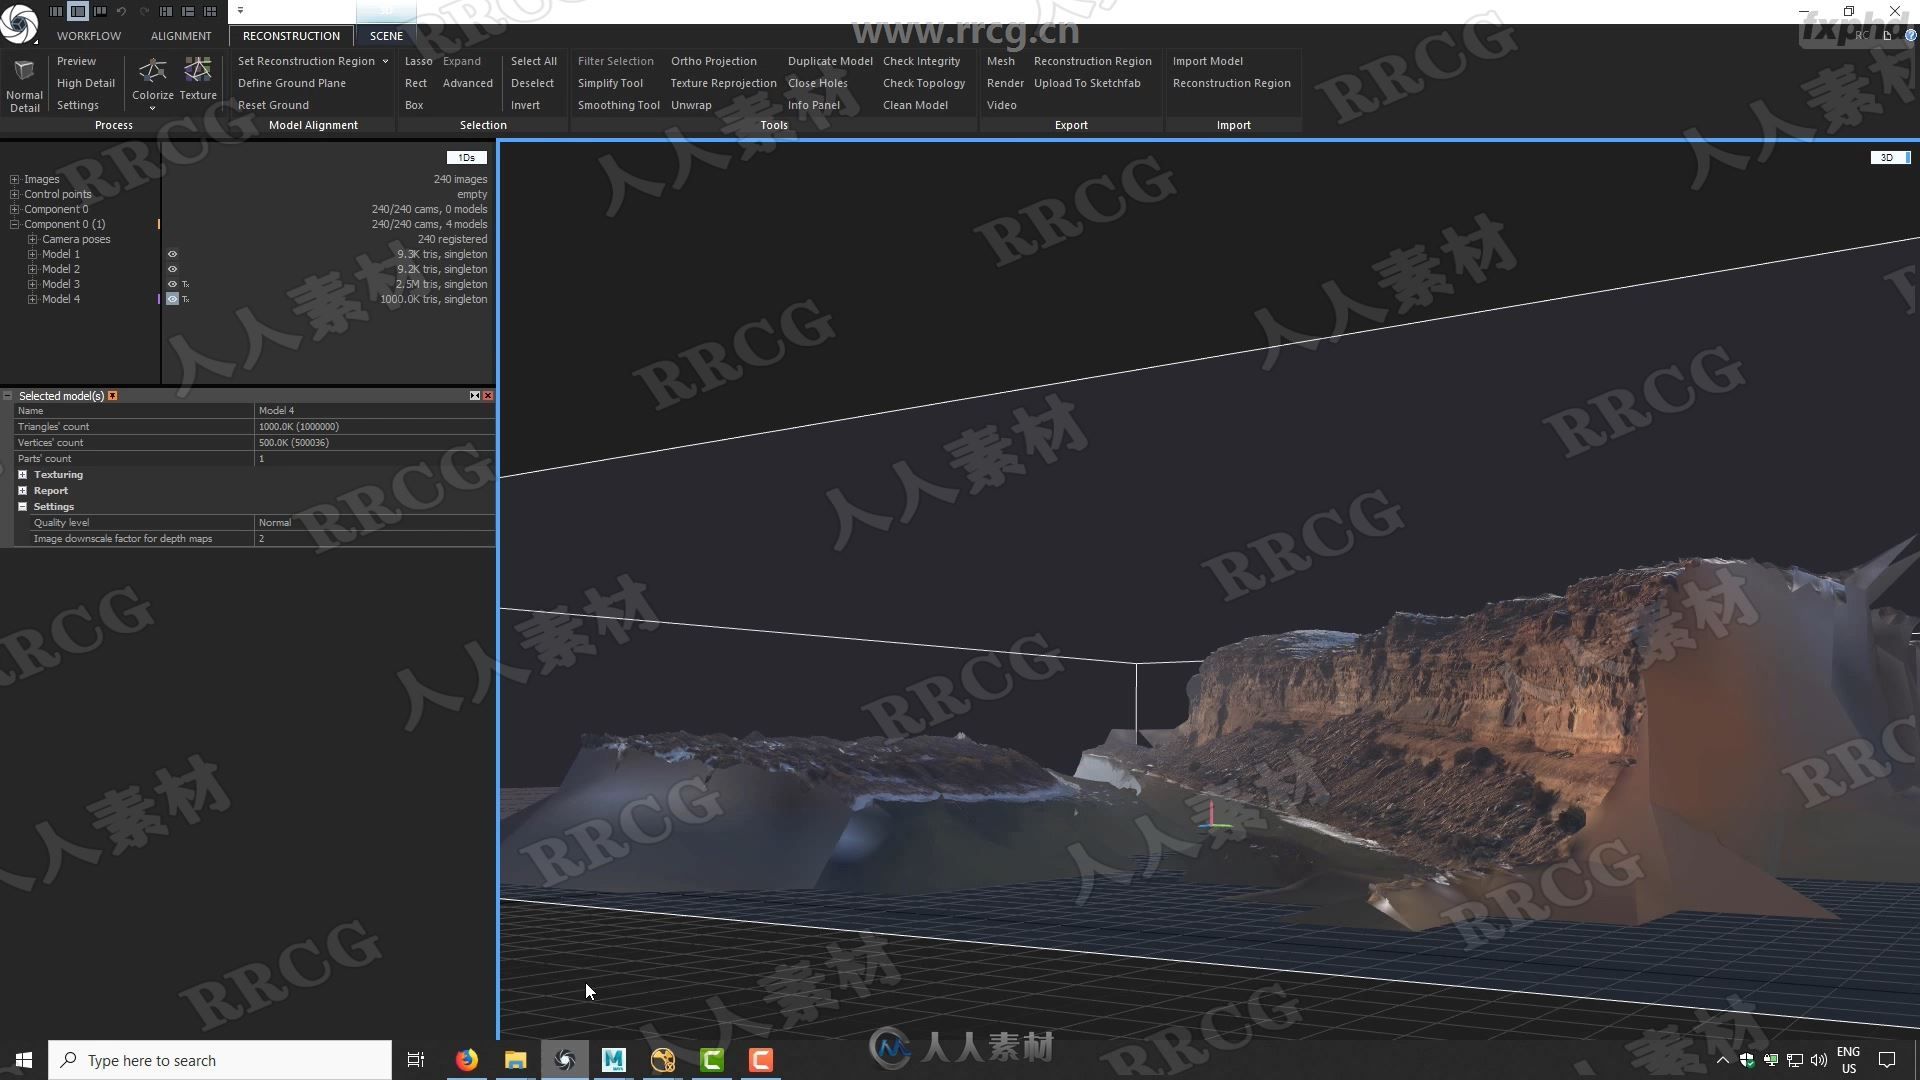
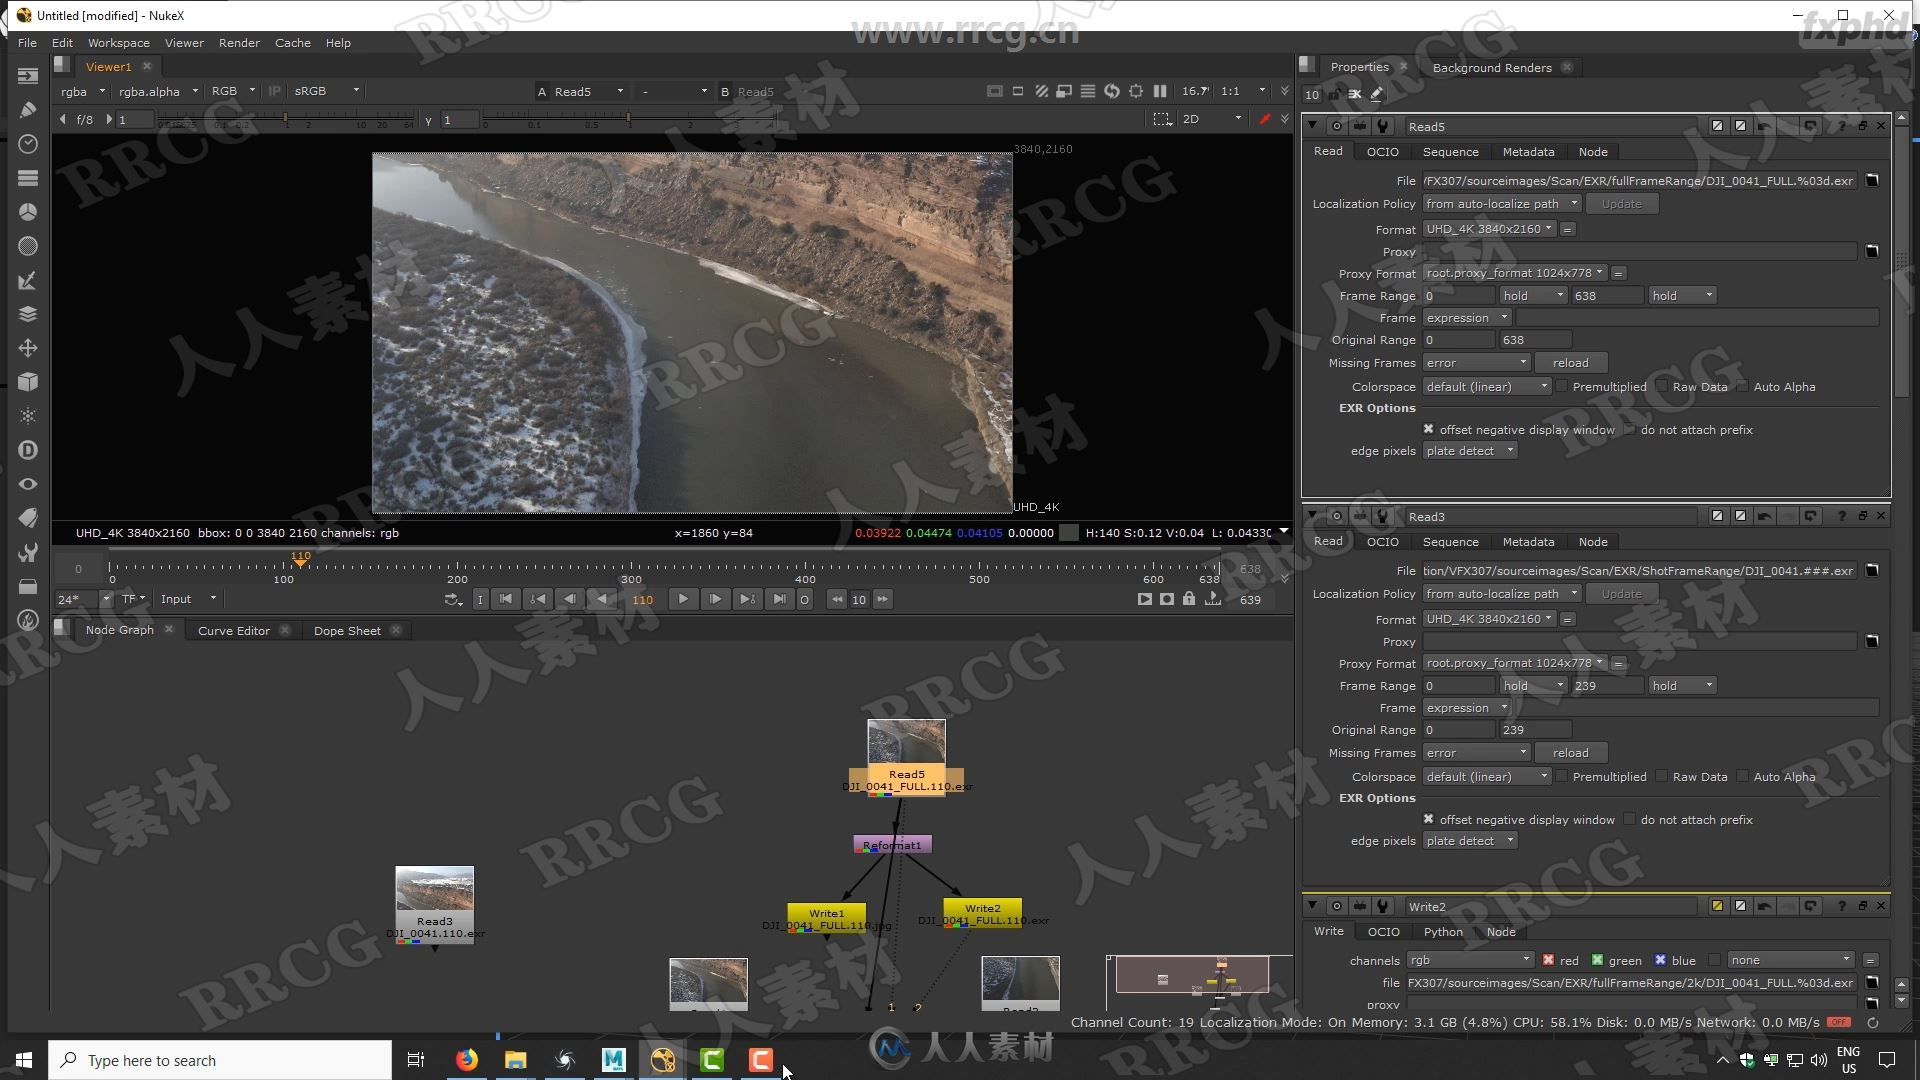
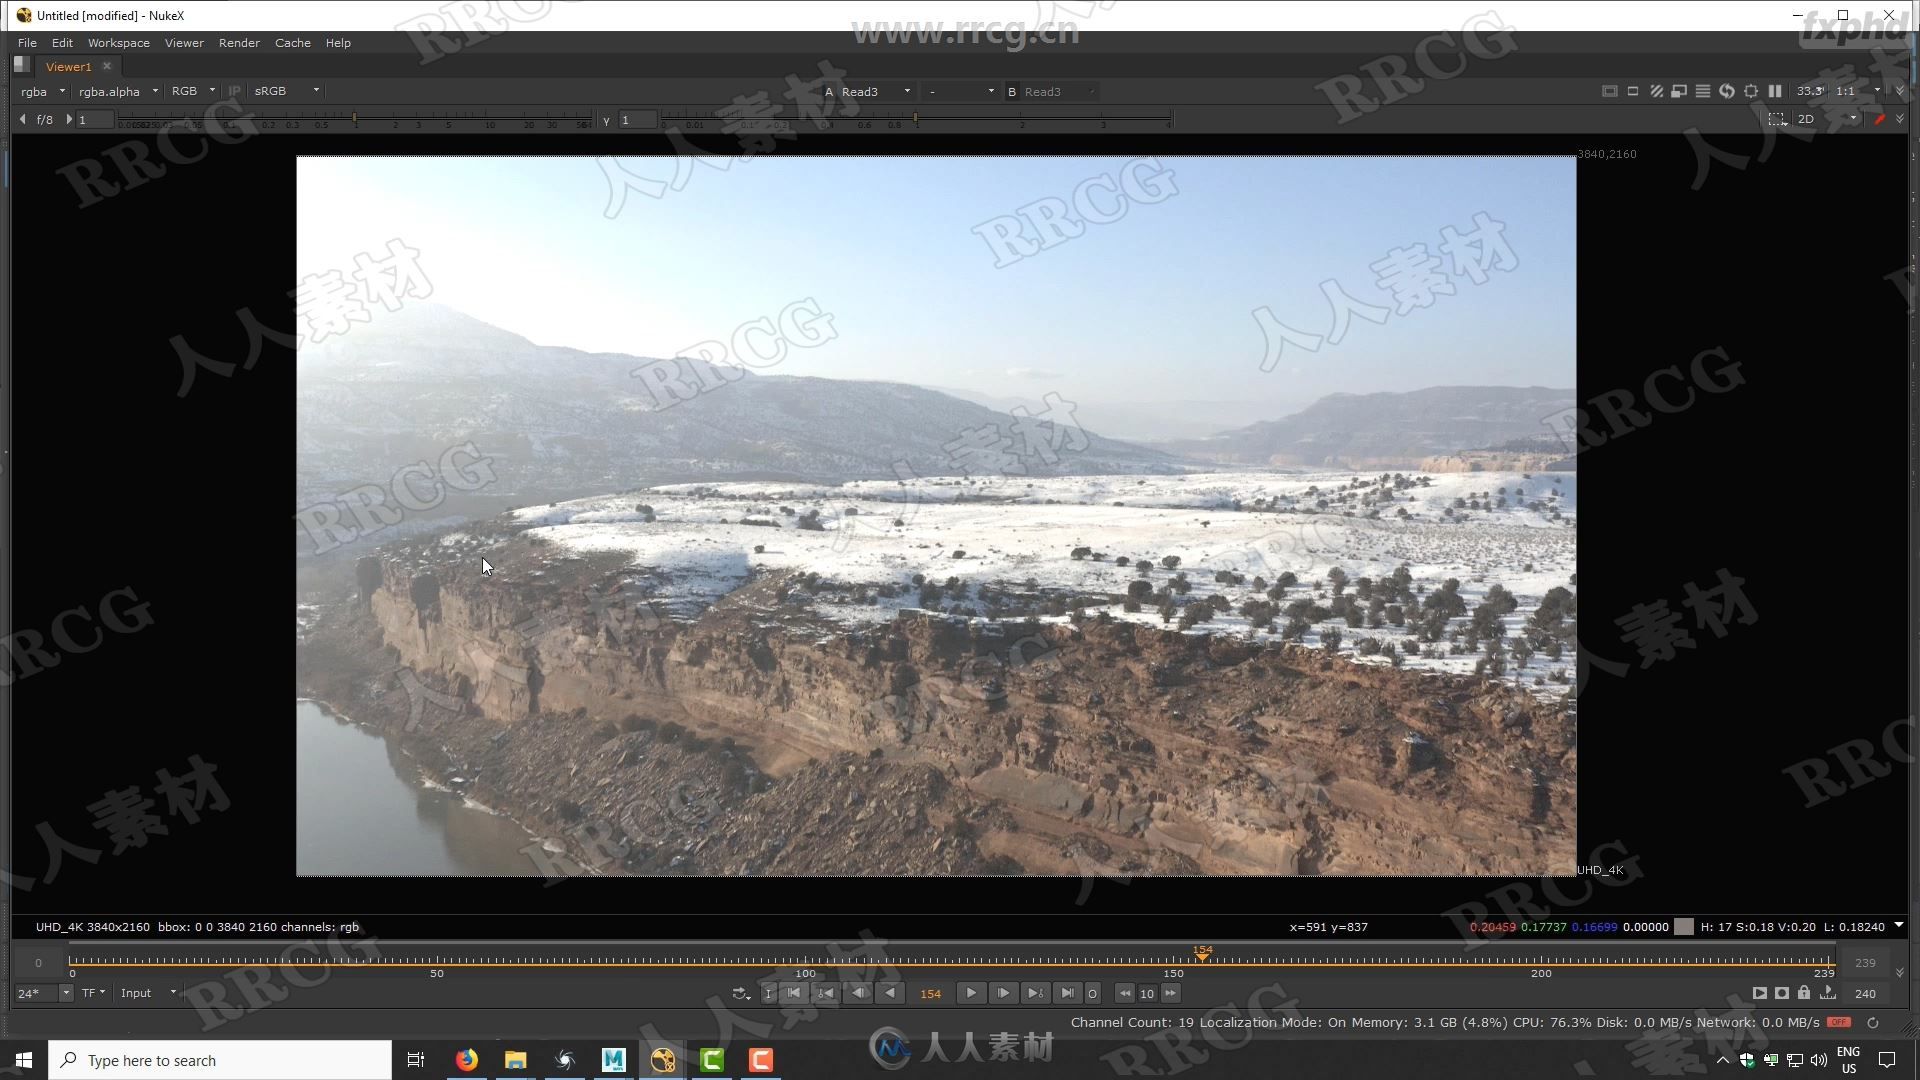
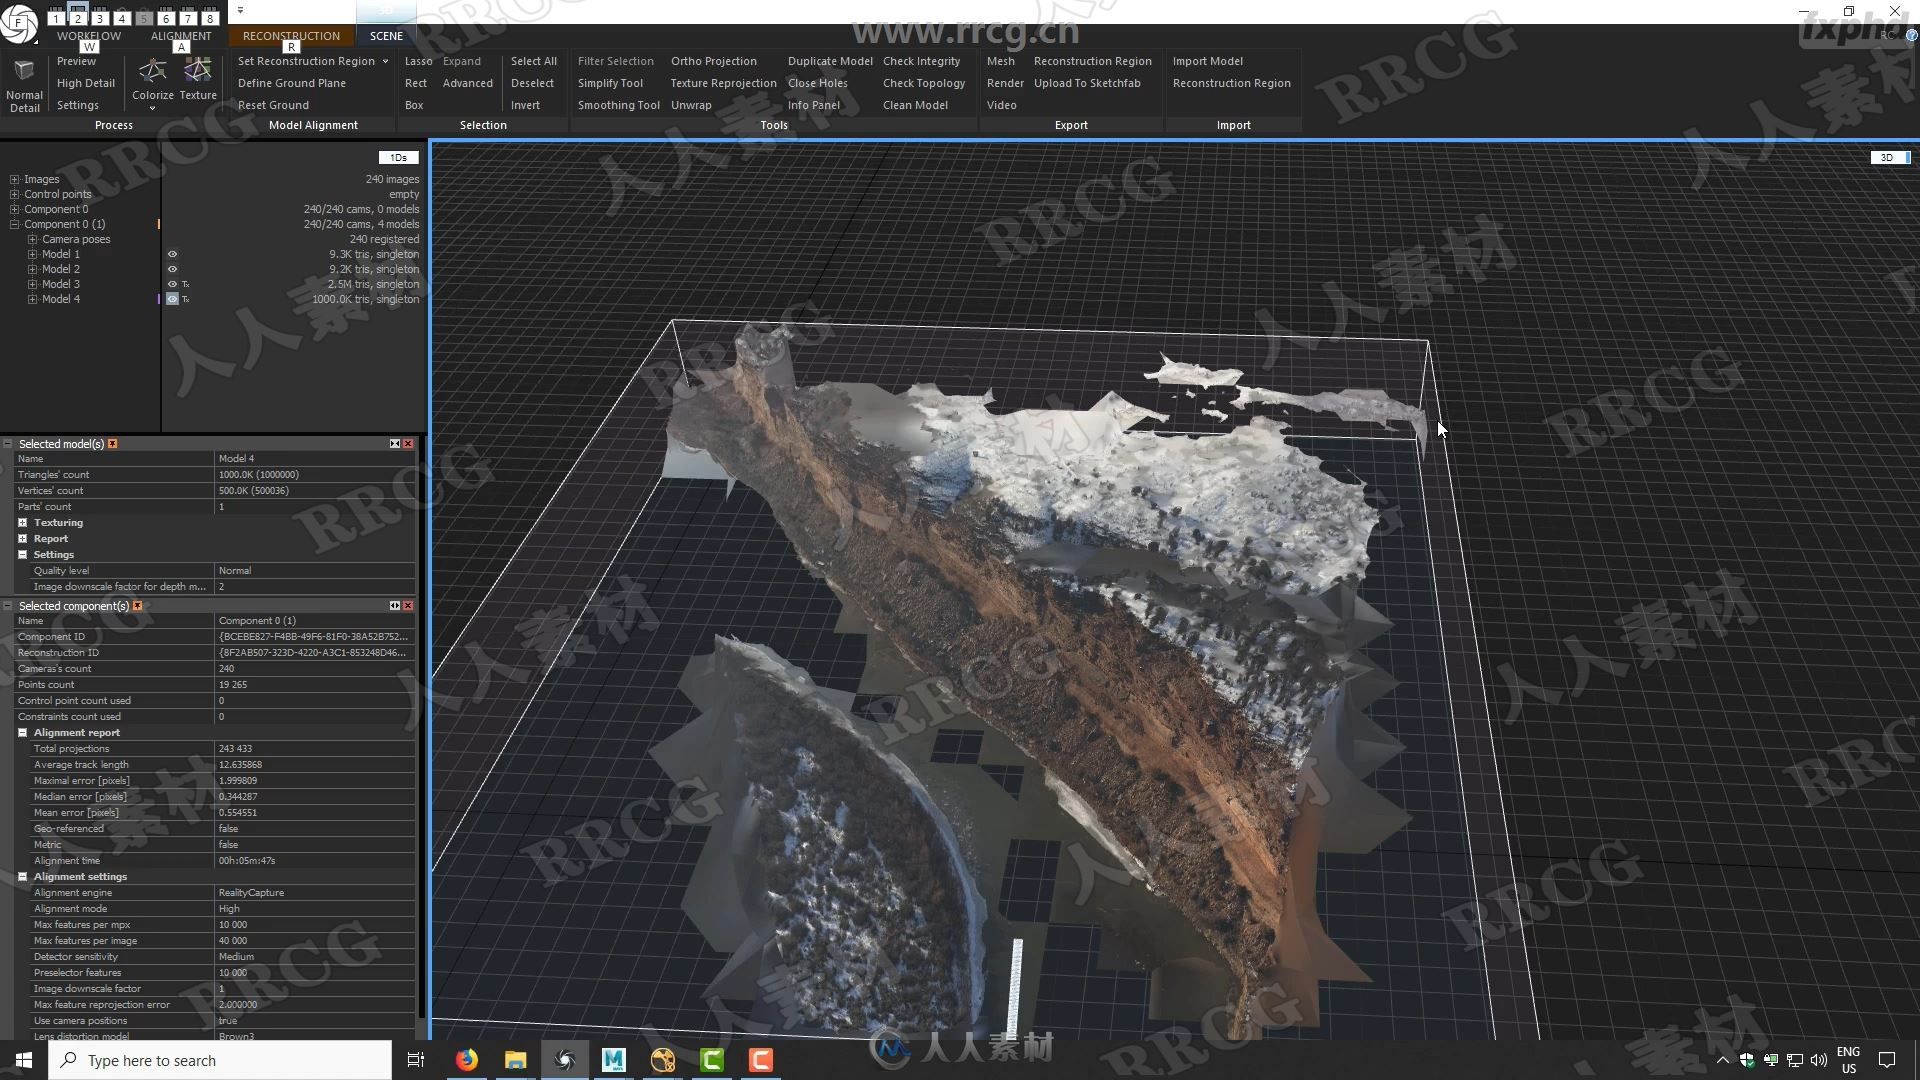
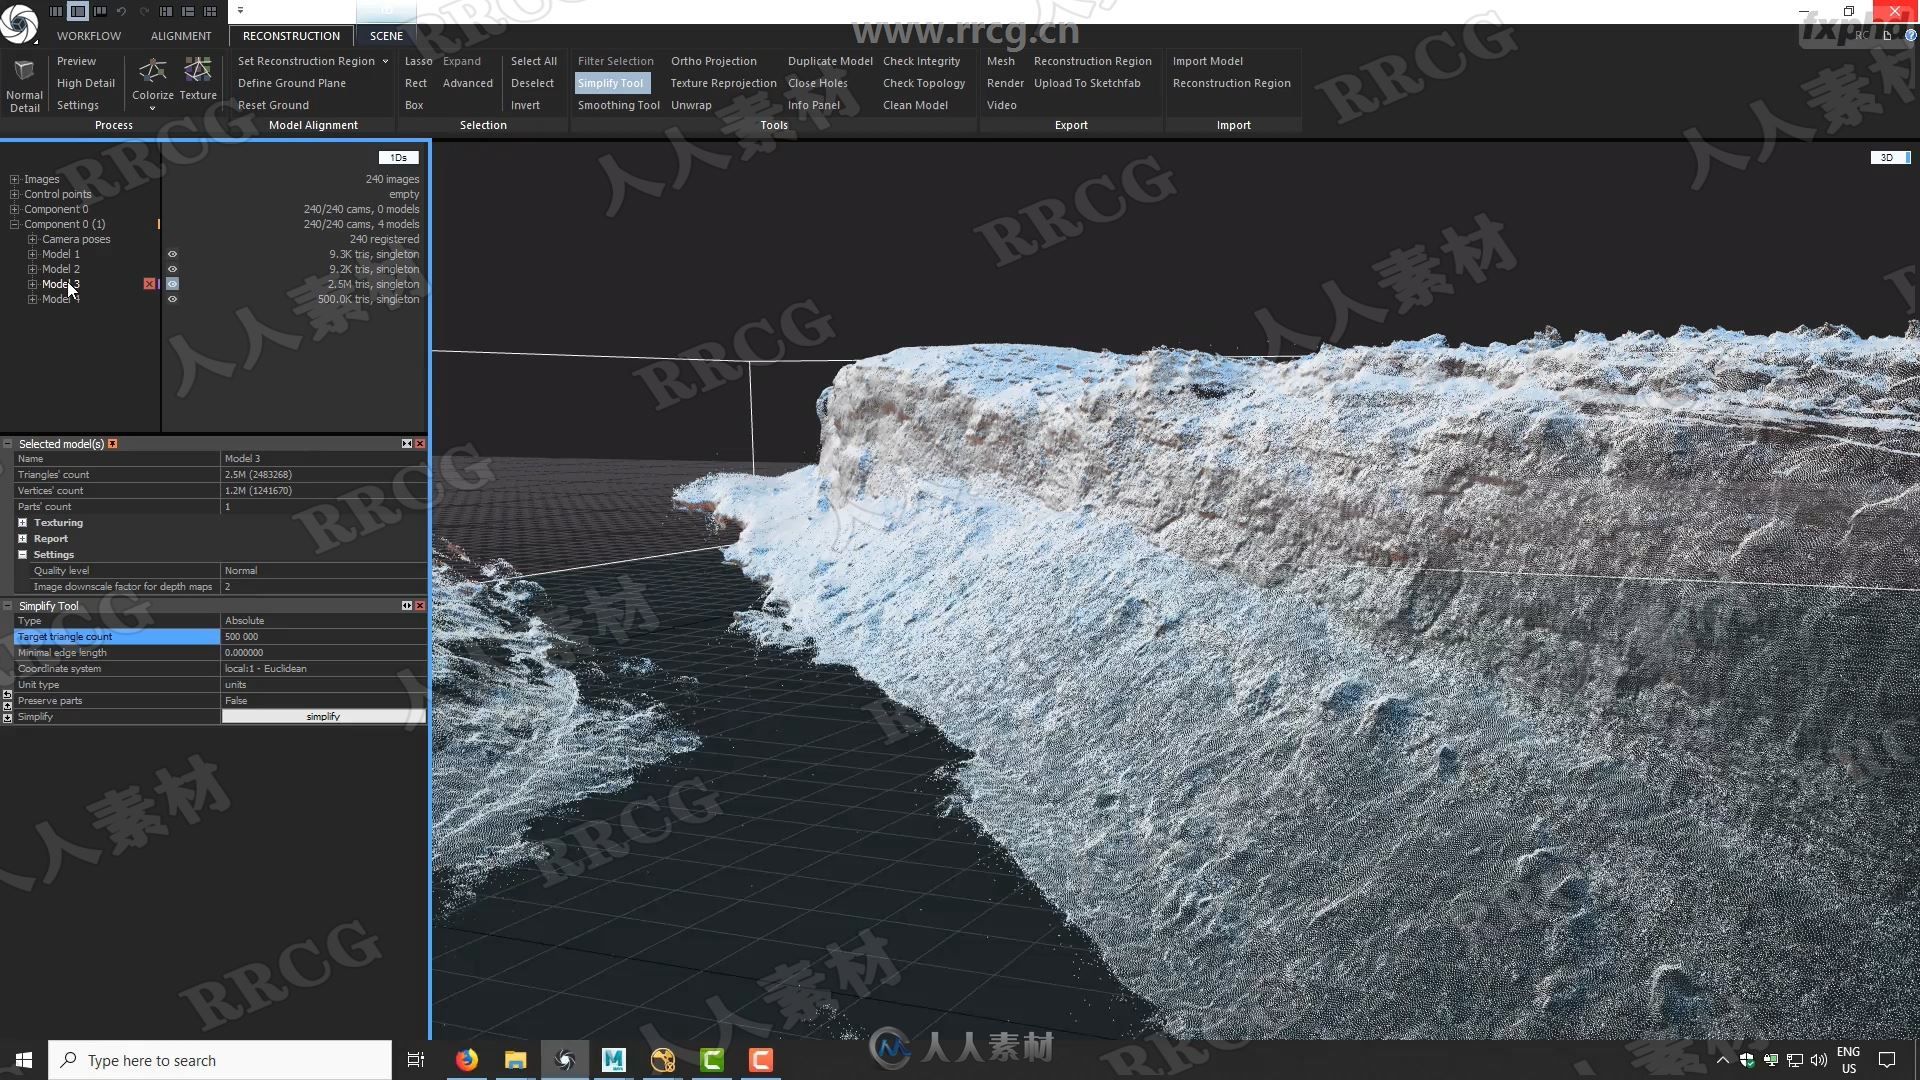
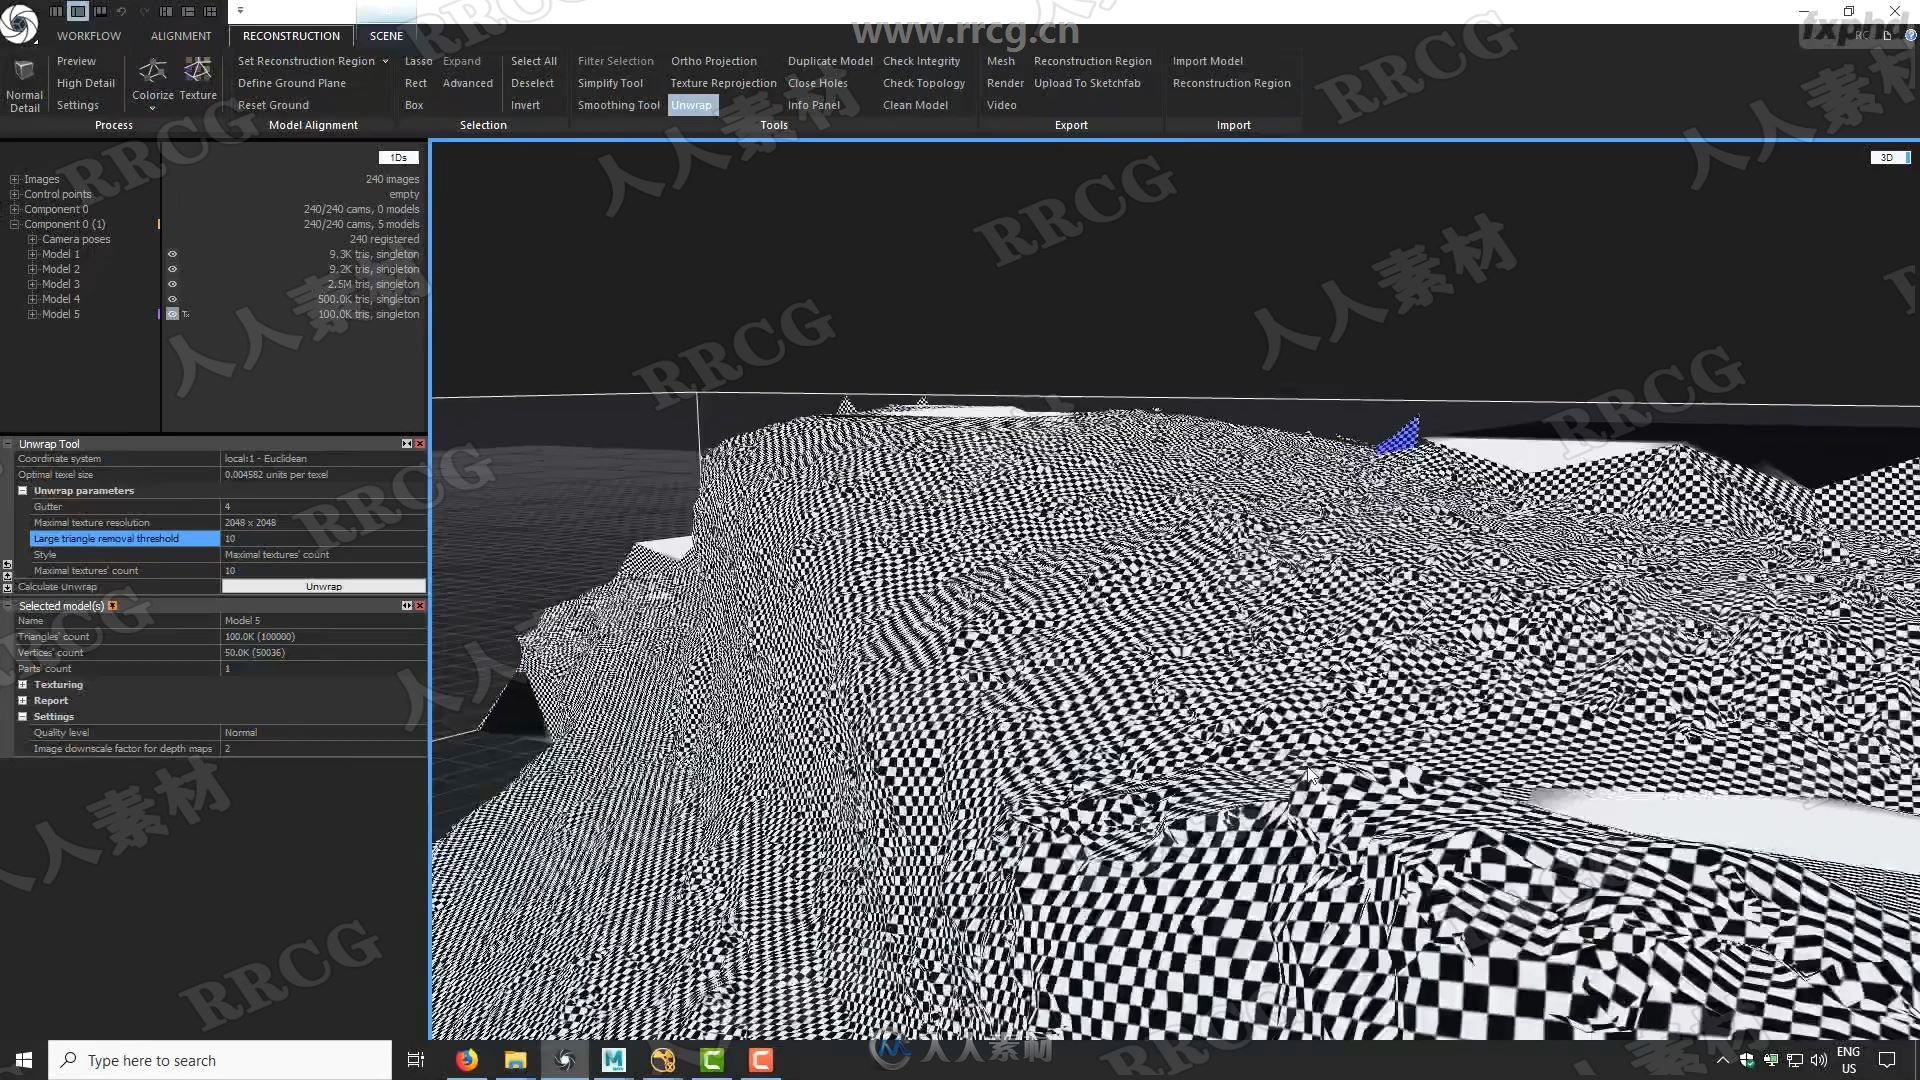
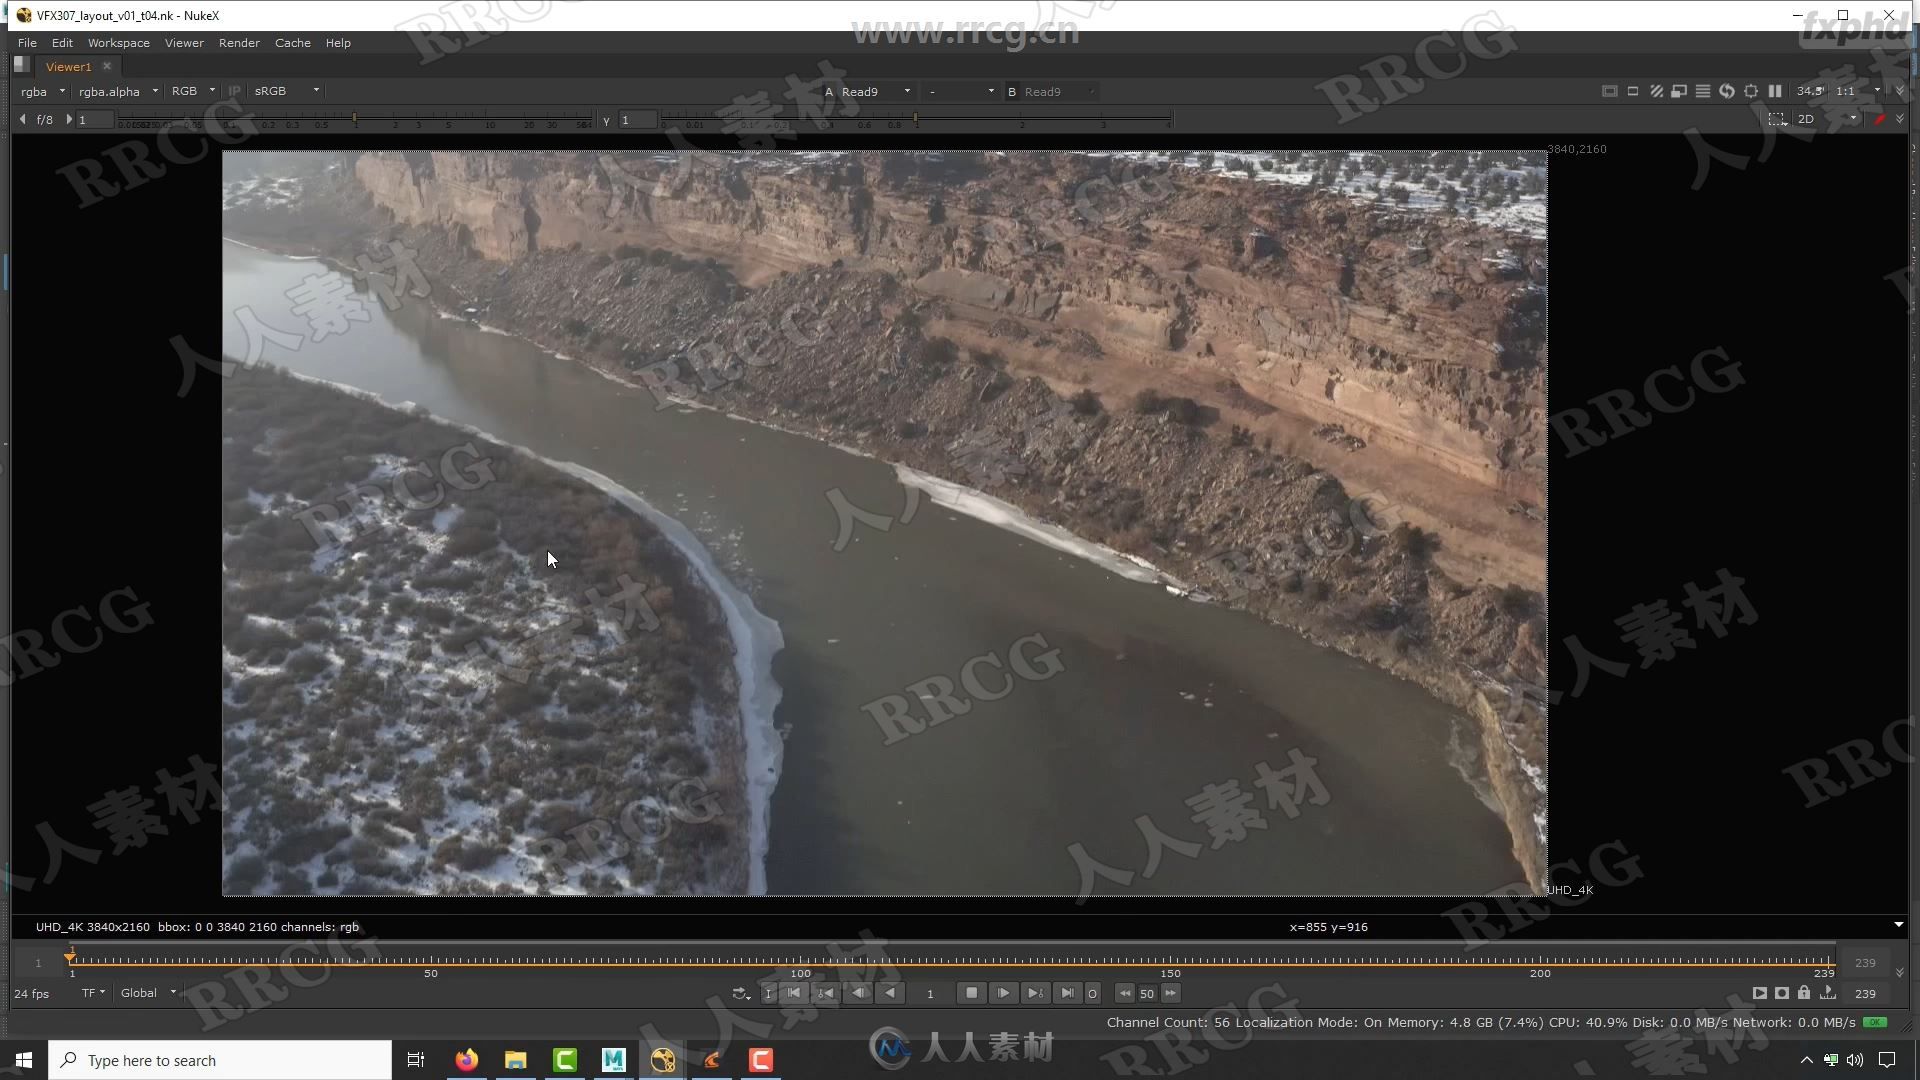
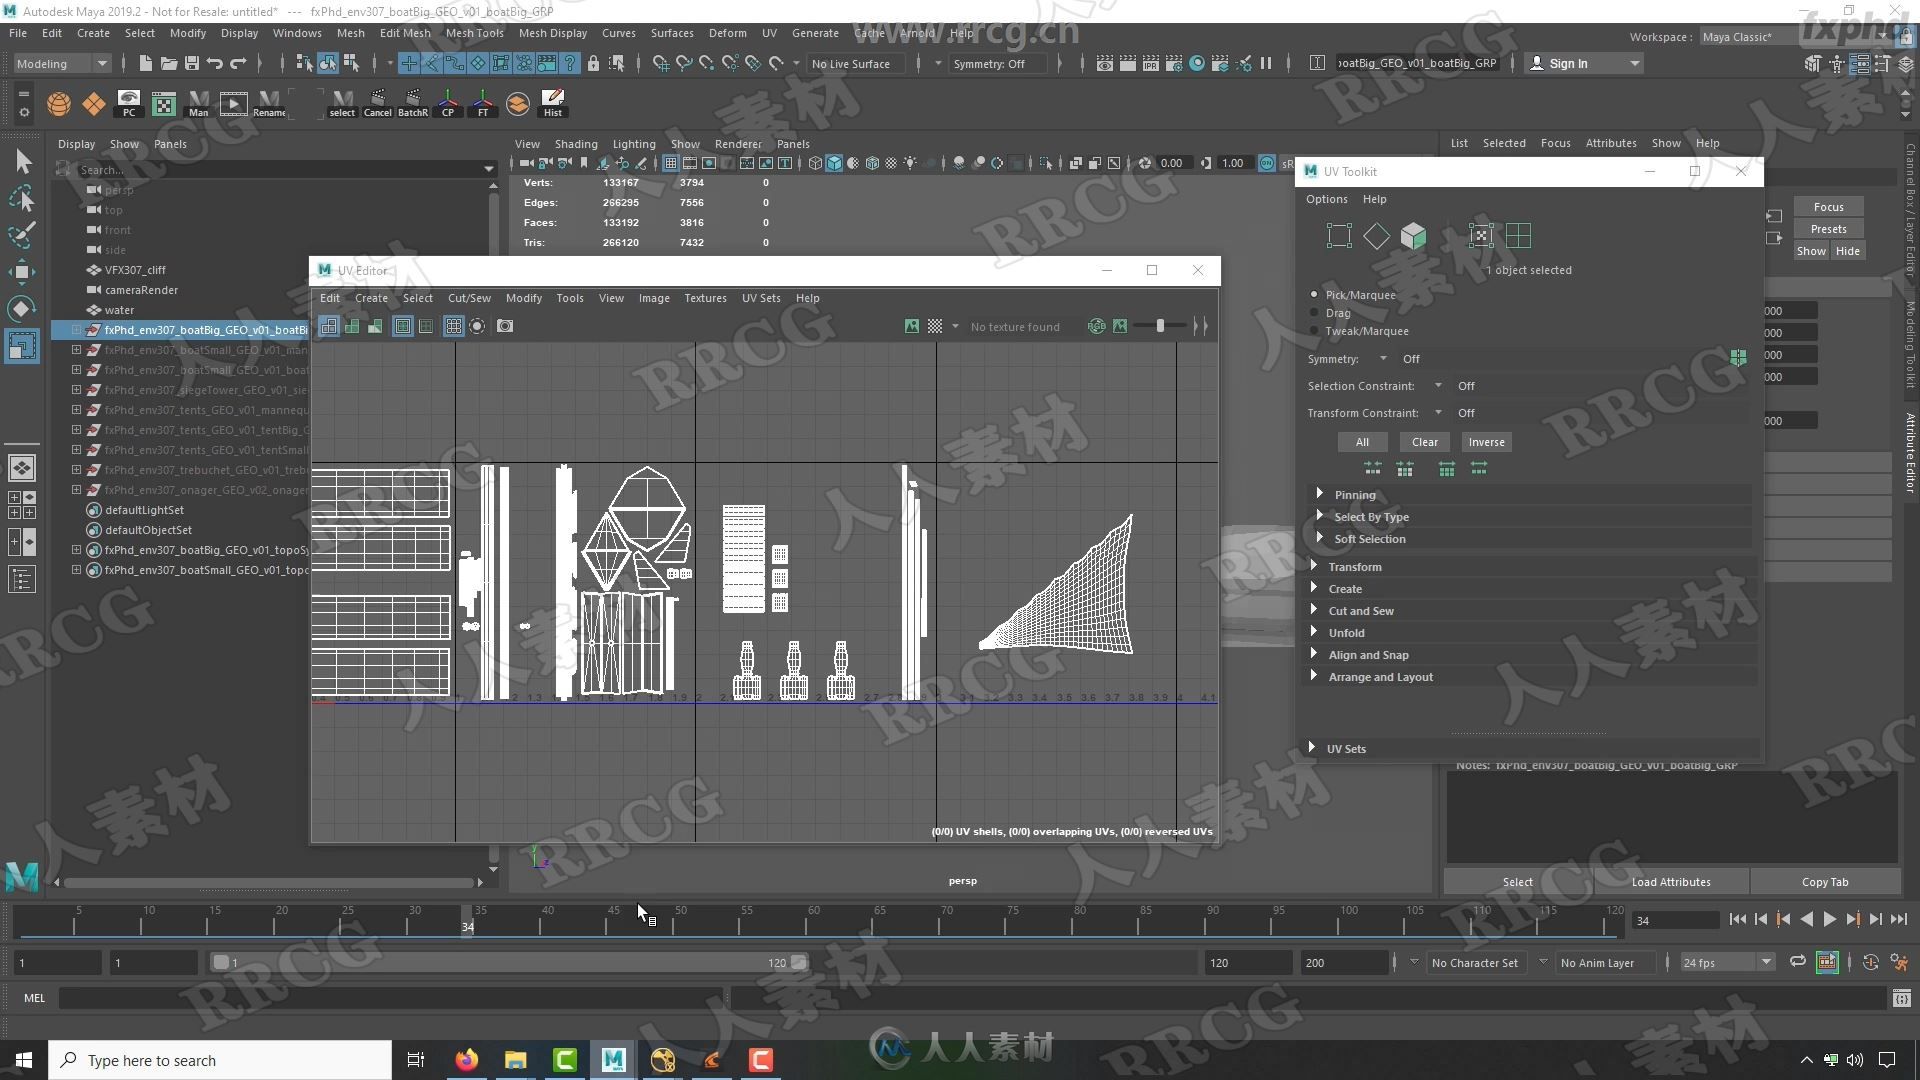
This class give us the opportunity to go through the workflow in RealityCapture with our Drone footage from the preparation of the images sequence in Nuke to the render in Maya Arnold and Clarisse. In Reality-capture we will generate the 3D mesh, align and orient properly the mesh, understand the bounding box concept, create some UVs and UDIM’s and export an OBJ and TIF textures. Finally, we will jump in Maya and reconnect everything to get our final Layout asset in Arnold.
CLASS 2: LAYOUT IN CLARISSE
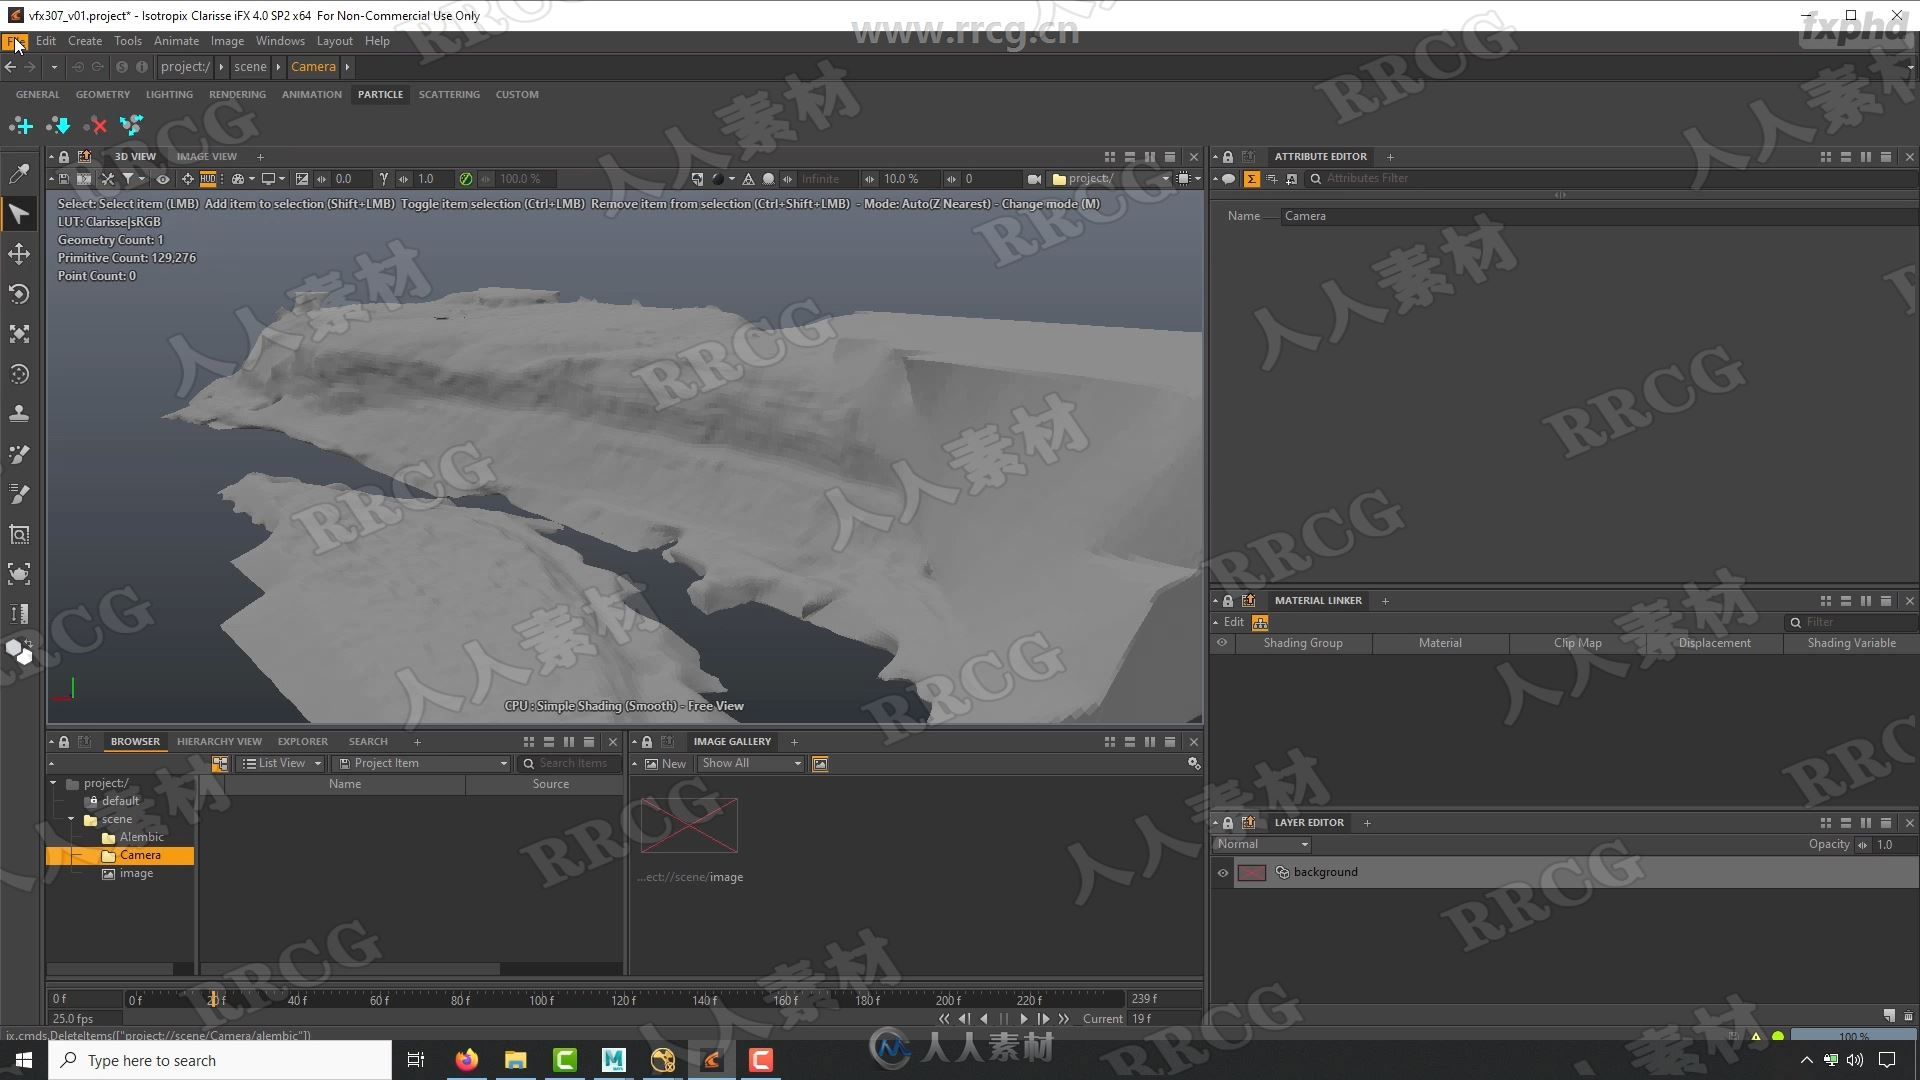
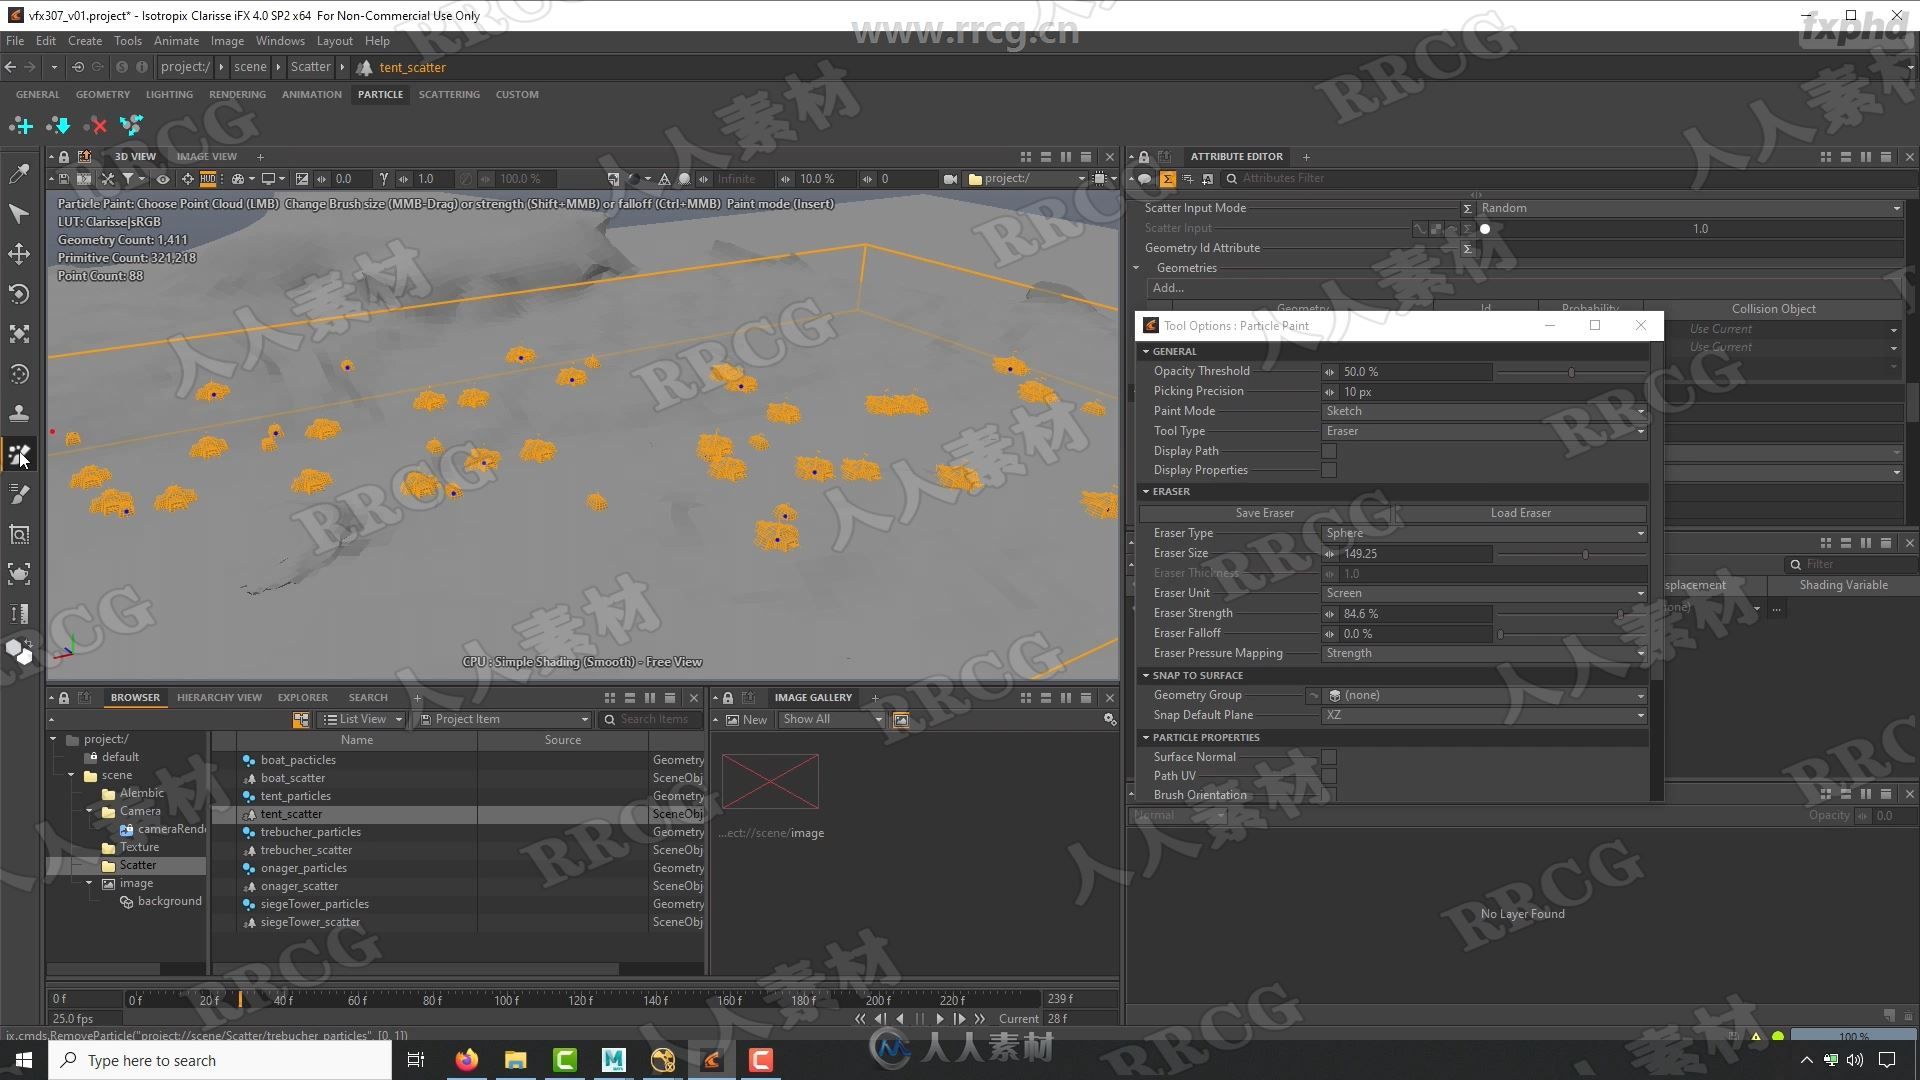
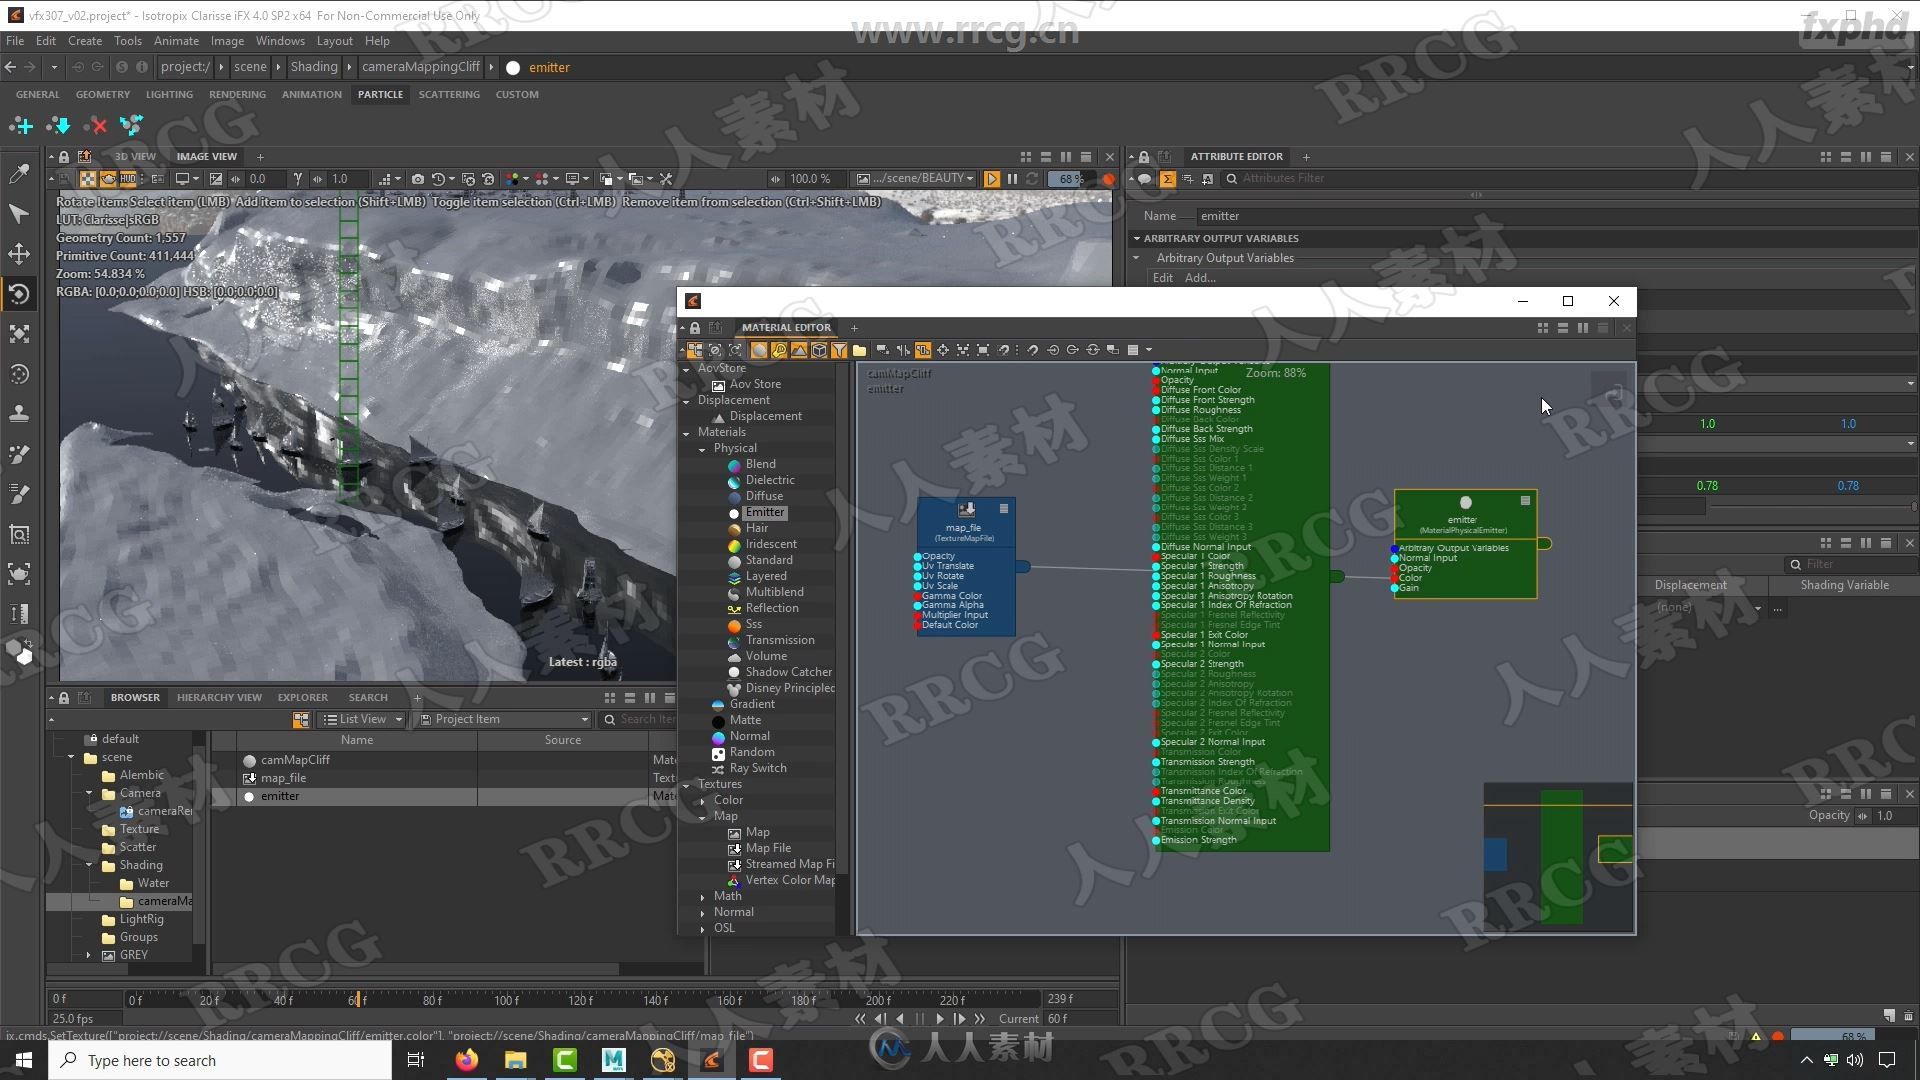
We got from RealityCapture our 3D mesh generated, textures and Camera, it’s time to set up everything in Clarisse. We will prepare our 3D asset in Maya and export everything as an Alembic file. In this class we will explore in Clarisse the scattering tool and how quick and efficient Clarisse can be to generate our layout with boats, tent, towers for our shot.
CLASS 3: LOOK DEVELOPMENT IN CLARISSE
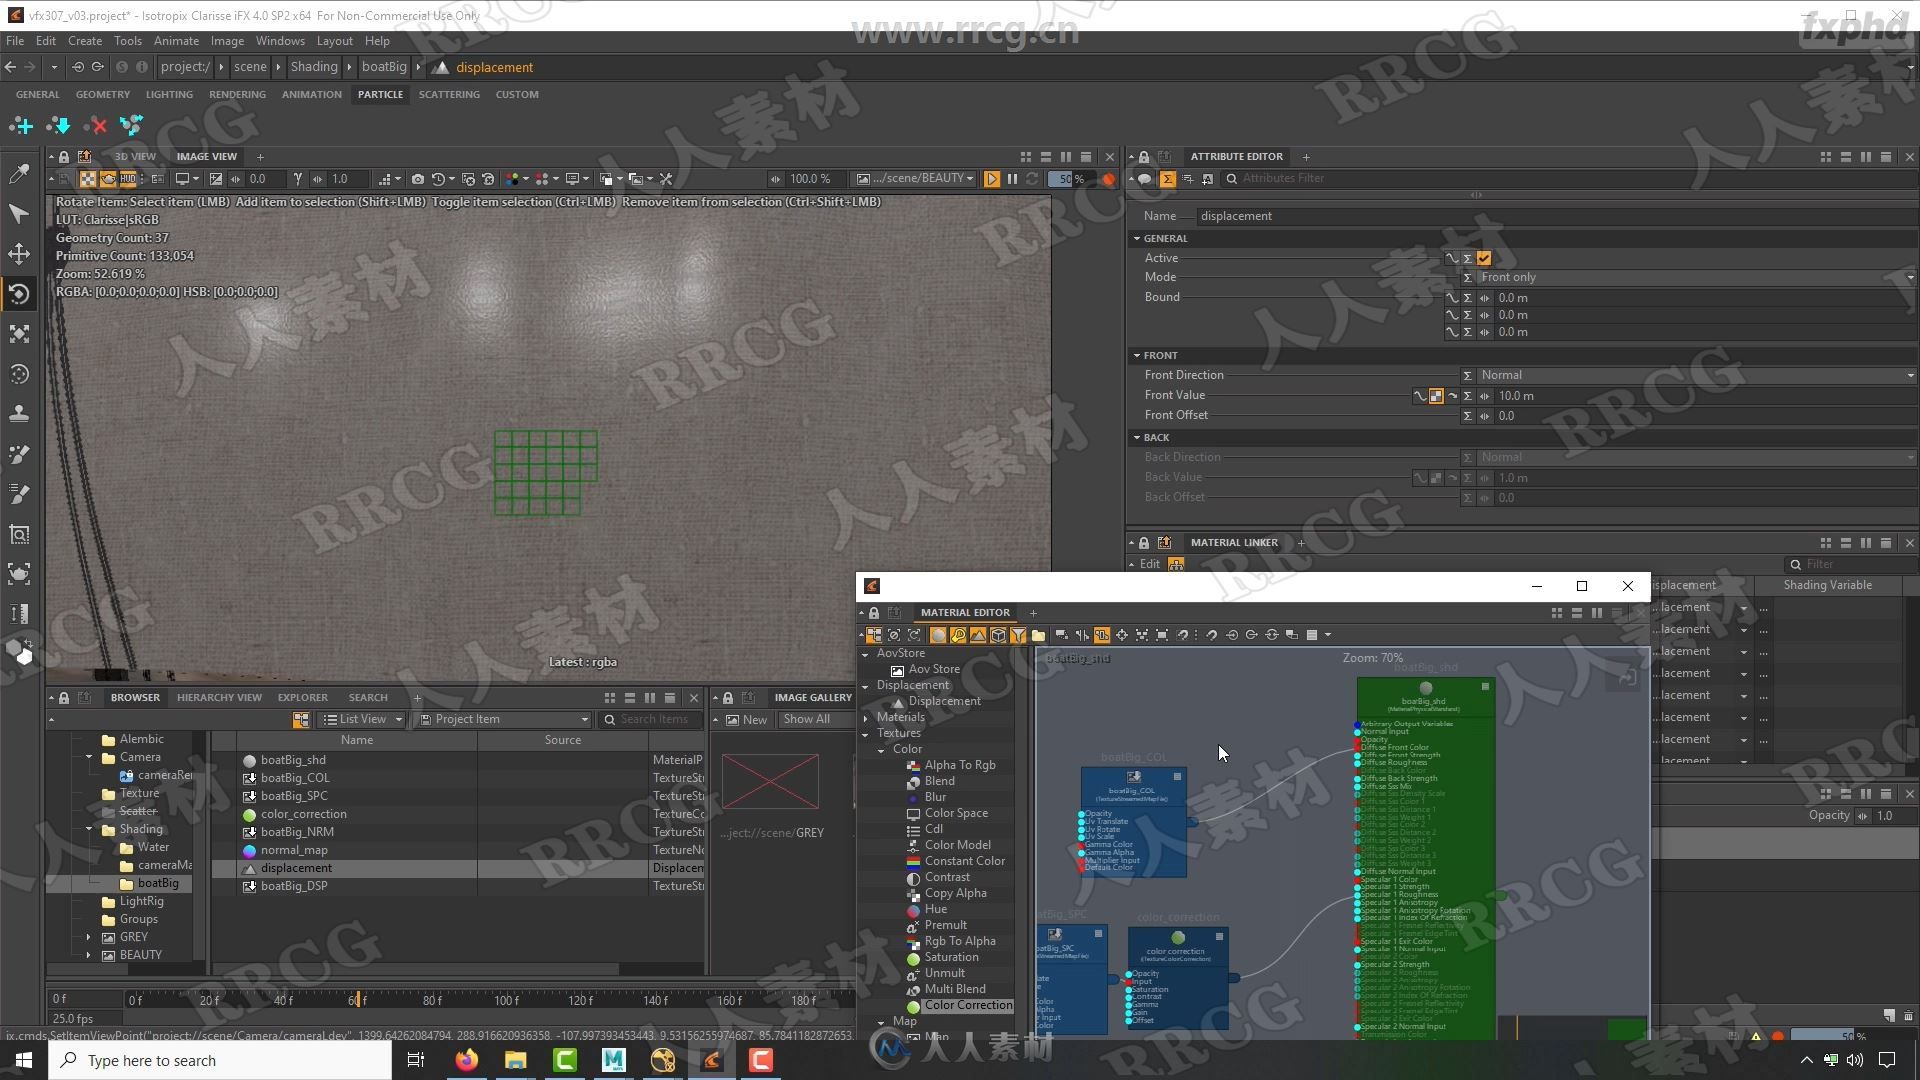
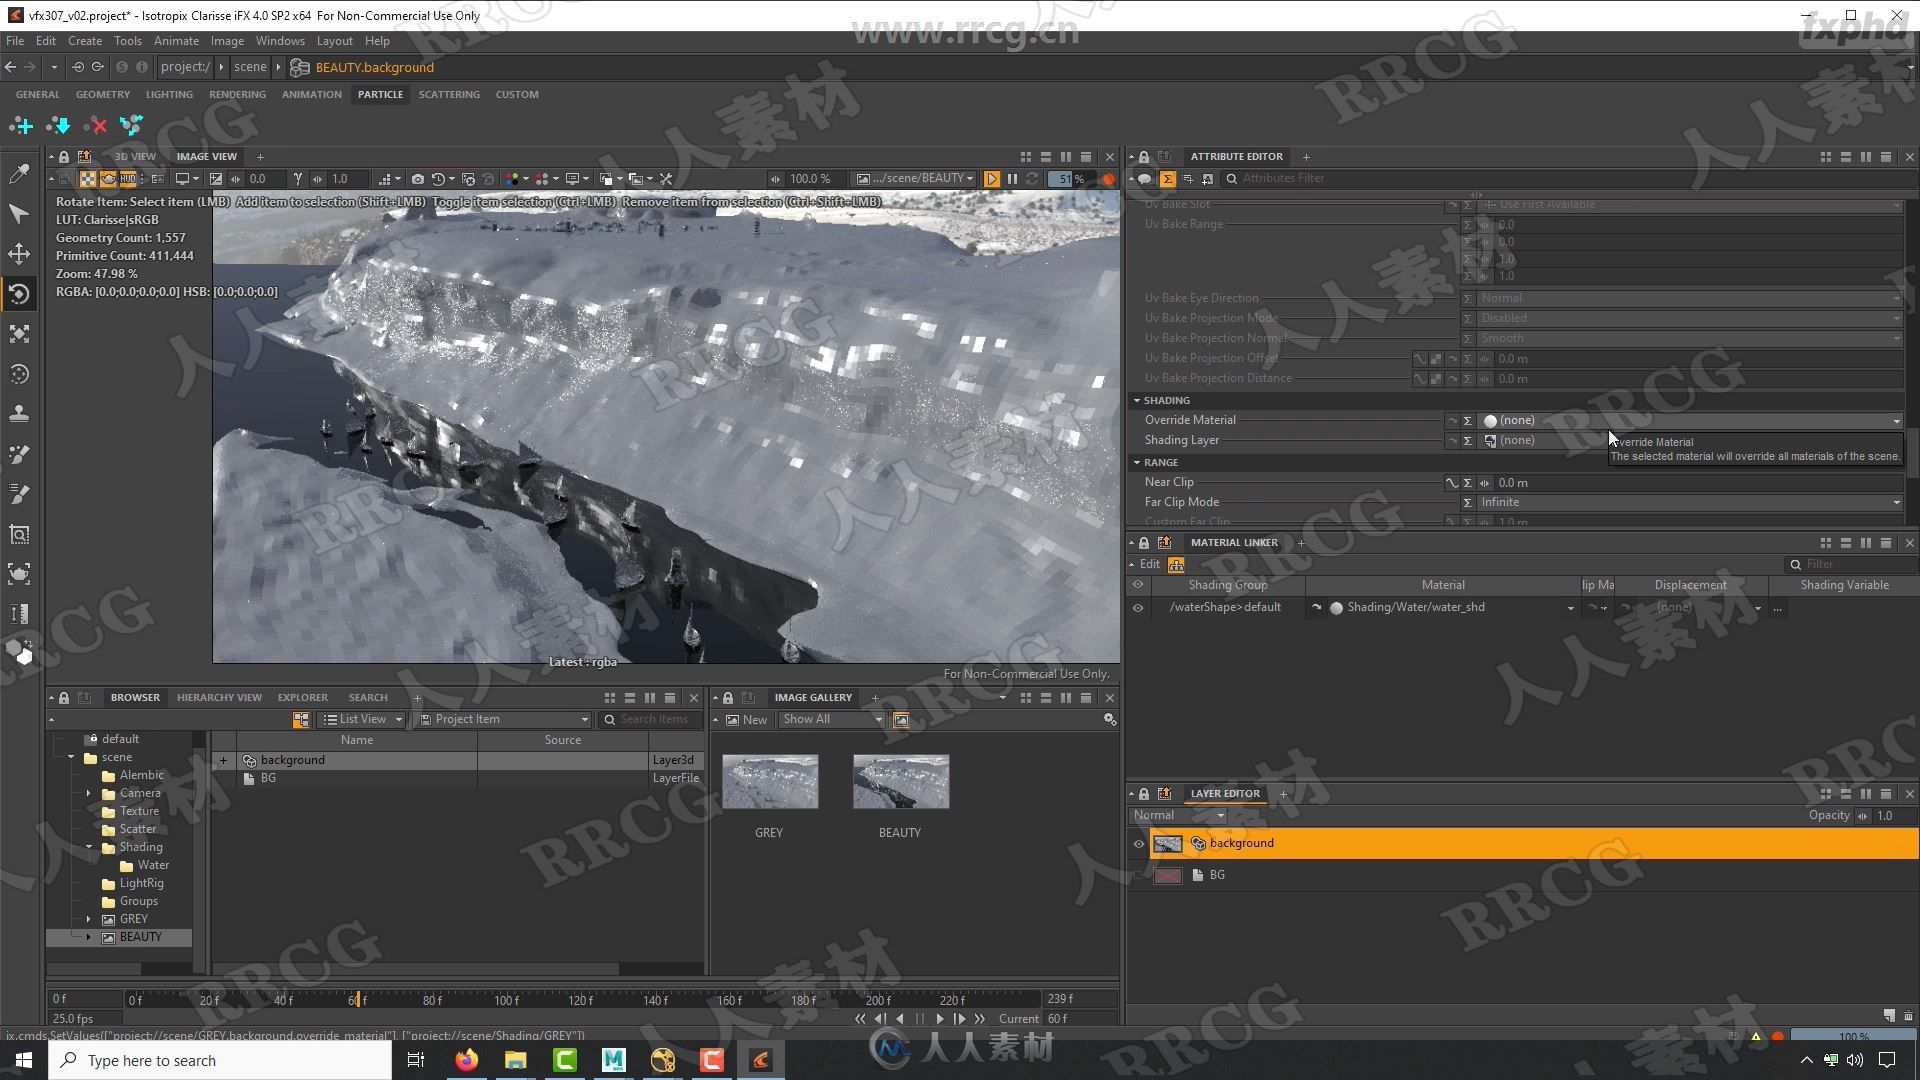
In this class we will do a lookDev for each asset. Explore the Standard shader and convert our TIF texture file to TX files for memory efficiency. Without texture optimization, the RAM could quickly overload. We will go through the Material Editor and connect all our maps to get our lookDev for each asset.
CLASS 4: LIGHTING IN CLARISSE
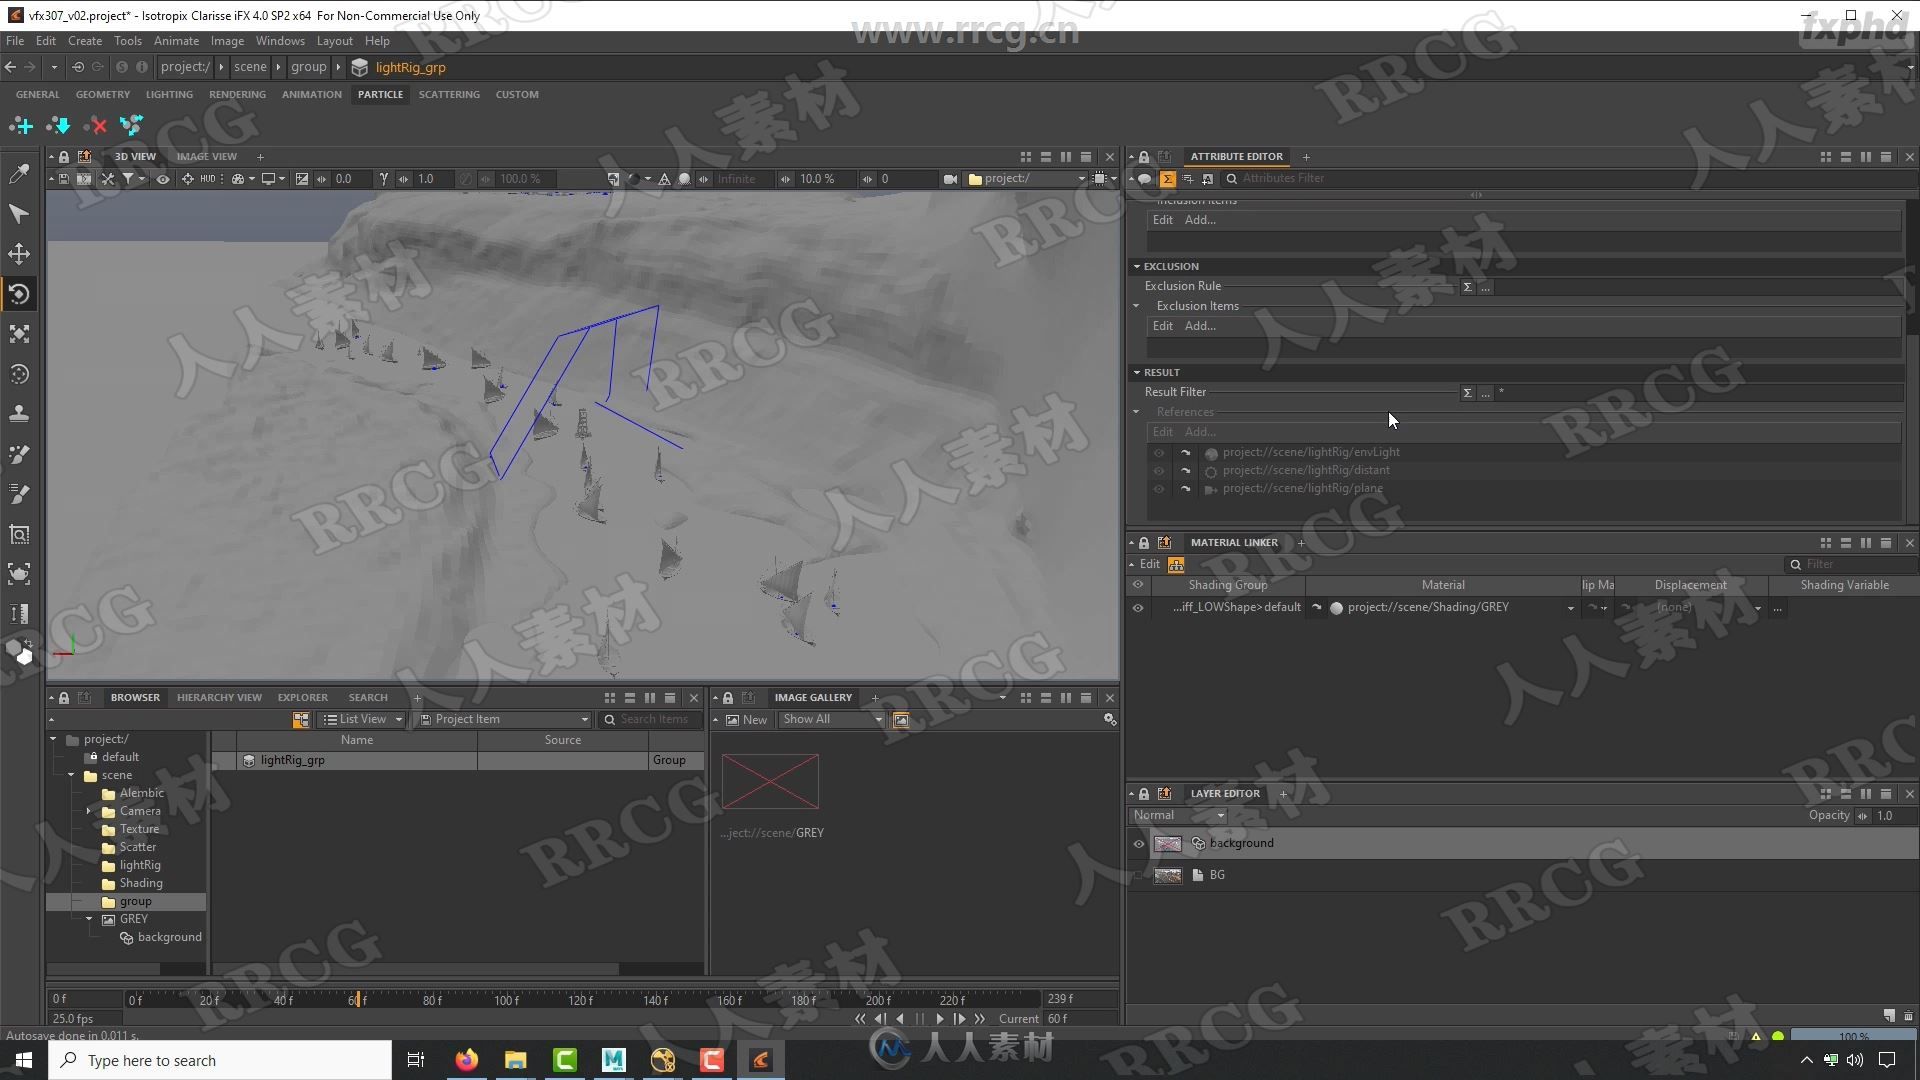
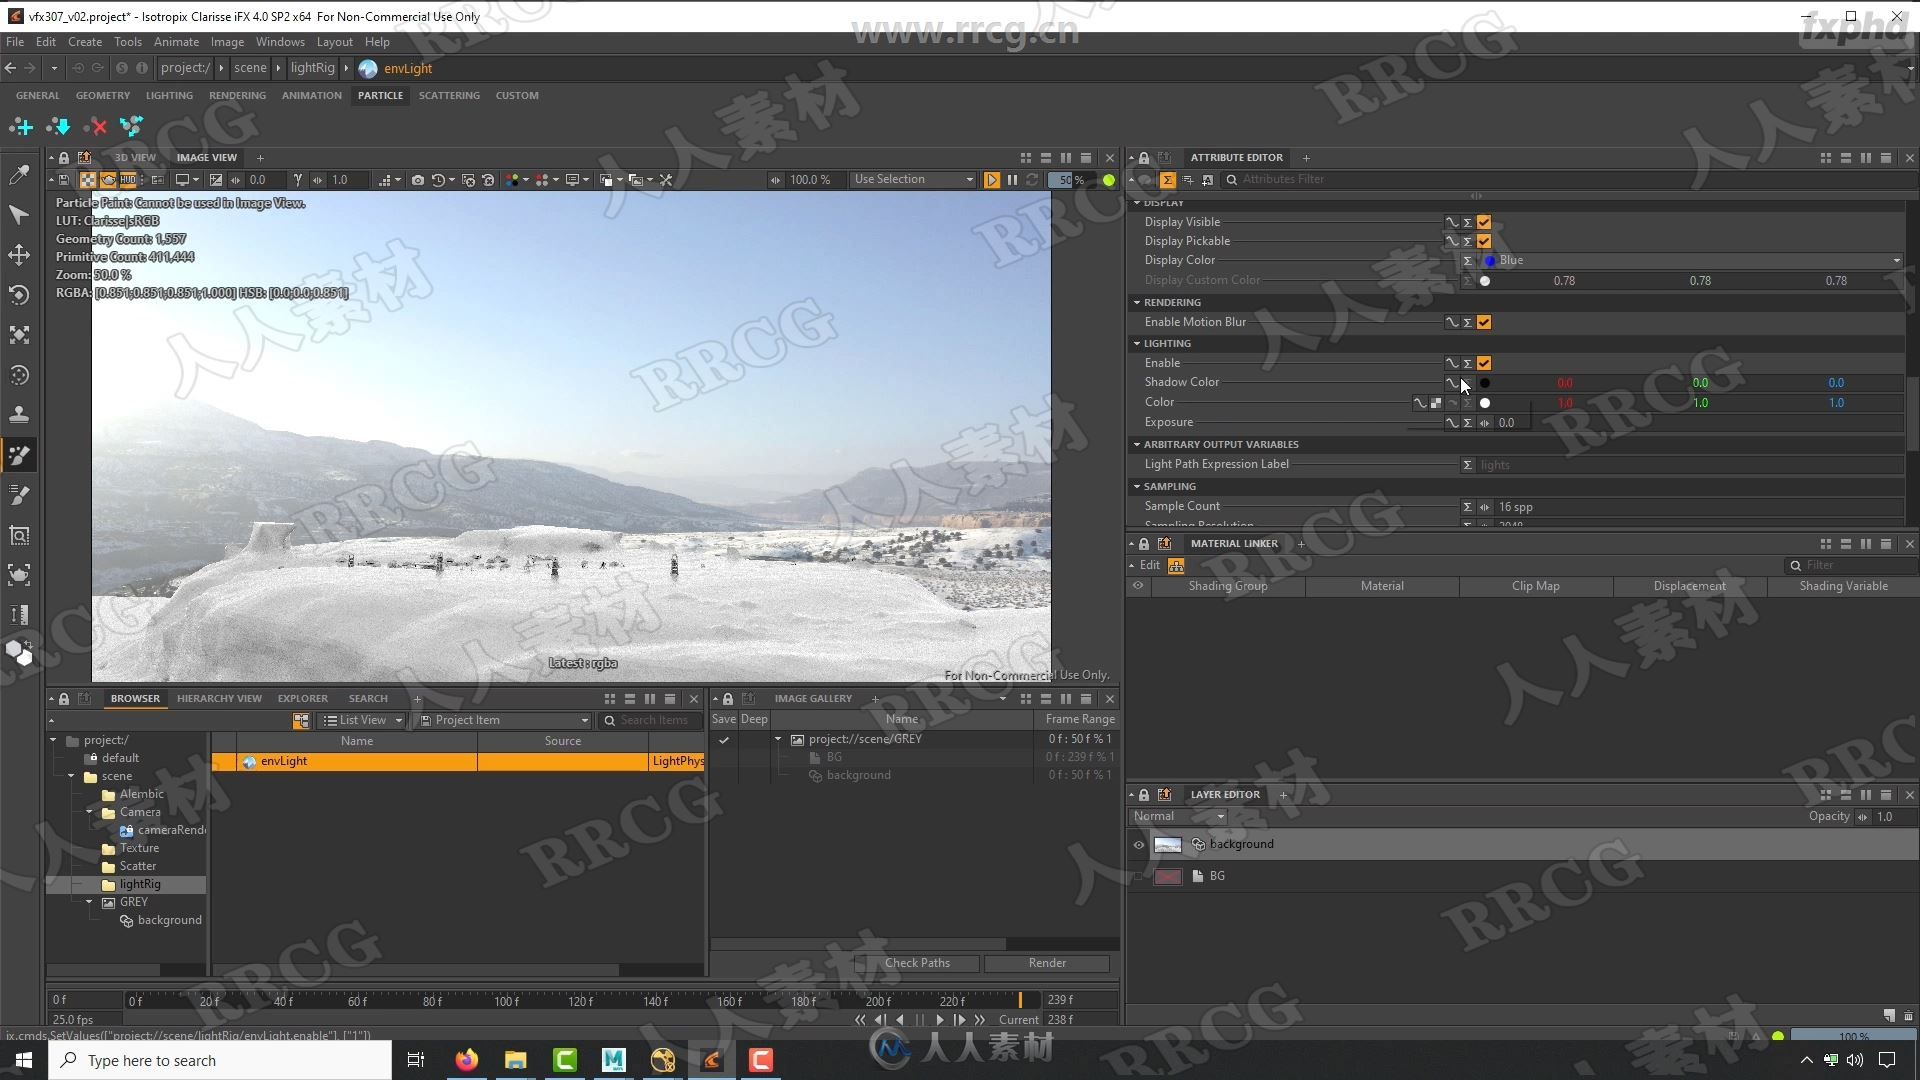
Before jumping straight to the lighting tool in Clarisse, we spend couple of minutes analylzing the plate and understand lighting. Setup of the lightRig with Environment and Directional Lights and explain how the different parameters work to match to the plate and integrate the CG assets.
CLASS 5: RENDERING IN CLARISSE
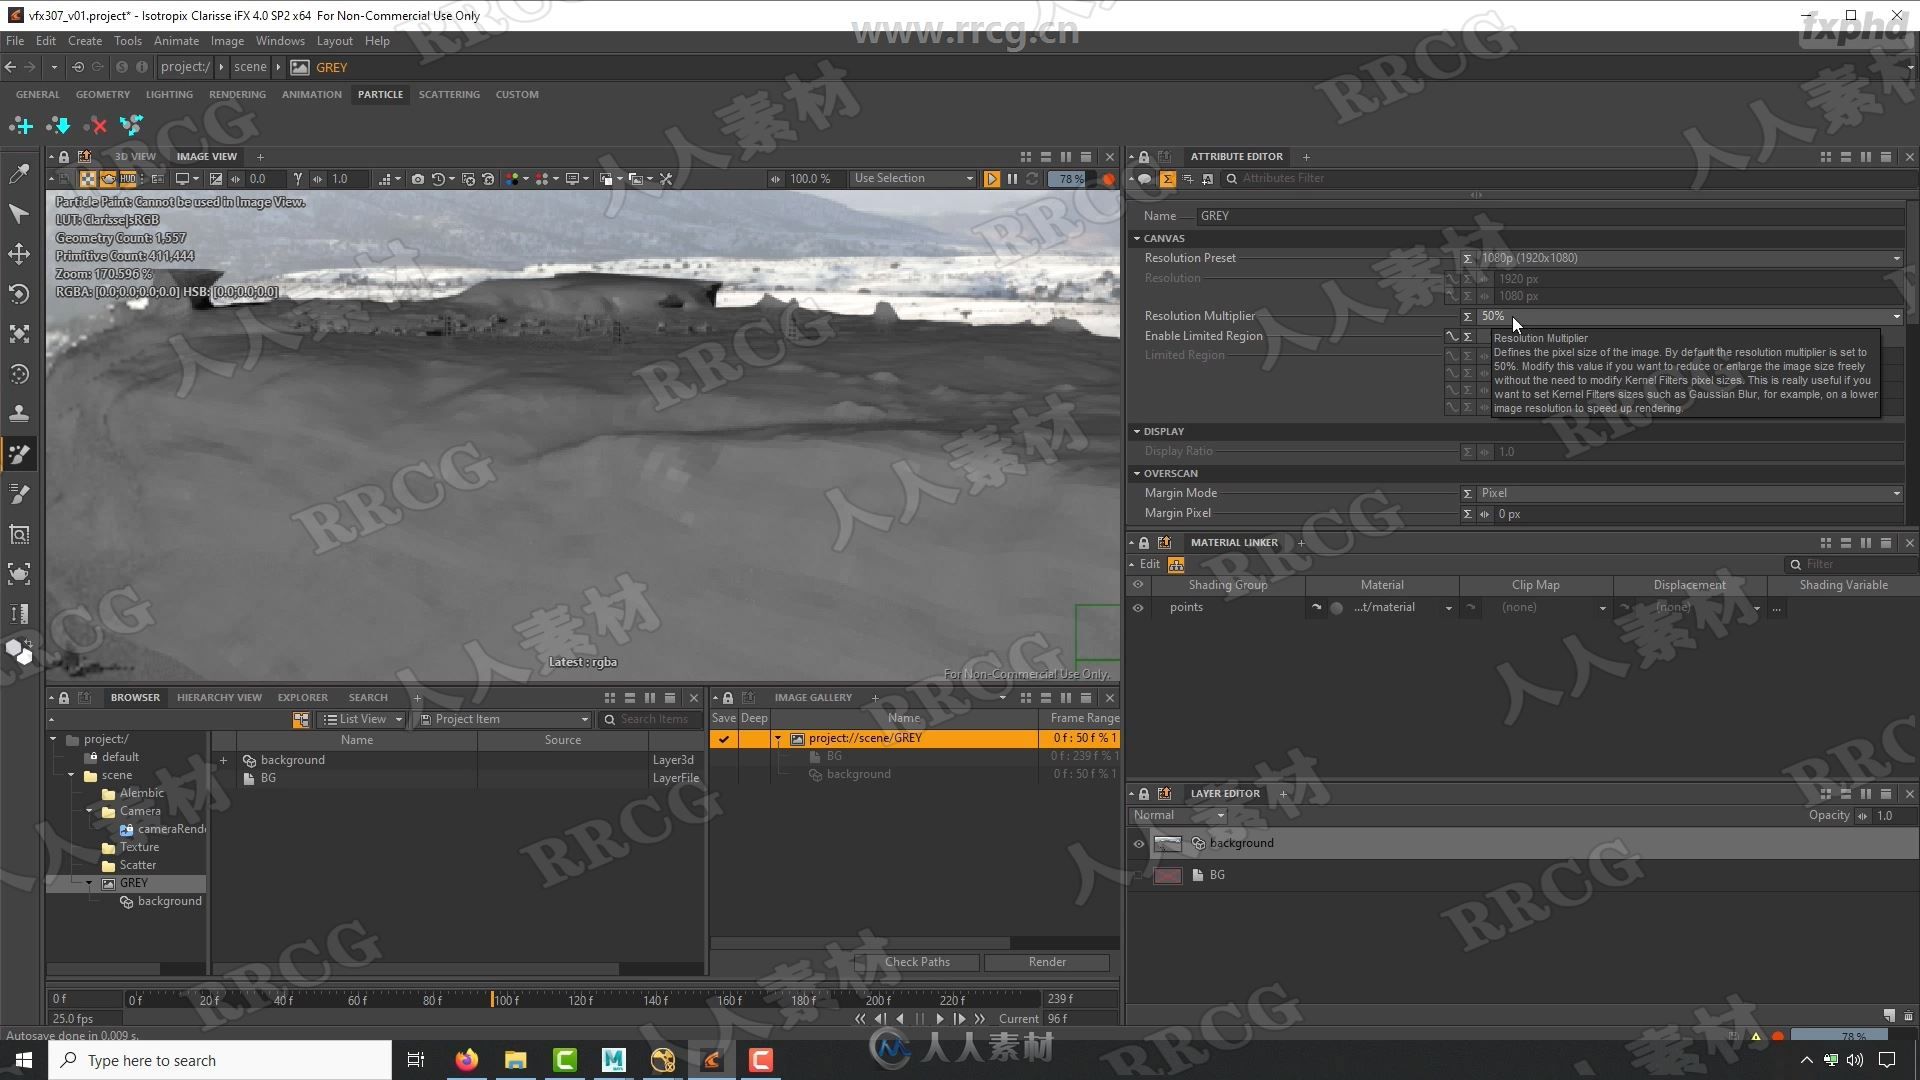
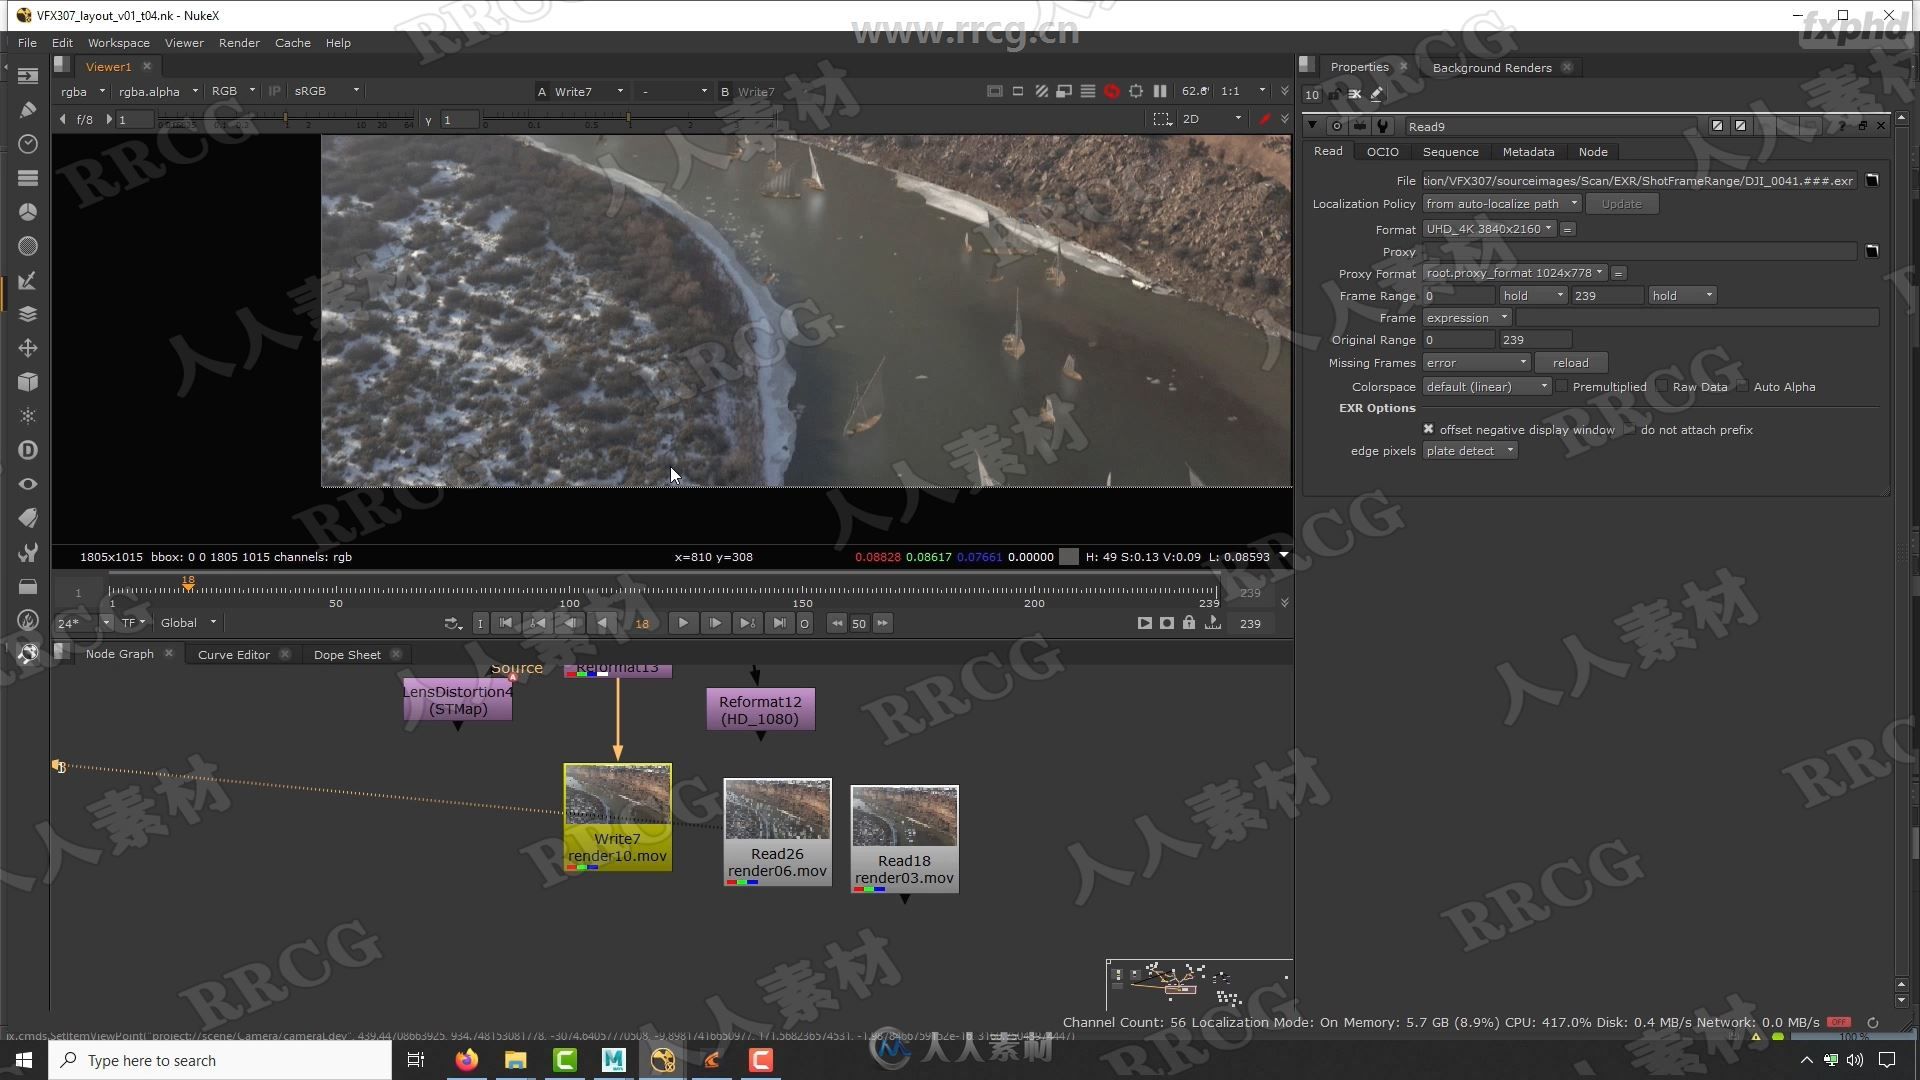
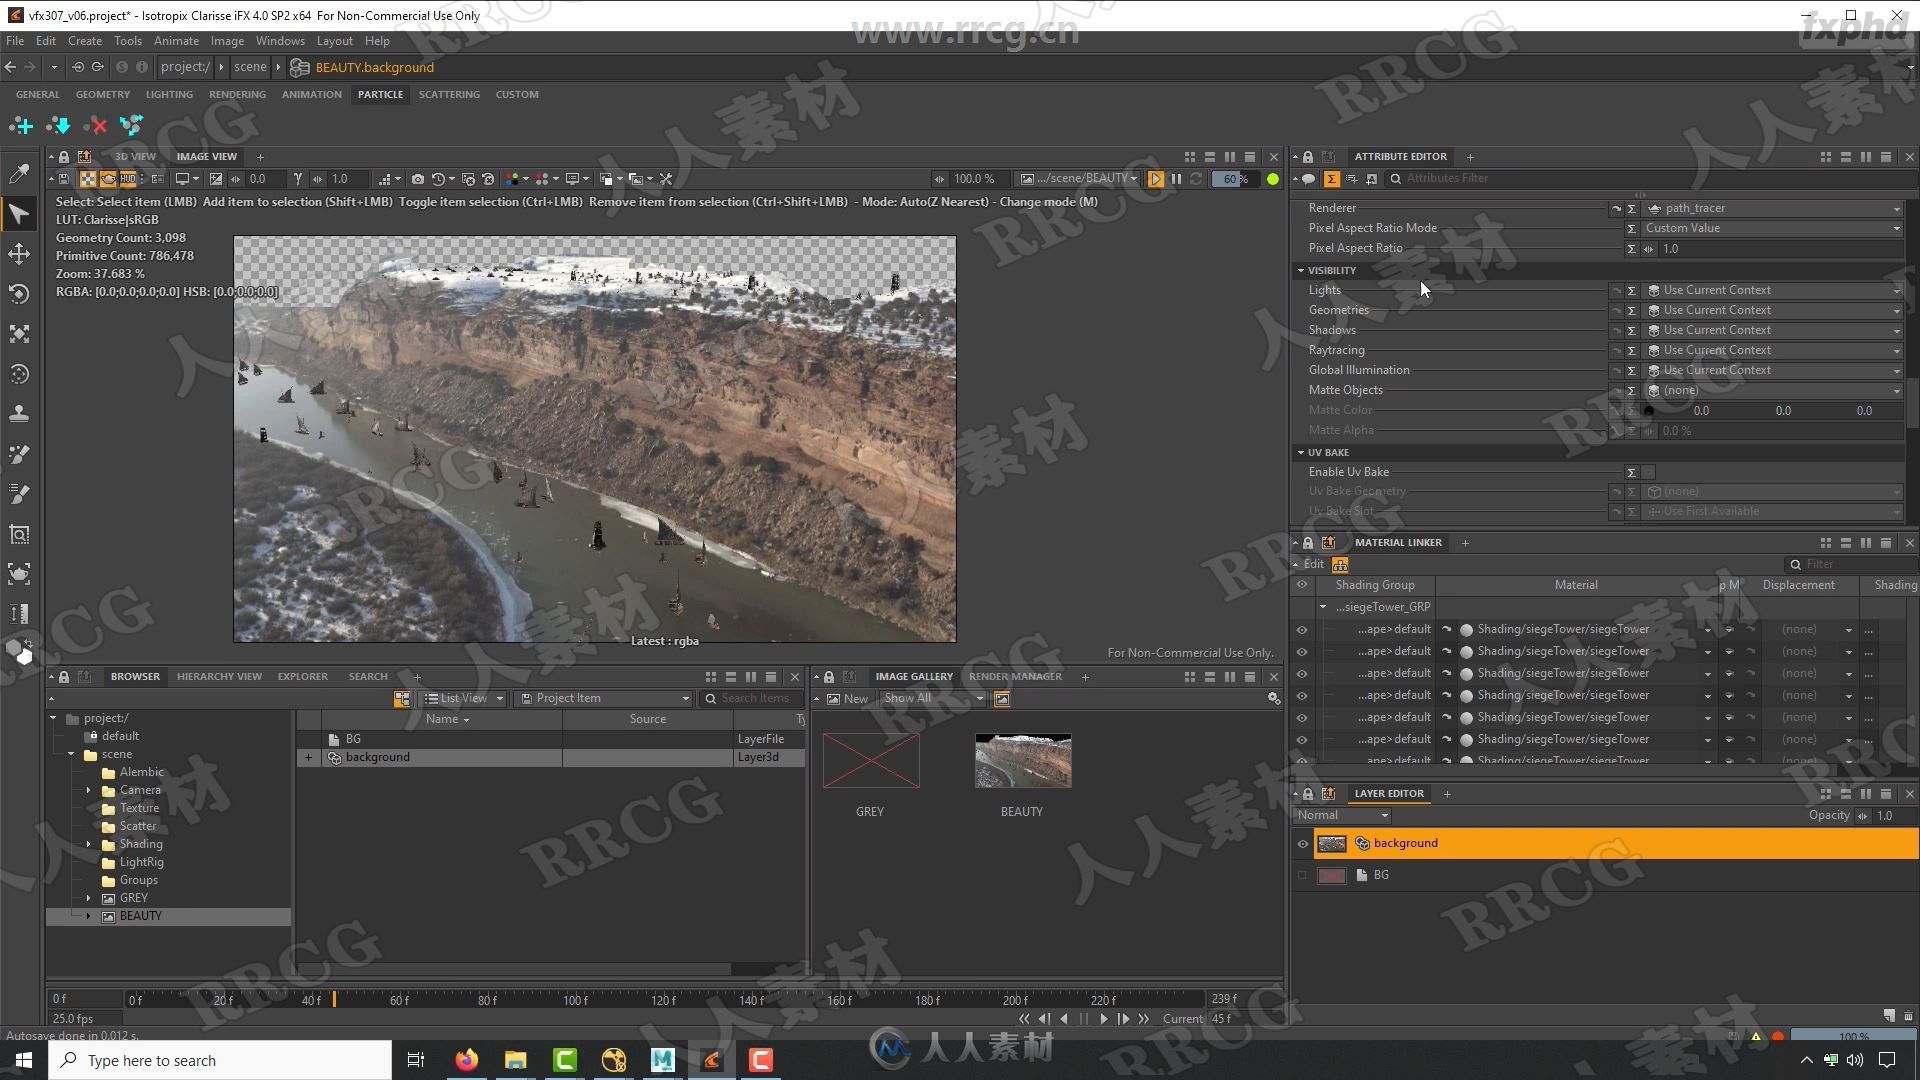
Creation of the Grey, Beauty and Shadow/Reflection passes and renders. An exploration as to how ShadingLayer and groups work in Clarisse and how it’s important to keep the Clarisse scene tight up in the Browser. A CG slap comp of all our renders in Nuke and get a solid version for the next department.
CLASS 6: MATCHMOVE PART 1
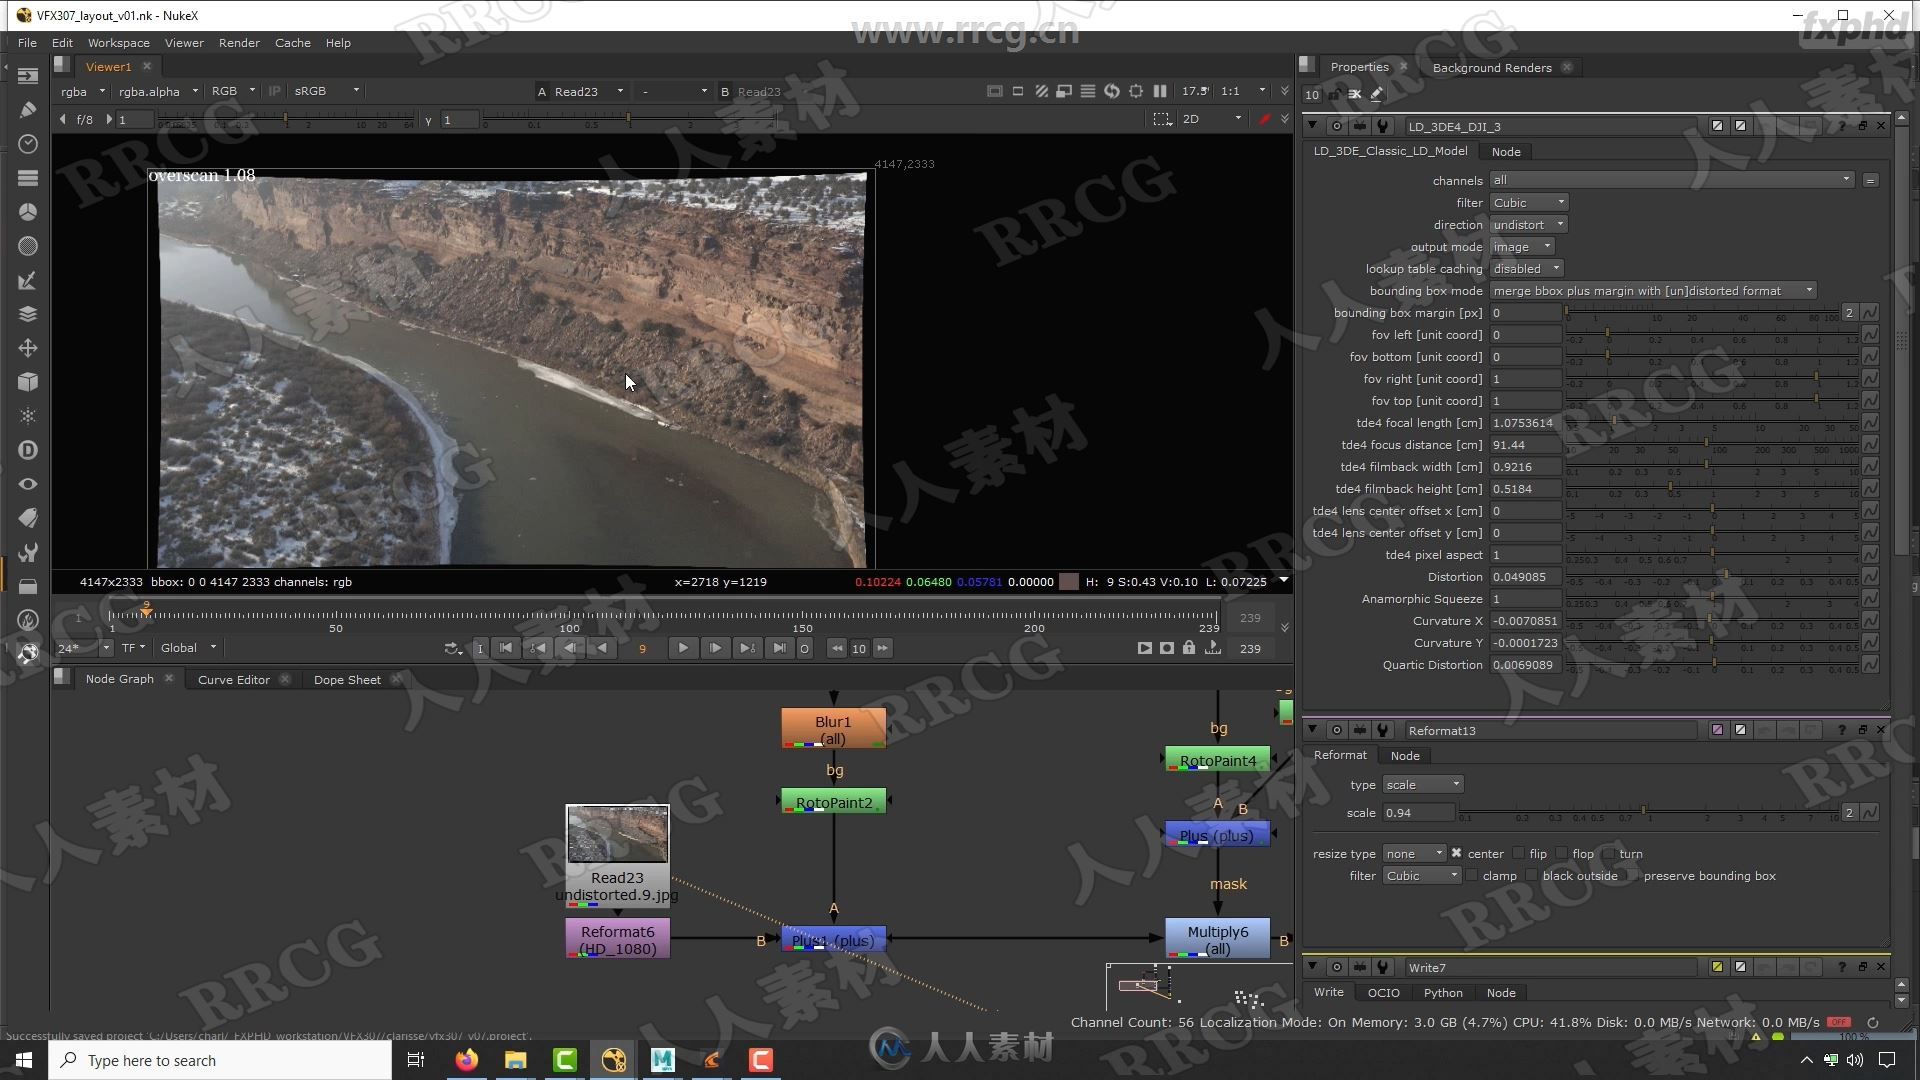
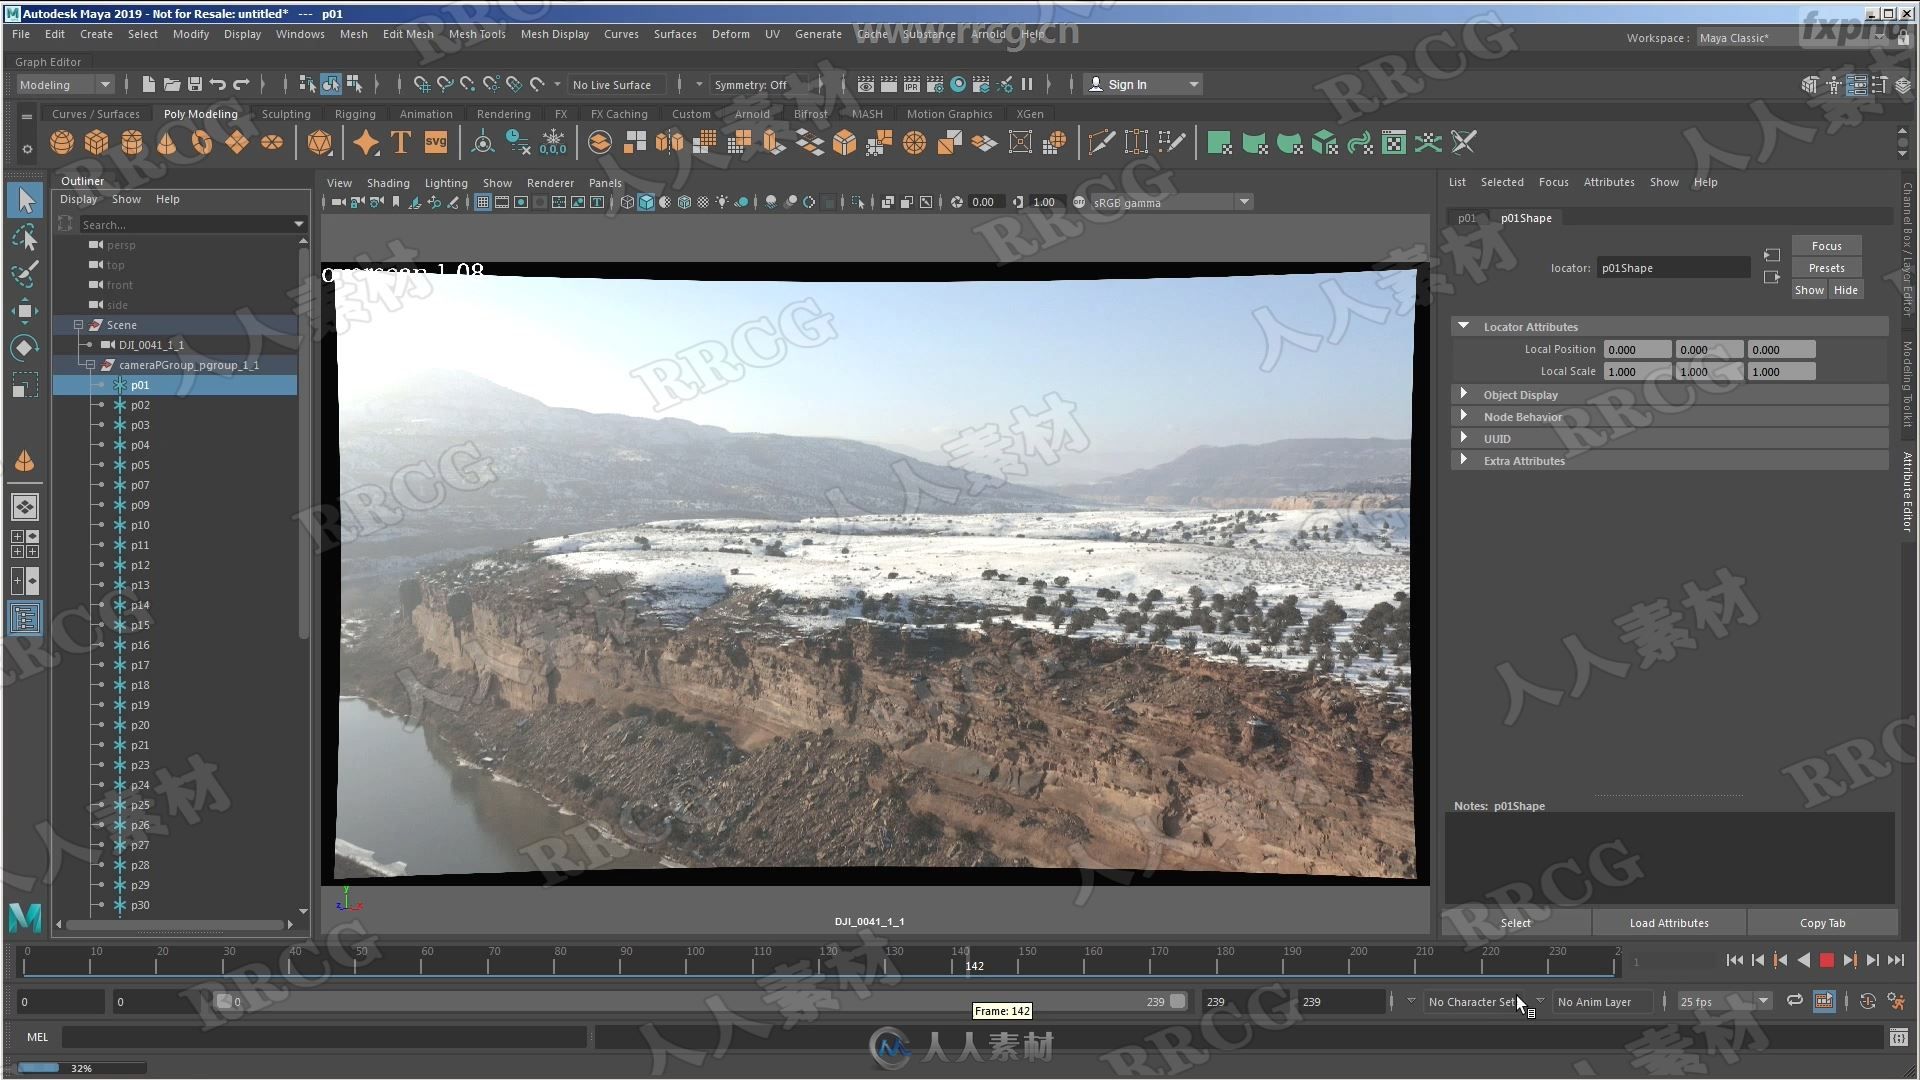
This three part section, taught by Environments Generalist TD Michal Skowrow (Dneg London), walks you through the process of recreating a virtual camera based on the DJI Mavic 2 Pro drone footage. The entire matchmove pipeline is covered, starting with an overview and gathering of necessary data, de-noising plates, reconstruction of the drone lens, matchmoving the camera, working with the class three photogrammetry to line-up the camera, creation of distortion plate, and how to use it inMaya to Nuke workflow.
CLASS 7: MATCHMOVE PART 2
The second of three classes covering the matchmove process. Michal Skowron has worked for Framestore, MPC and Dneg and also as a university lecturer. He has contributed to larger and smaller productions both in film and TV, product, automotive and medical visualization. Projects include Gravity, Disney Jungle Book, The Martian and more recently the Black Mirror and Chernobyl TV series.
CLASS 8: MATCHMOVE PART 3
The third of three classes covering the matchmove process.
更多相关教程请关注:3D教程专区,中文字幕教程专区
|


 1/2
1/2 
