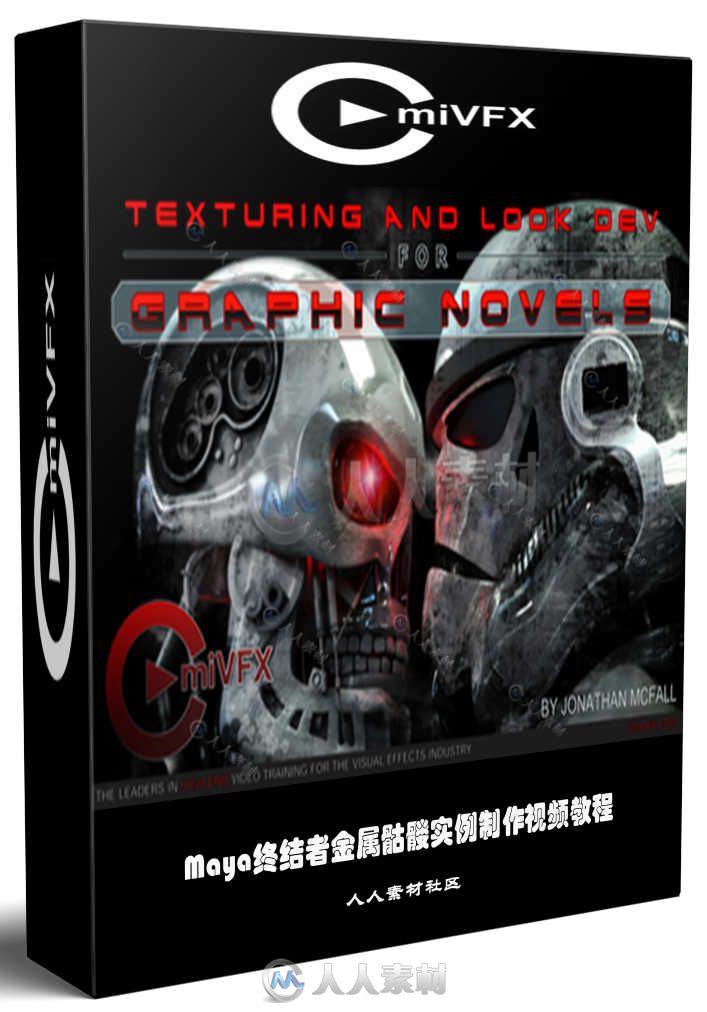
本视频教程是由Gnomon机构出品的Maya终结者金属骷髅实例制作视频教程,时长:5小时24分,大小:3.6 GB,MP4高清视频格式,教程使用软件:Maya 2017, Mudbox, Photoshop,作者:Jonathan McFall,共23个章节,语言:英语。
Autodesk Maya是美国Autodesk公司出品的世界顶级的三维动画软件,应用对象是专业的影视广告,角色动画,电影特技等。Maya功能完善,工作灵活,易学易用,制作效率极高,渲染真实感极强,是电影级别的高端制作软件。Maya声名显赫,是制作者梦寐以求的制作工具,掌握了Maya,会极大的提高制作效率和品质,调节出仿真的角色动画,渲染出电影一般的真实效果,向世界顶级动画师迈进。Maya 集成了Alias、Wavefront 最先进的动画及数字效果技术。它不仅包括一般三维和视觉效果制作的功能,而且还与最先进的建模、数字化布料模拟、毛发渲染、运动匹配技术相结合。Maya 可在Windows NT与 SGI IRIX 操作系统上运行。在目前市场上用来进行数字和三维制作的工具中,Maya 是首选解决方案。
Maya参与制作的电影有:法国国宝级艺术家Jean Giraud,他原创的影片有《第五元素》、《异形》、《星战》等,并参与制作了《沙丘魔堡》、《深渊》等经典科幻电影;导演Glenn Chaika,著名动画片导演,曾在迪斯尼担任《小美人鱼》的动画师,并执导《拇指仙童历险记》、《花木兰II》等影片;模型监制Wayne Kennedy是曾参与过《隐形人》、《星球大战》、《龙卷风》、《黑衣人》、《木乃伊》的模型师;动画监制Bob Koch和Kelvin Lee是担任《 玩具总动员》、《精灵鼠小弟》等影片的资深动画师;特效指导Manny Wong曾担任《后天》的特效总监,并参与制作了《狂莽之灾I》、《星河战舰》、《巨蟒》、《魔女游戏》等影片。
GNOMON教程,每每给我们于激情与期待!让我们在CG设计路上不再独行!让我们共同期待!让我们共同期待与业界CG顶尖设计师的面对面!少玩多花些时间多学习学习,让我们的商业作品与众不同!Gnomon的教程向来以其前沿的技术和清晰的视频质量而受到广大用户的青睐。
更多相关内容请关注:Maya视频教程专区,中文字幕教程专区
CMIVFX TEXTURING AND LOOK DEV FOR GRAPHIC NOVELS
Design several bad-ass Terminator-inspired graphic novel images with Jonathan McFall
Jonathan McFall speaking, I’m one of the full time lecturers at Escape Studios in London. I’m currently teaching on full-time 3D courses, but I also teach on 2D courses. I teach everything from modeling, texturing, lighting, rendering, plus a bit of rigging, animation, plus I also teach Nuke and compositing, and Silhouette as well.
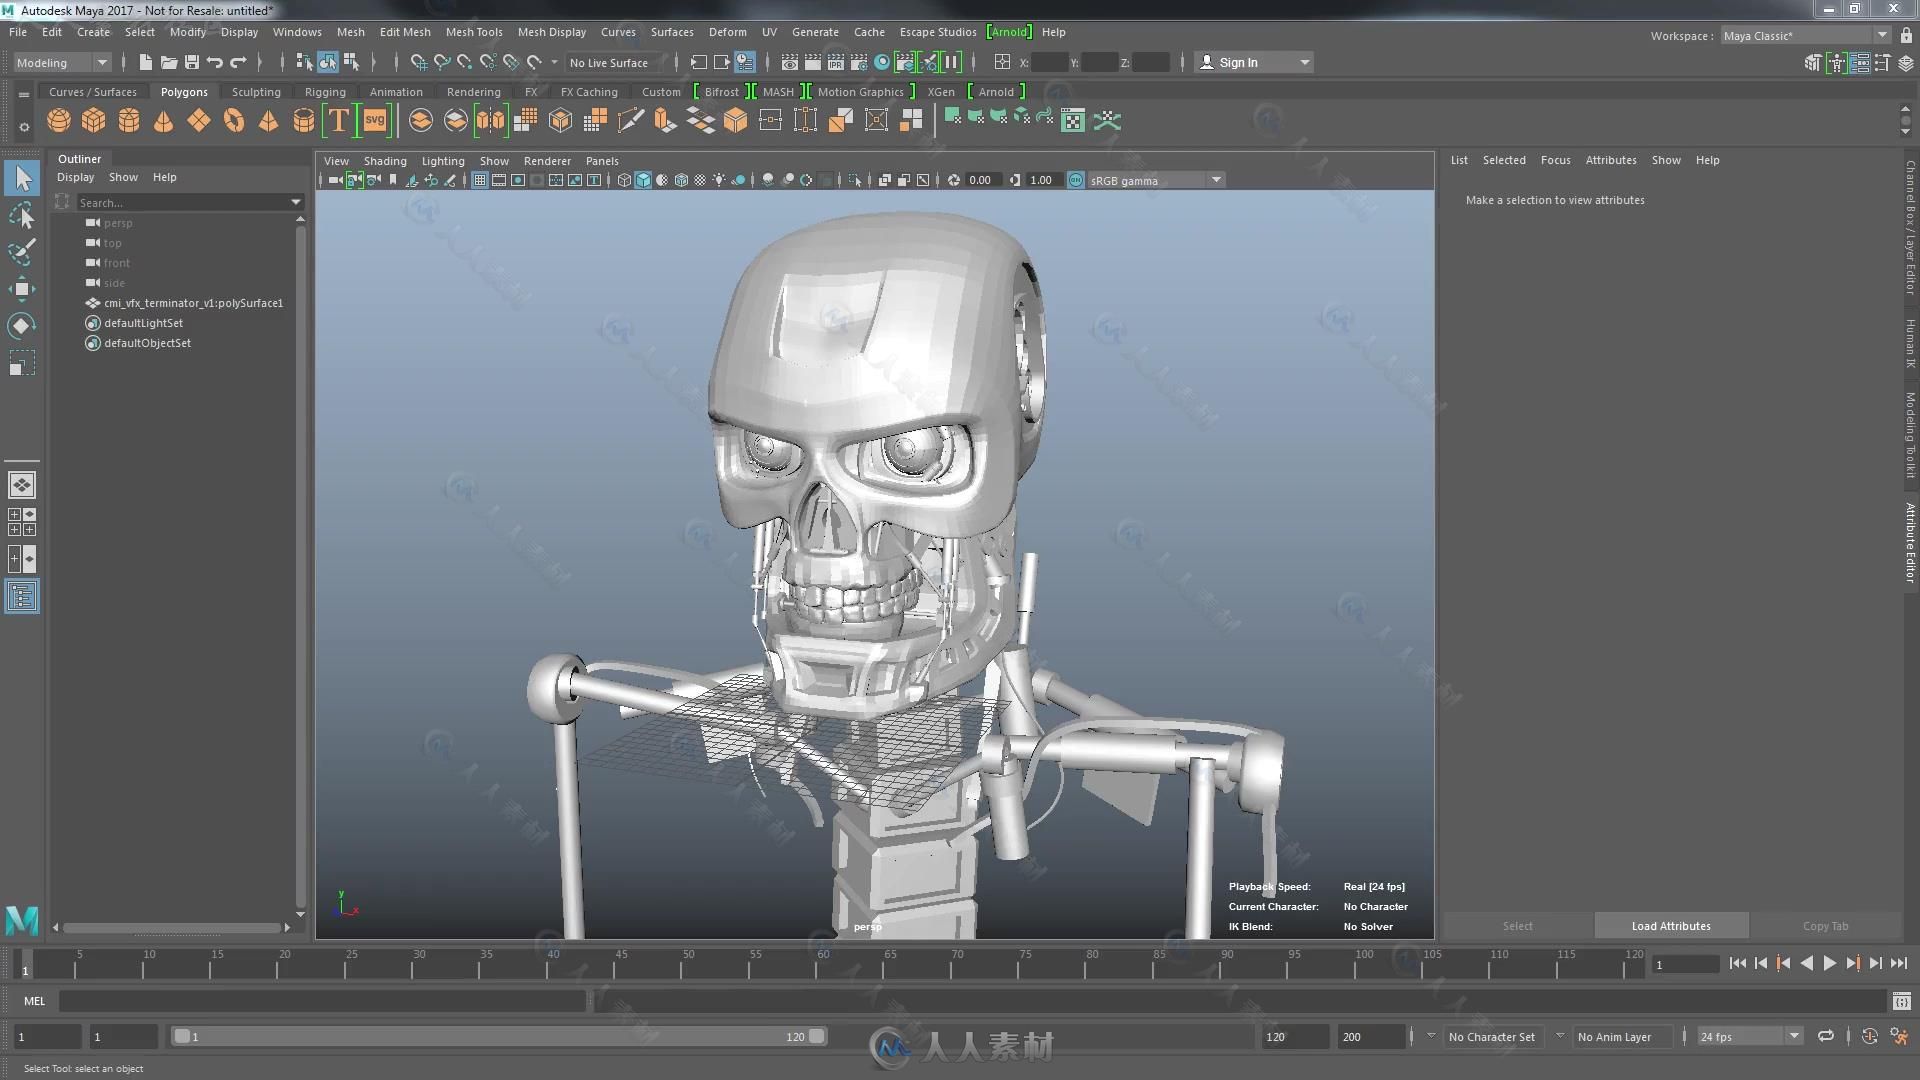
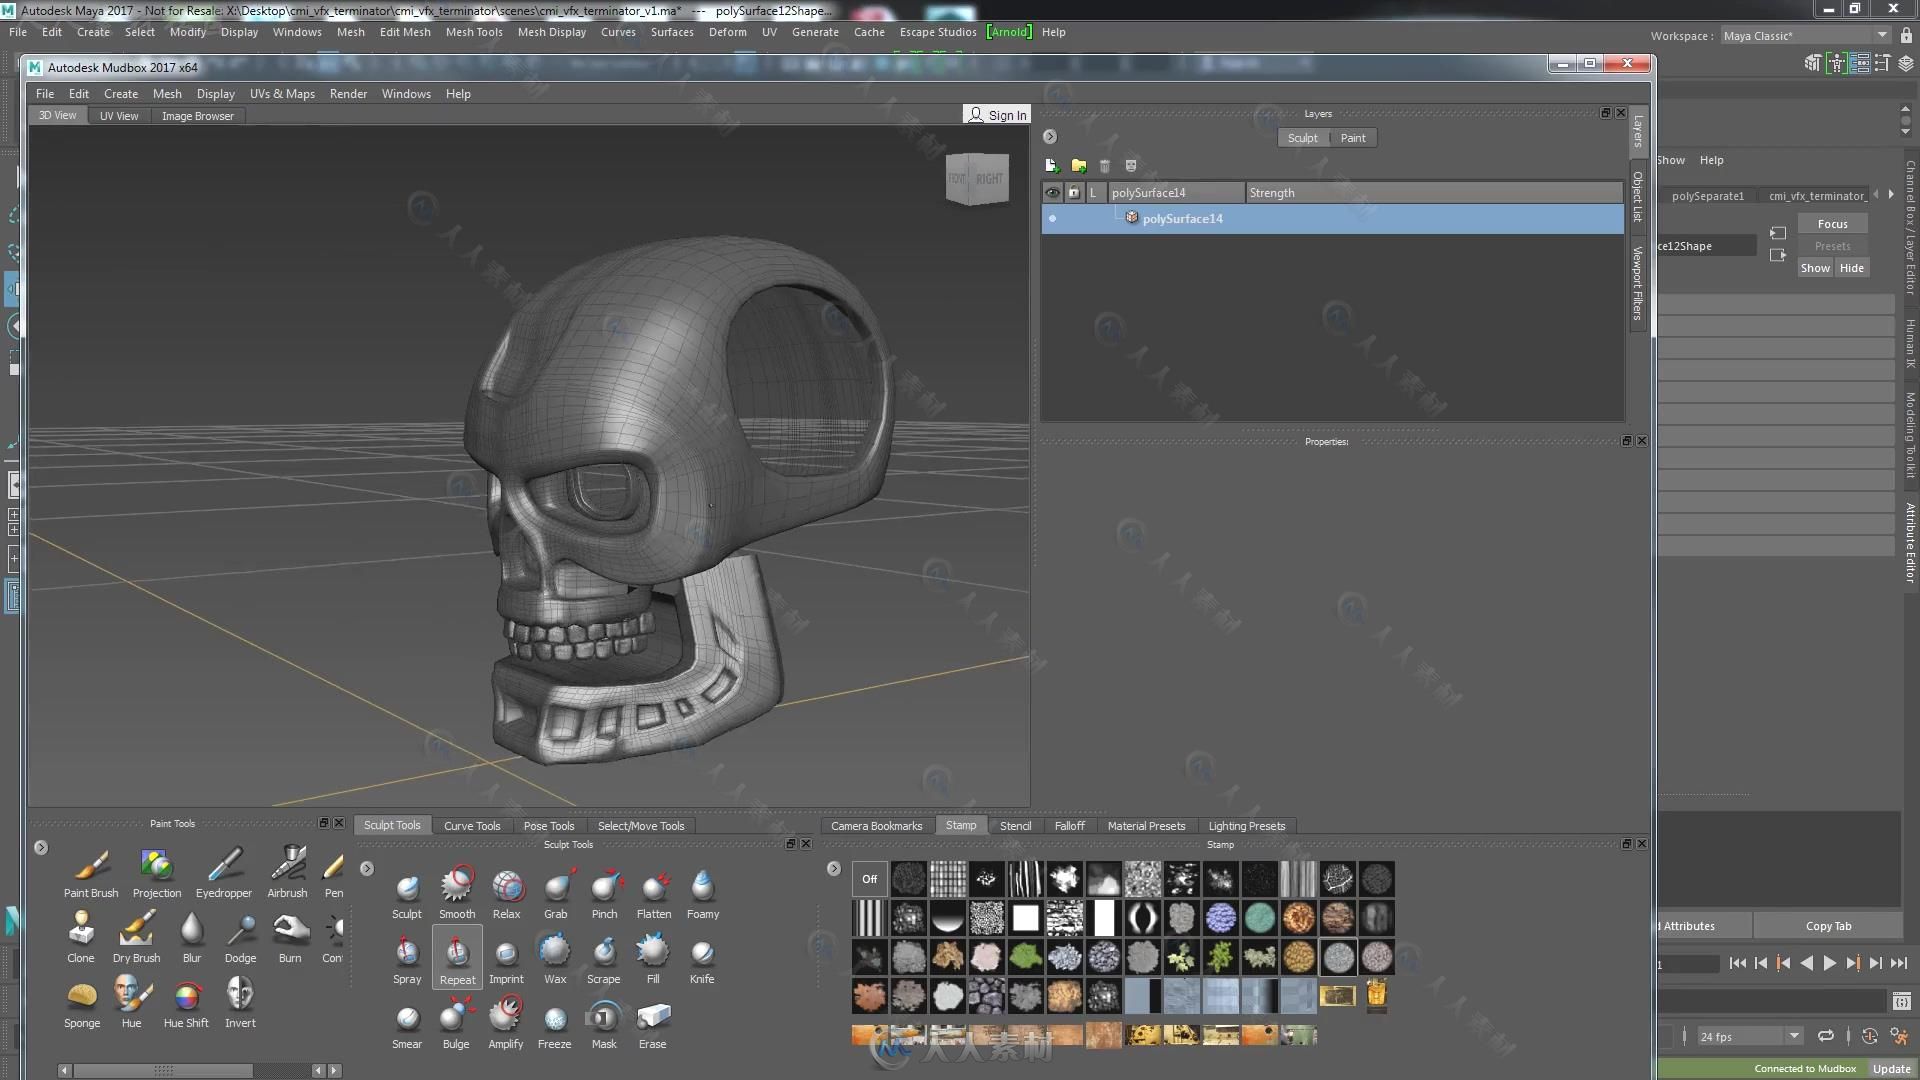
The software that I normally try to use (well I guess it depends on the job) is Maya, but when it comes to sculpting I use a lot of ZBrush. Today, actually, we’re going to be looking at Mudbox. There are some really interesting skills that you can do in Mudbox that are hard to do in some other software. We’re going to focus on some really interesting techniques. We’re going to look at Maya and then the workflow between Maya and Mudbox, and also some nice tricks in Mudbox.
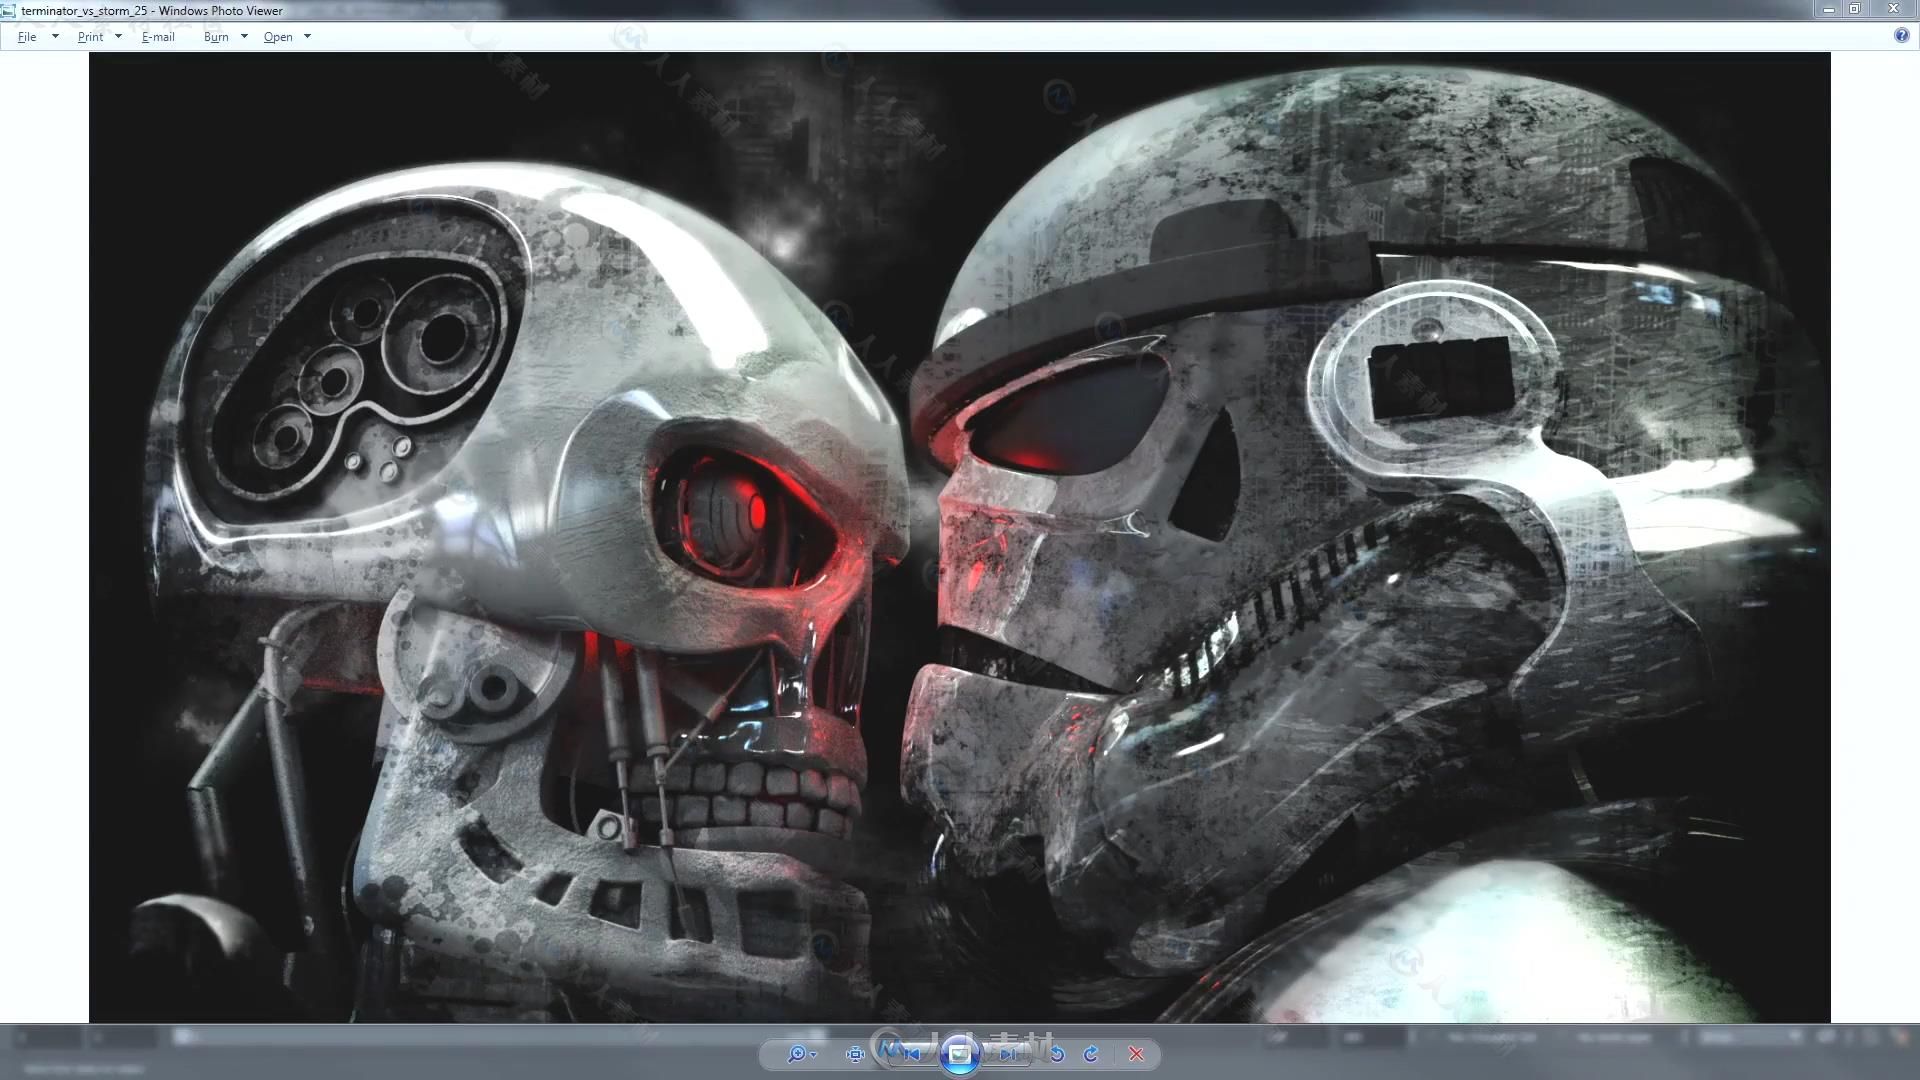
I decided a couple of months ago to create a graphic novel that has to do with the Terminator. So I’ve been experimenting with a few different graphic styles and this is one of them that I came up with. They’re quite graphic, and look painterly.
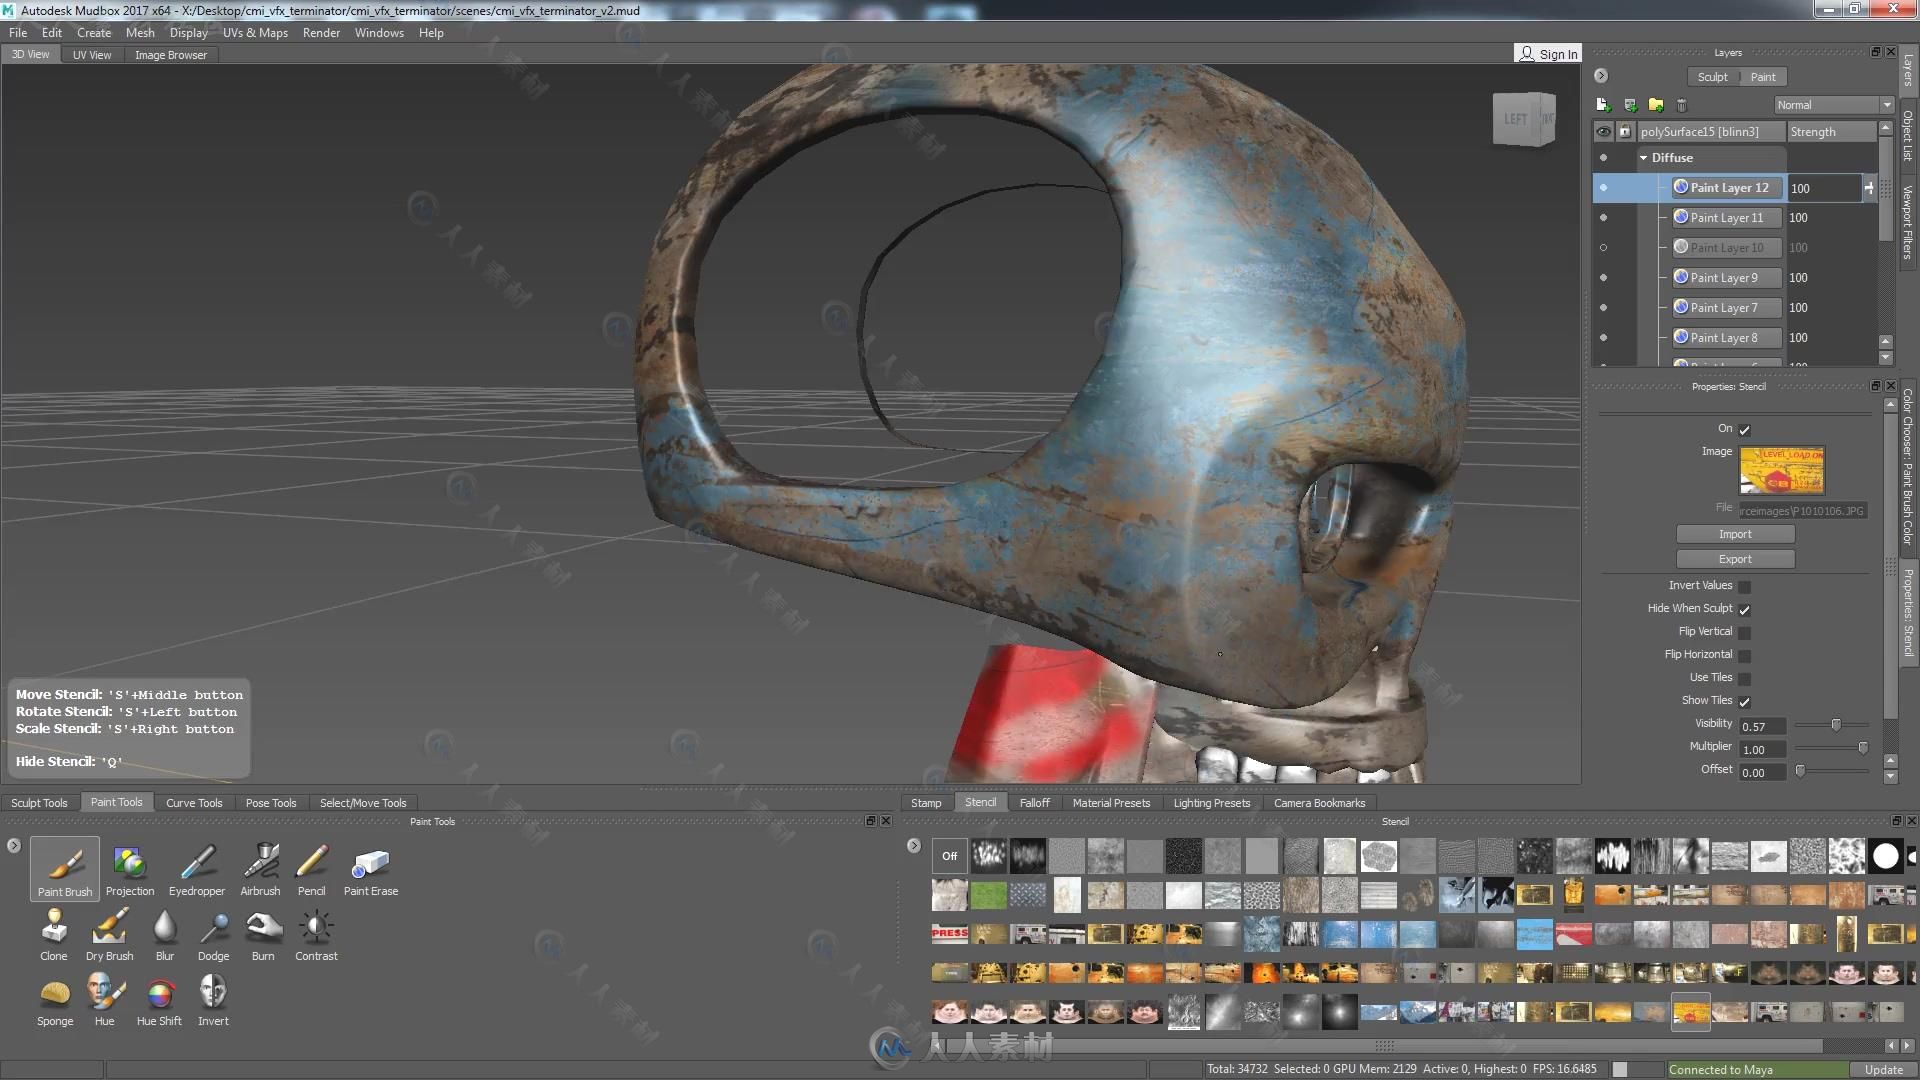
This is an image that we’ve been working on for a couple of weeks. I modeled everything inside of Maya and I sculpted some details inside of ZBrush. After I textured it in Mudbux, I also textured it separately in Mari. I was quite curious to work out the benefits of some of the different software. I think Mudbox is a slightly understated software, but it has some really surprising tricks.
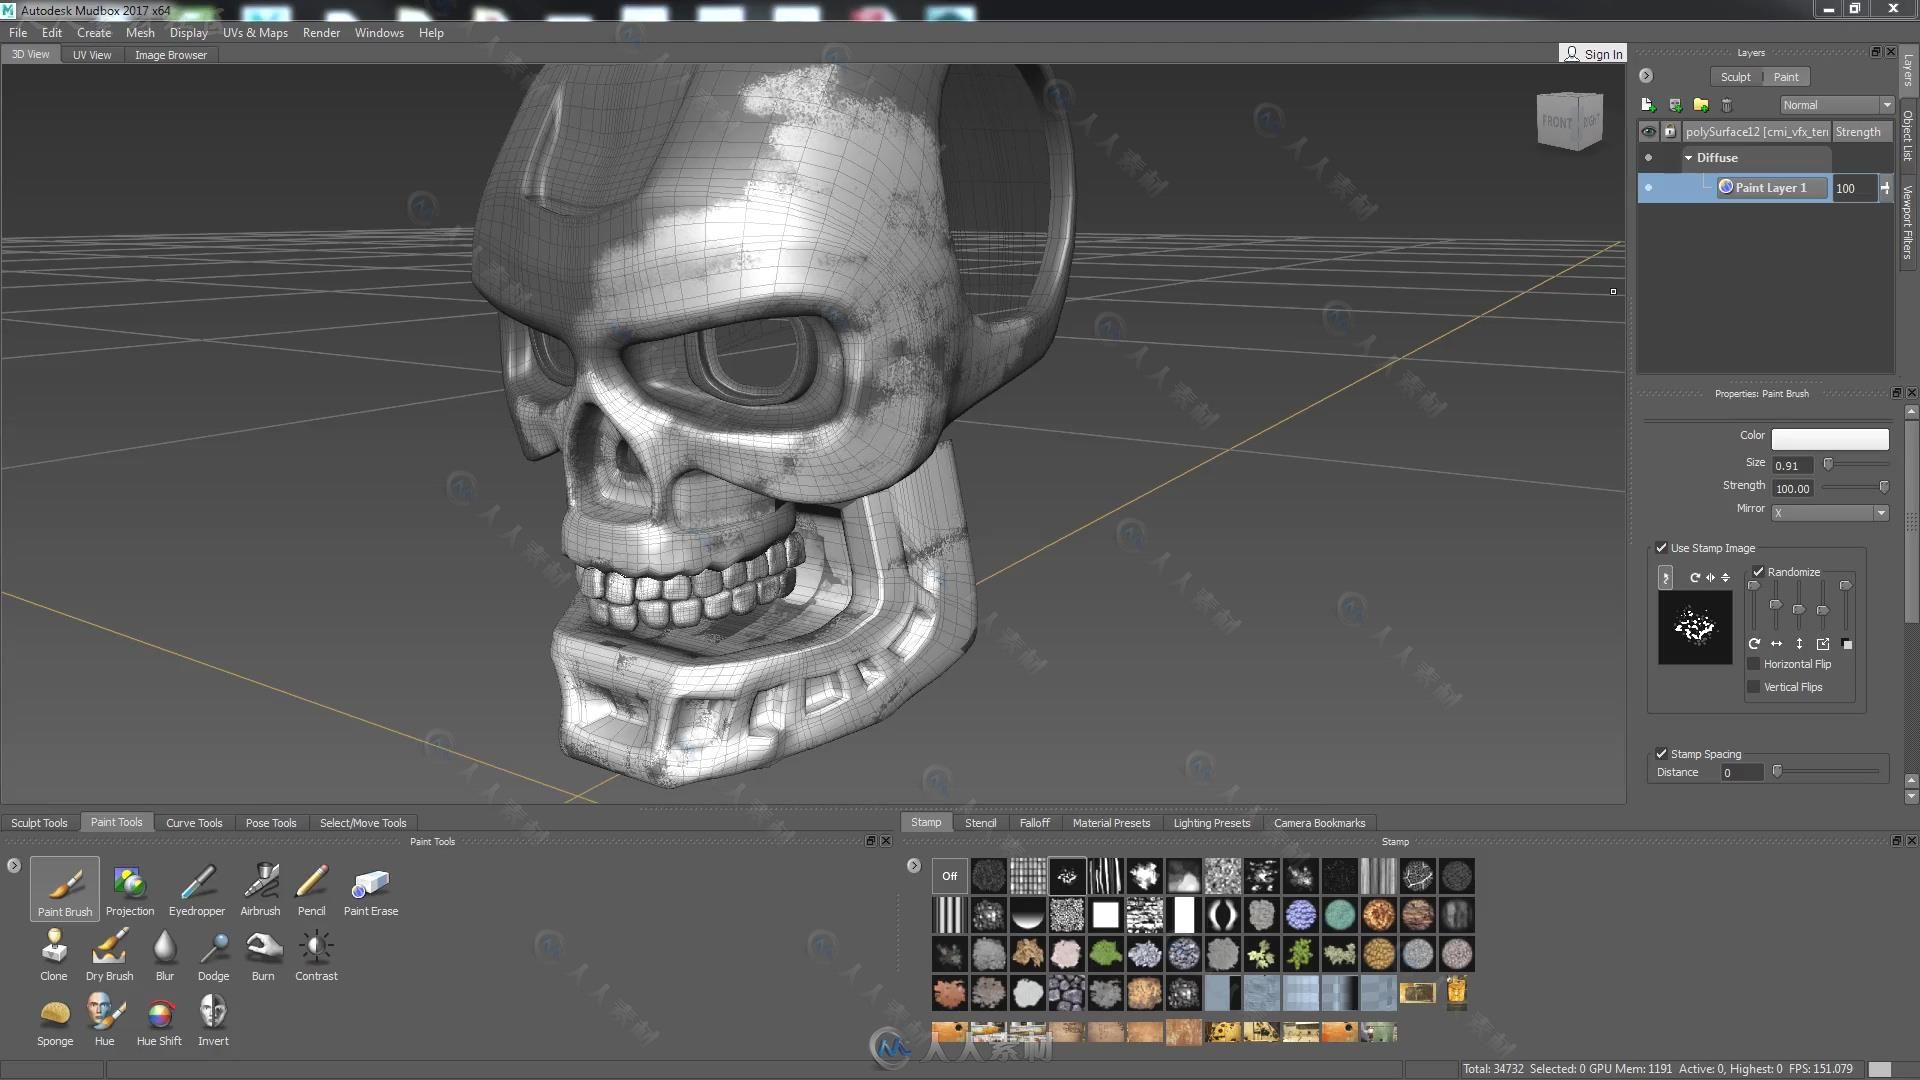
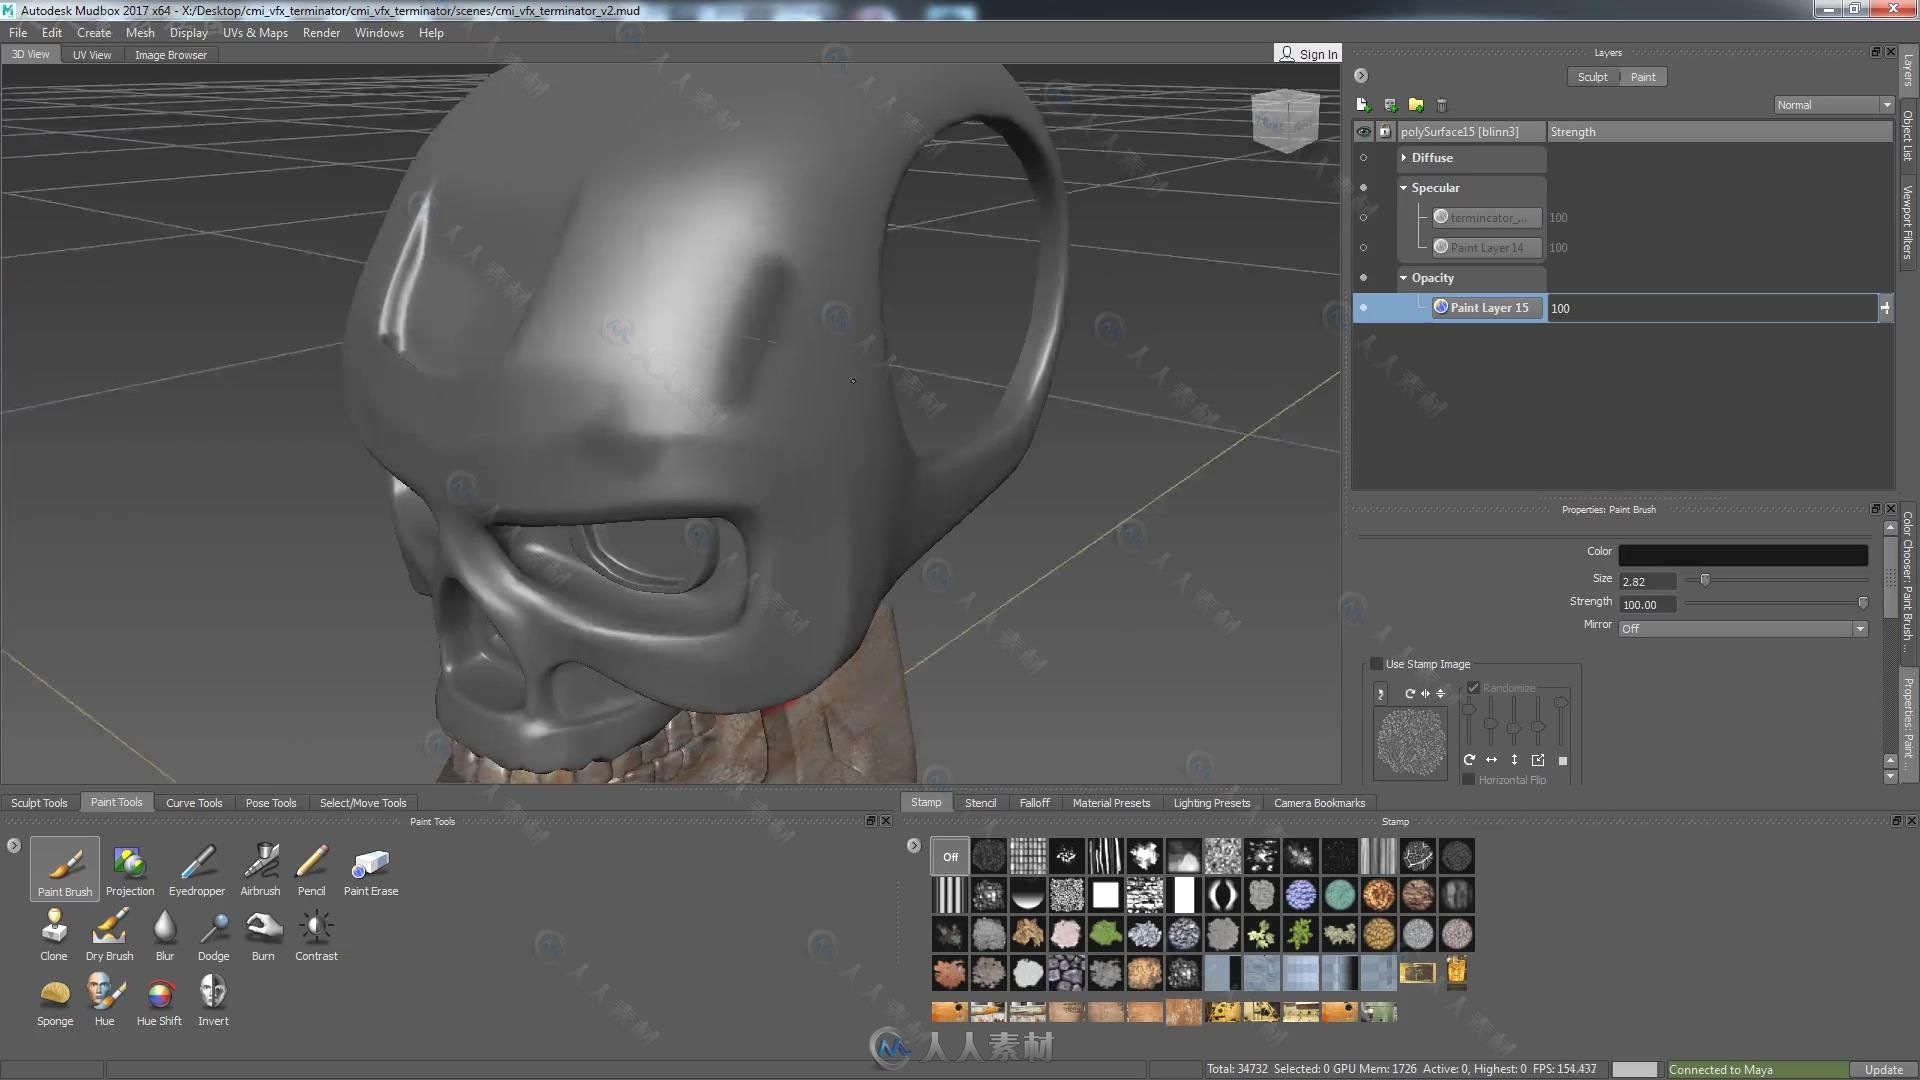
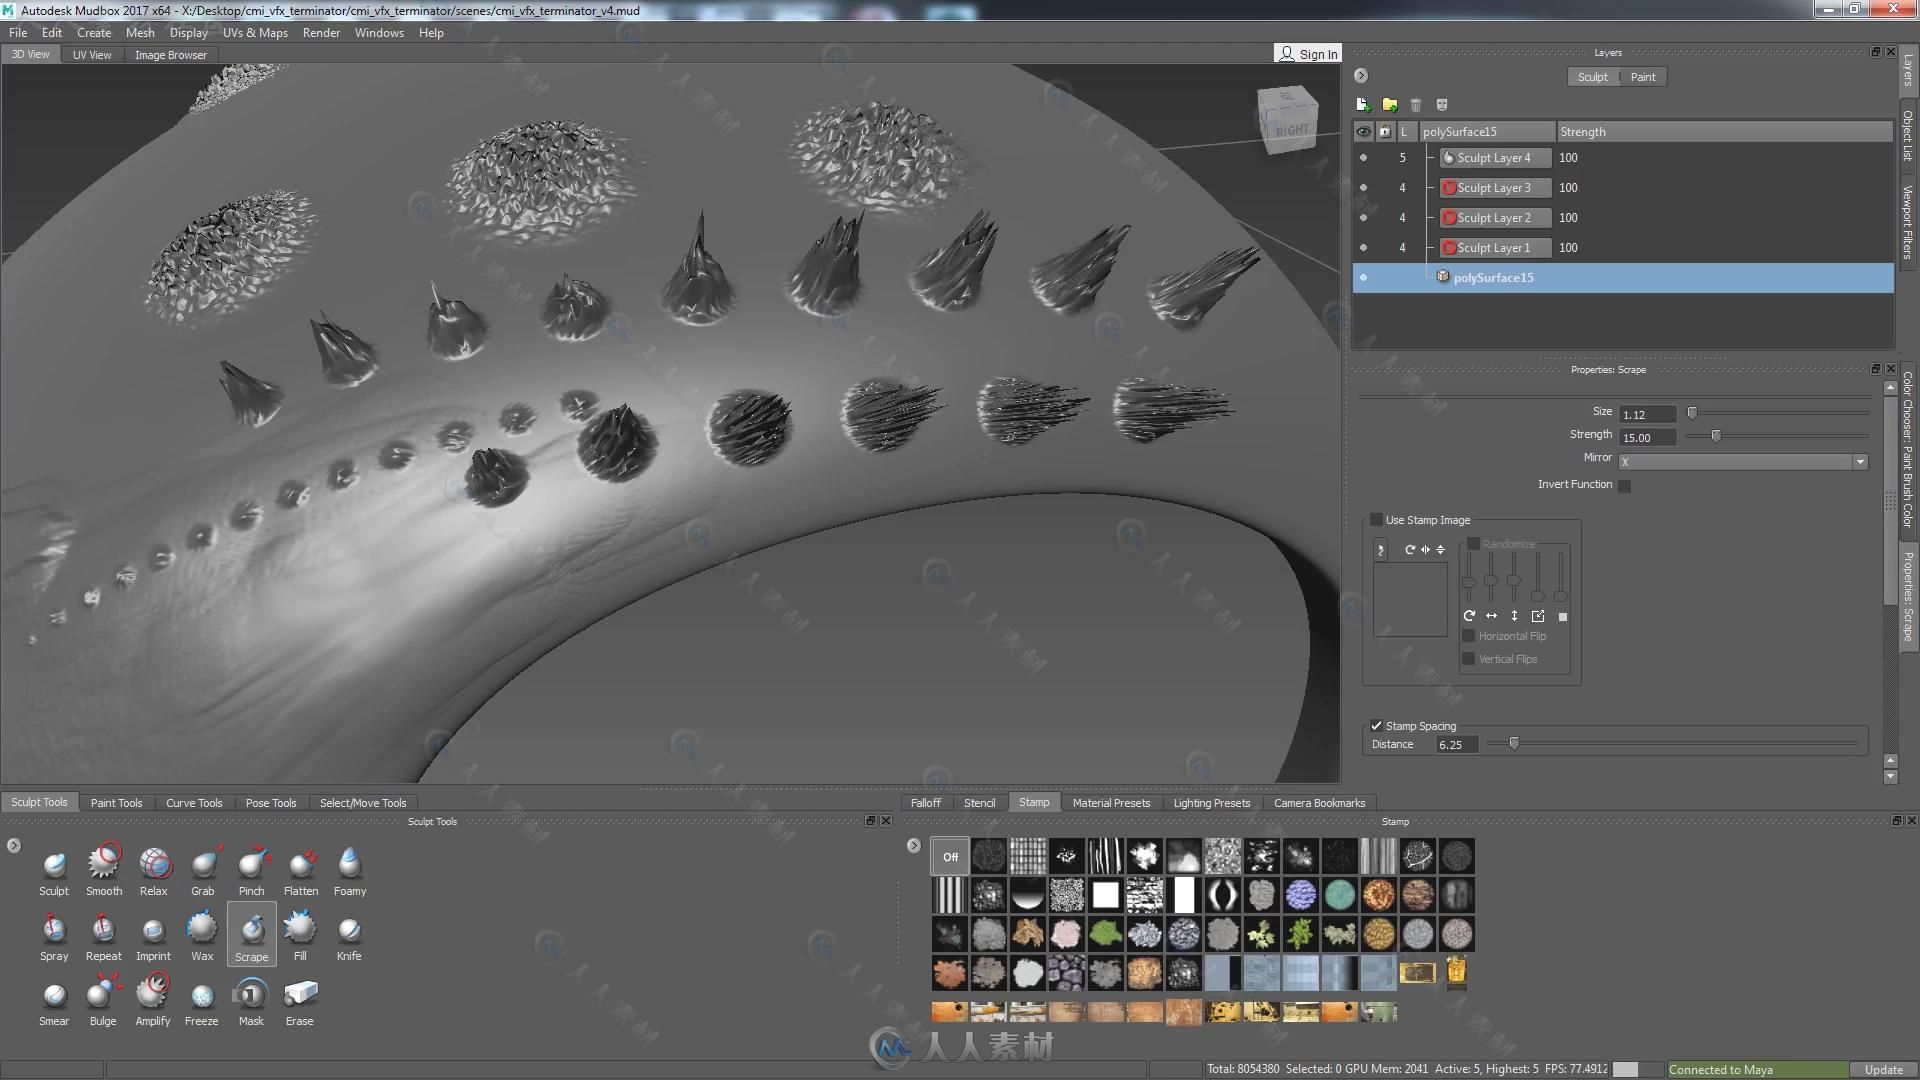
We’re going to look at some different techniques in Mudbox, like sculpting, projecting different photographs, sculpting from photographs, we’re going to look at the paint tools, some of the sculpting tools, and then also some of the power of the sculpt layers and the paint layers. It’s really interesting and definitely worth watching.
Some of the other images I made for fun: Terminator and then baby-Terminator. And then with some different kind of graphic, postural style, with lens-flares, and things like that, and then sort of playing around with more graphic images.
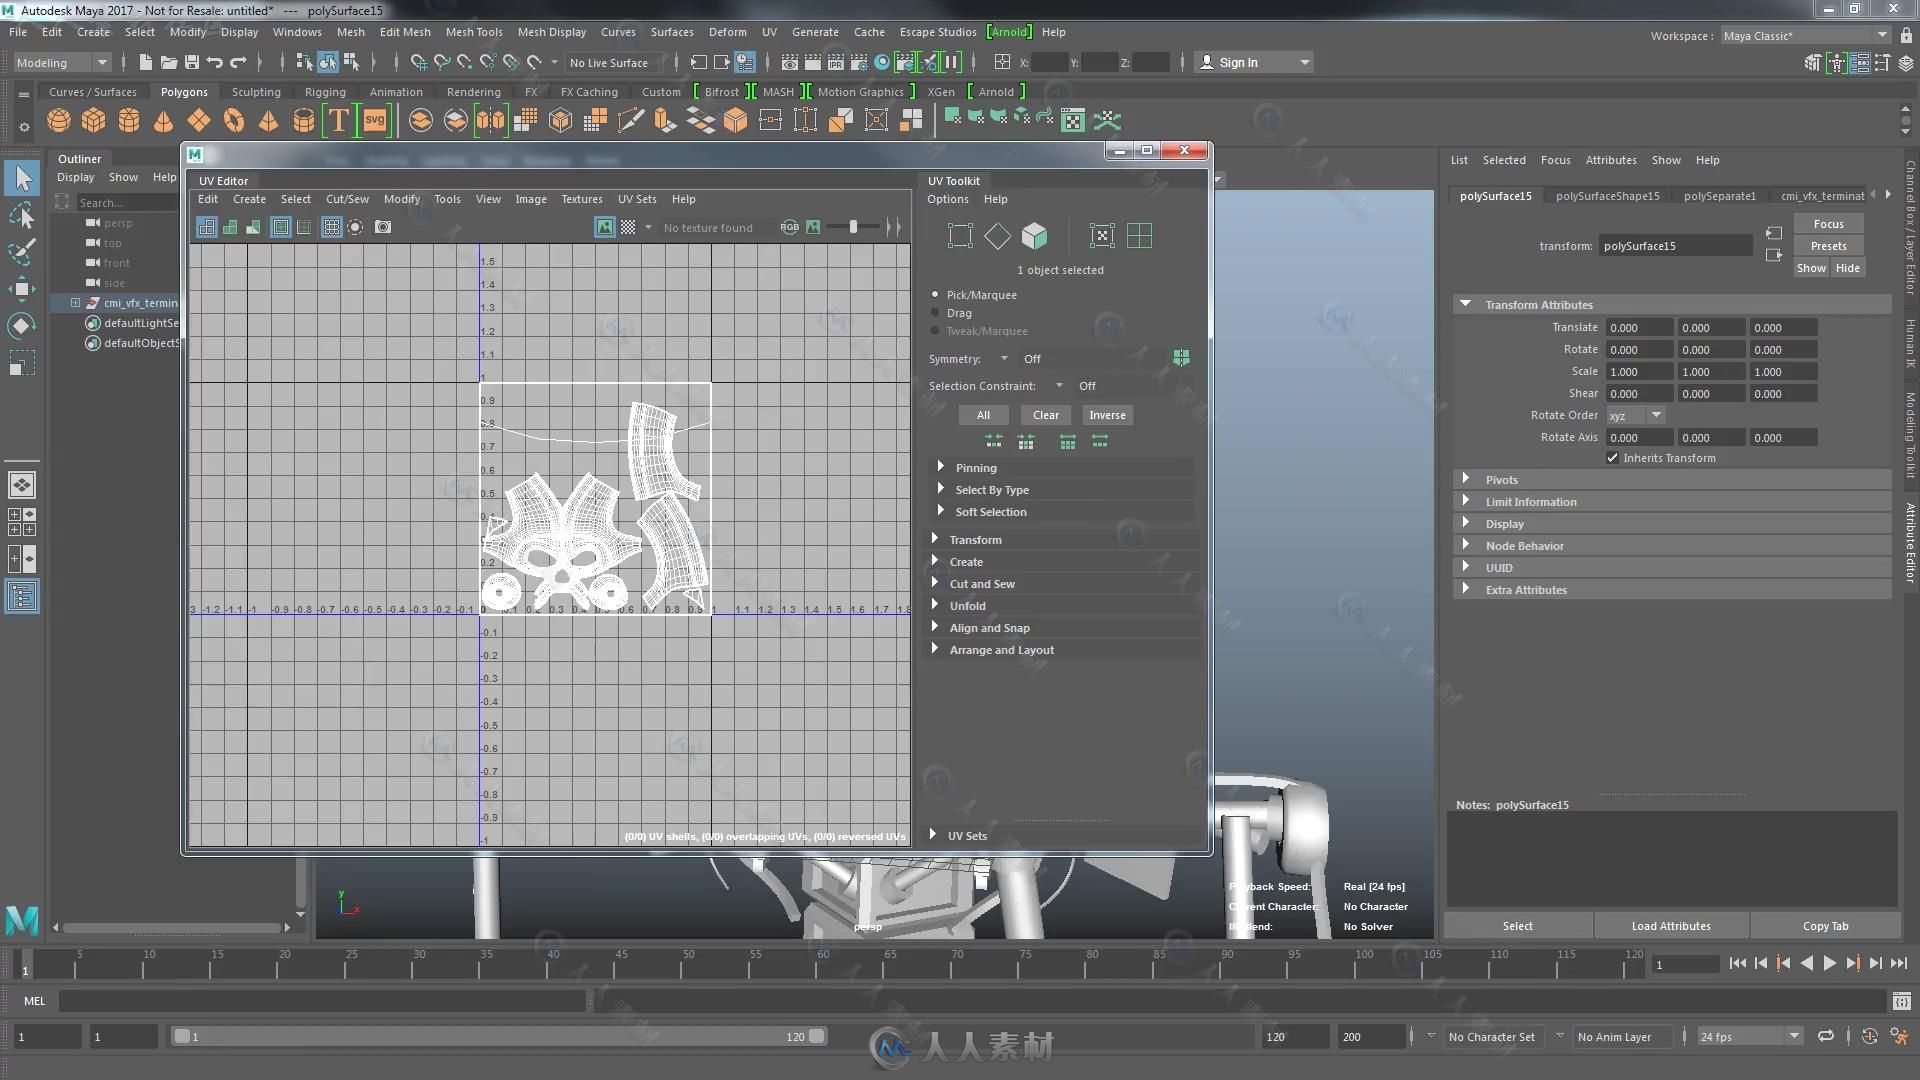
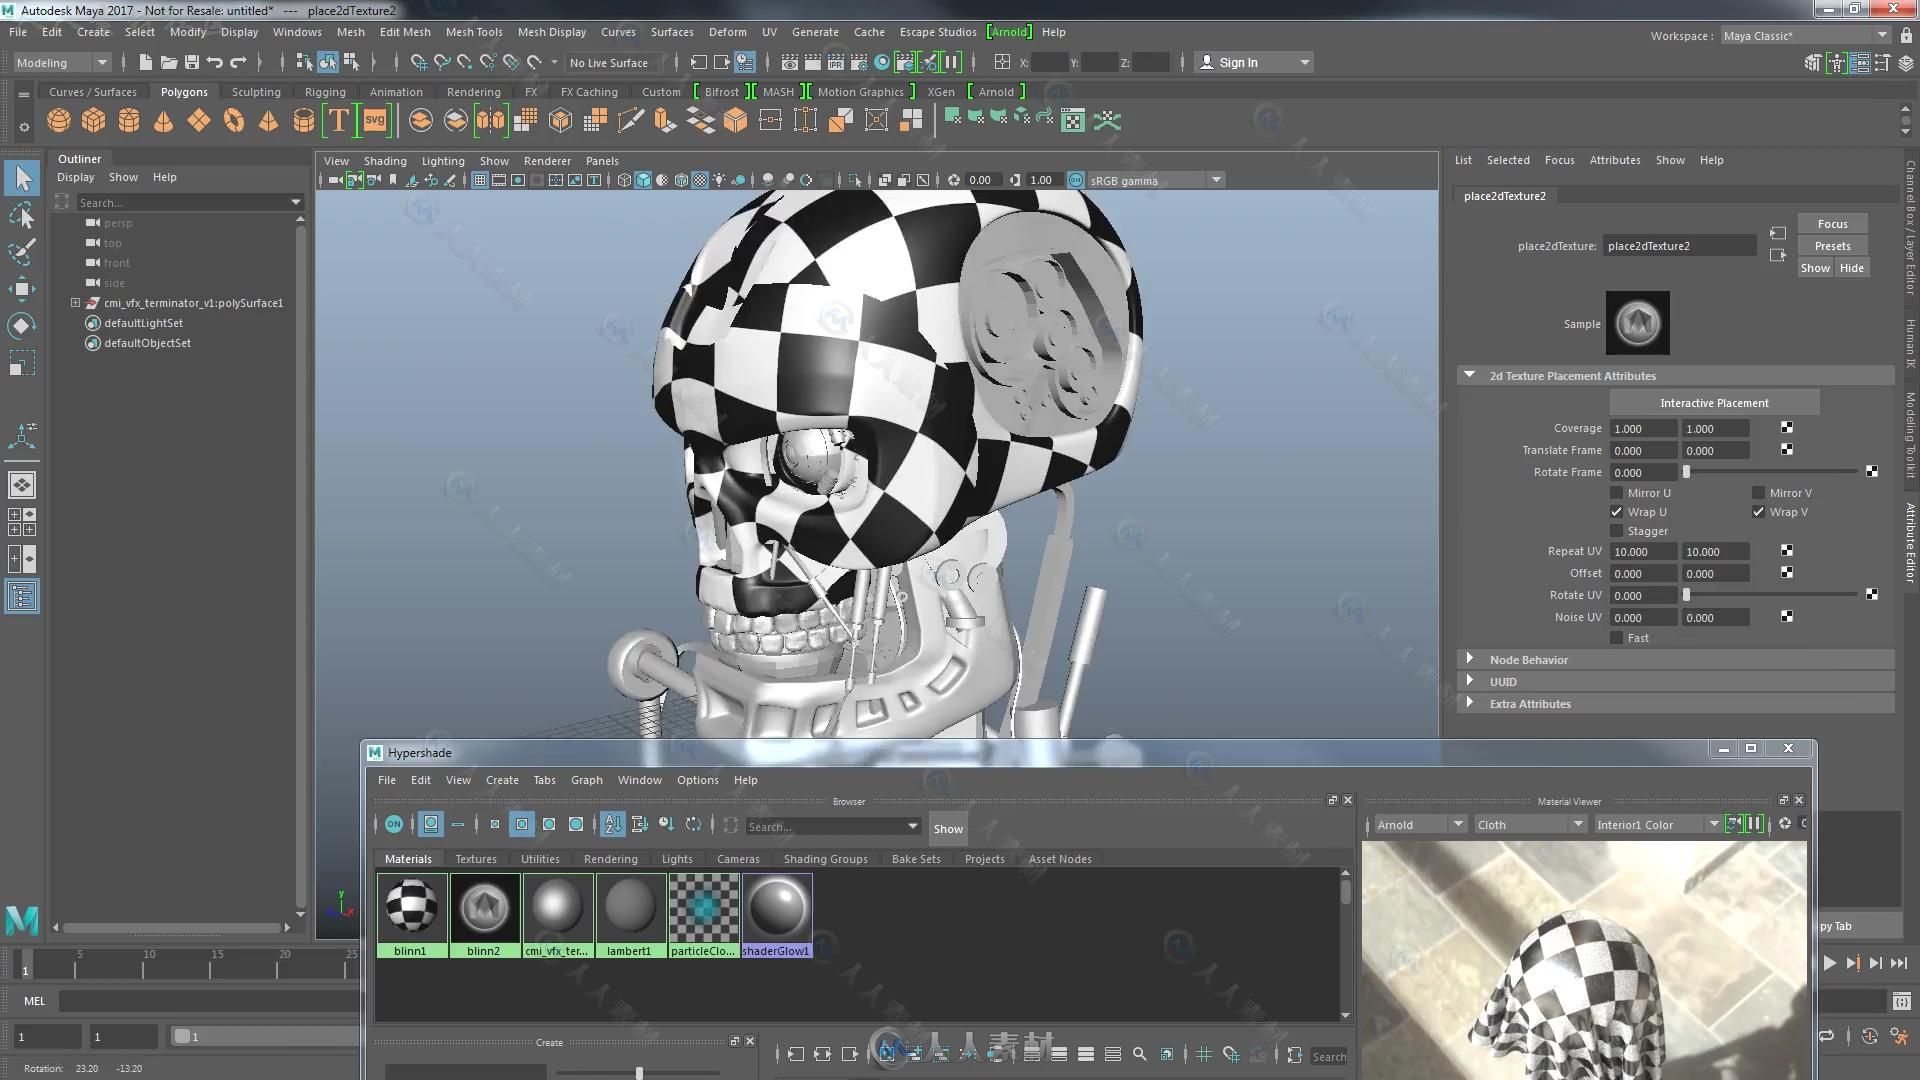
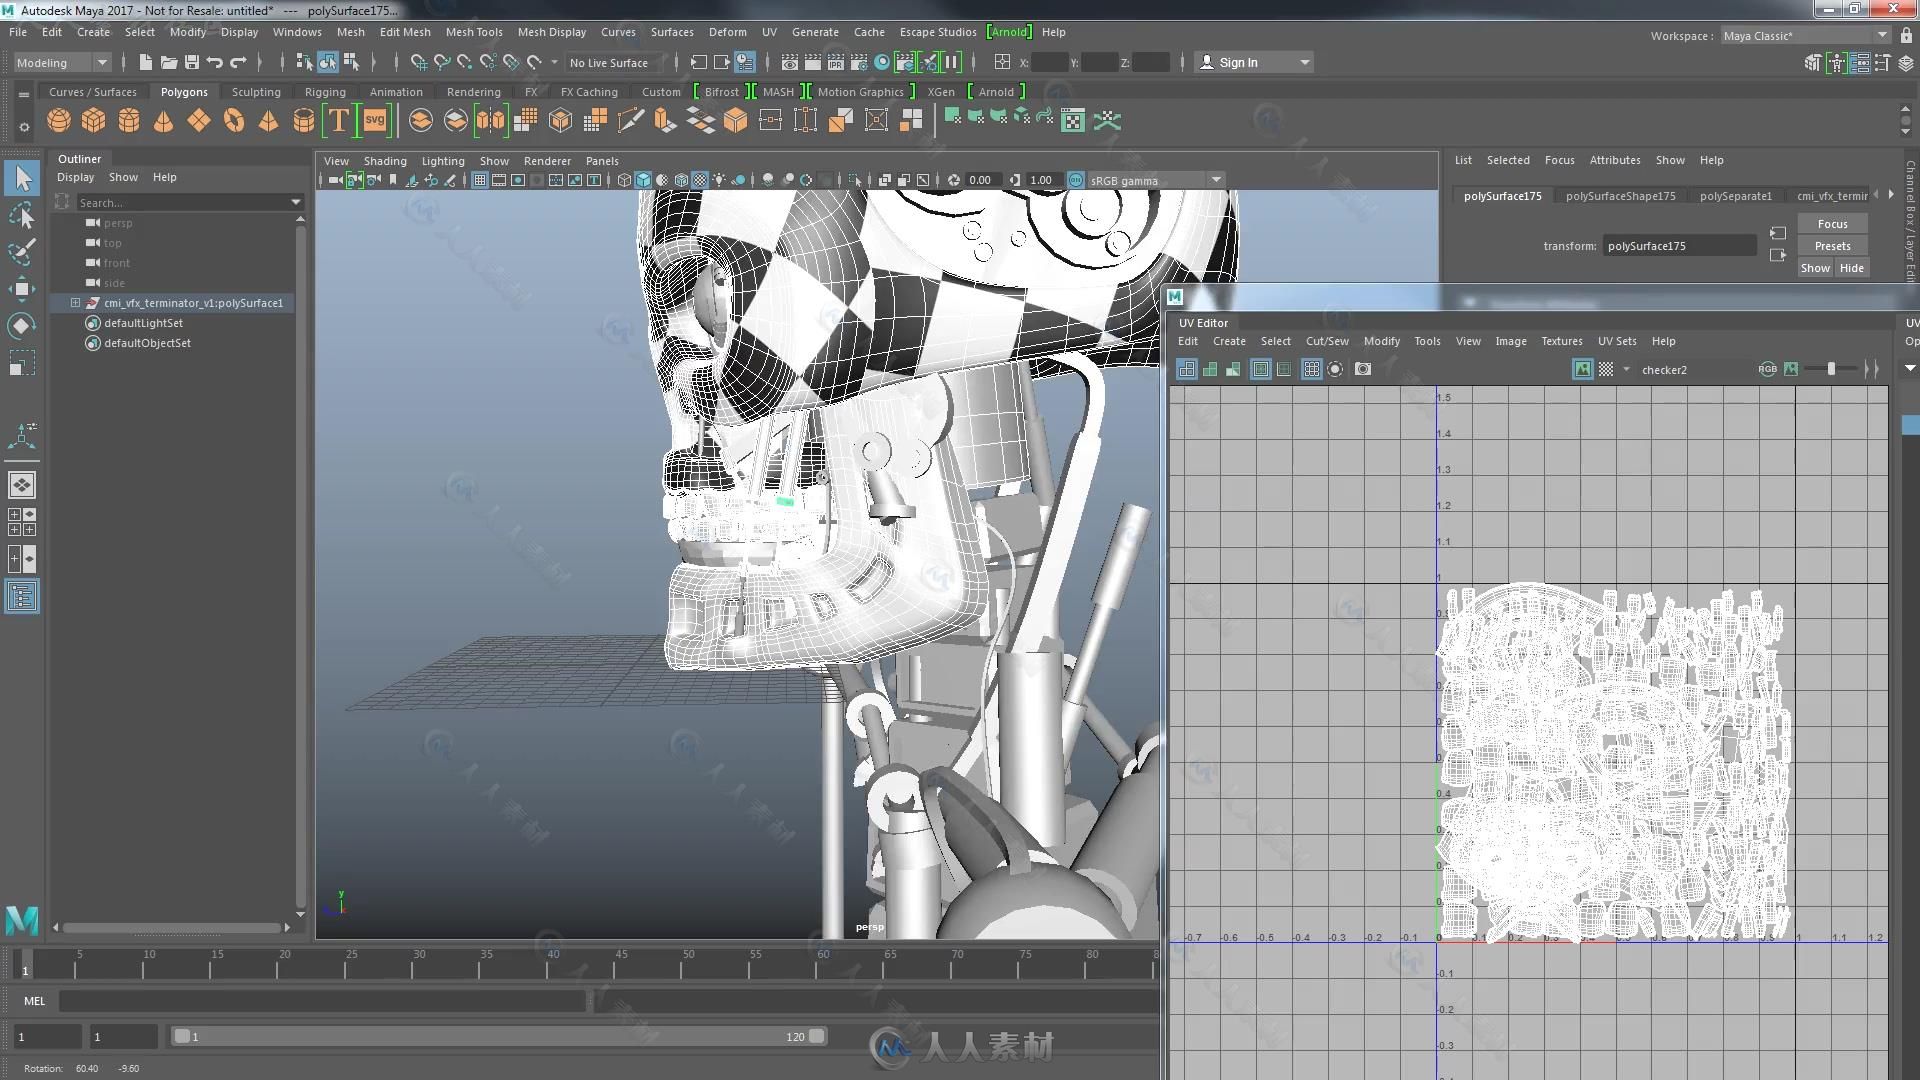
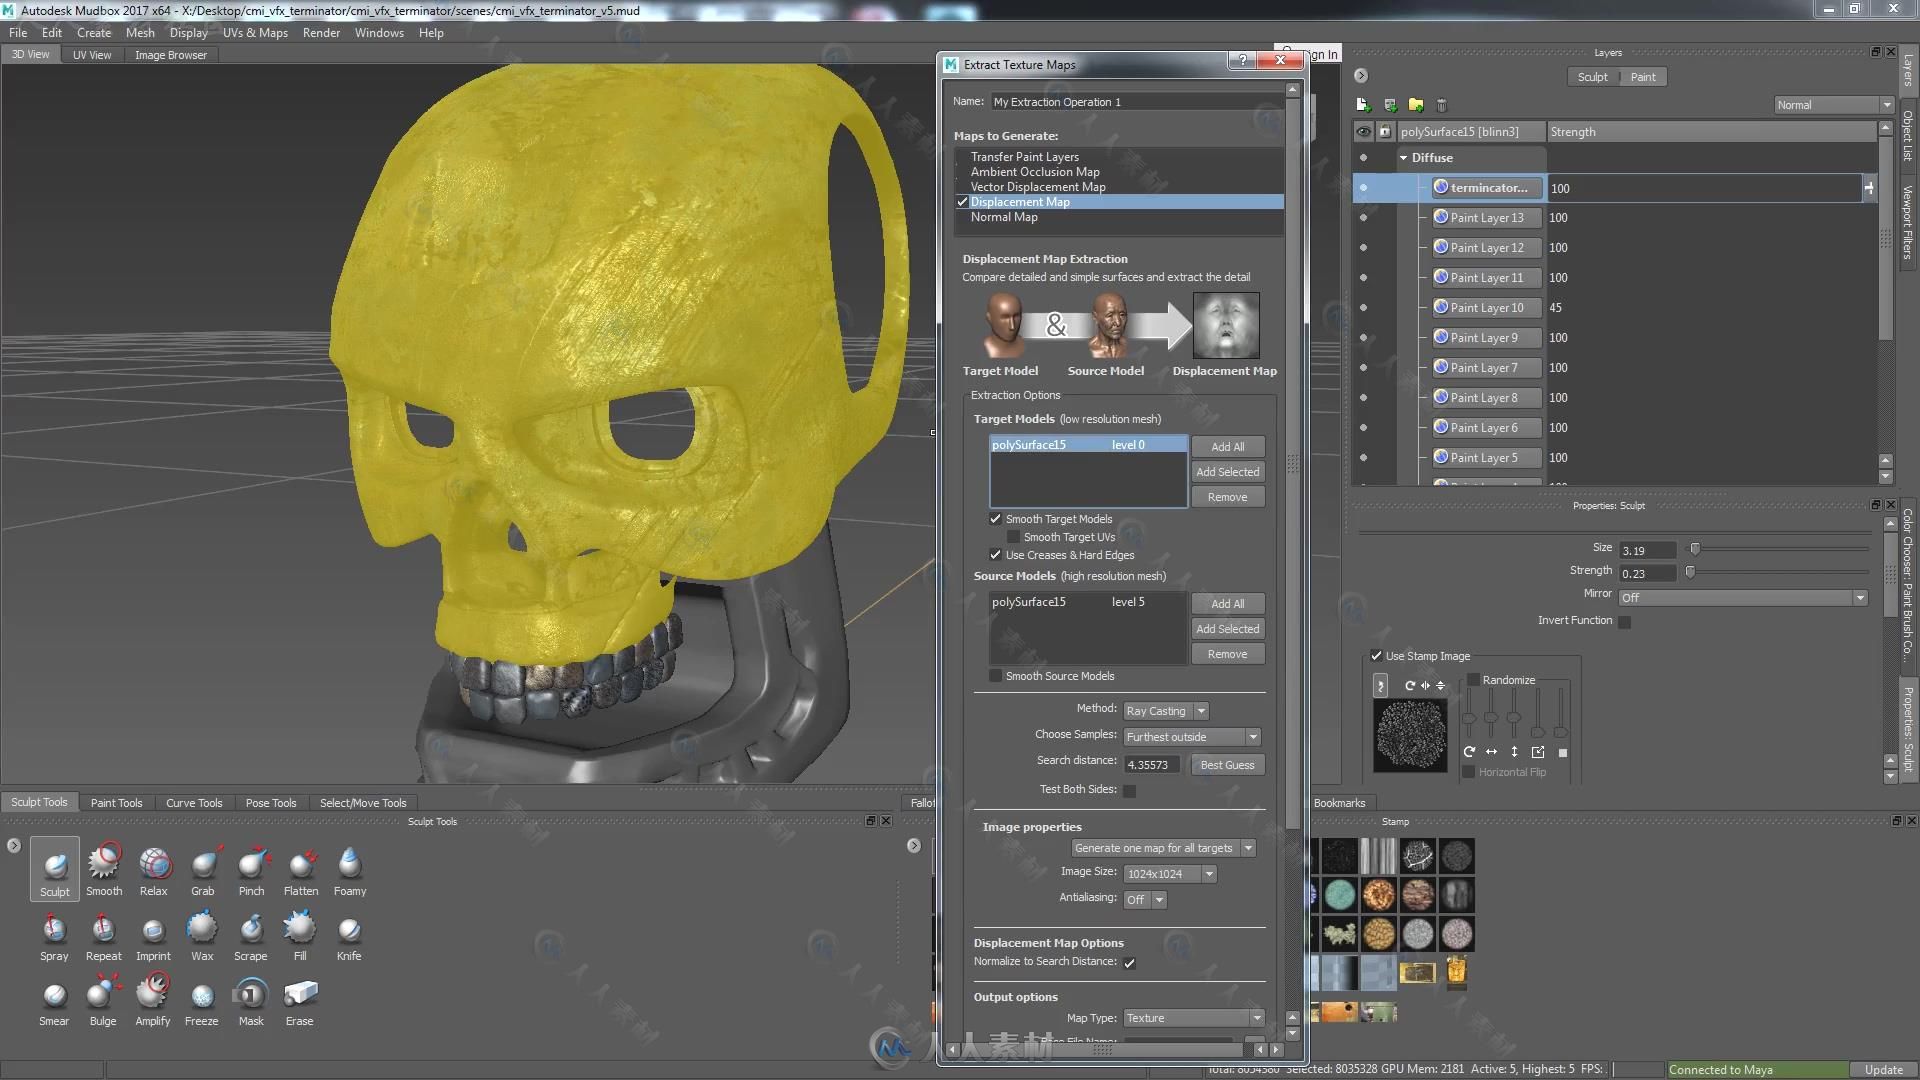
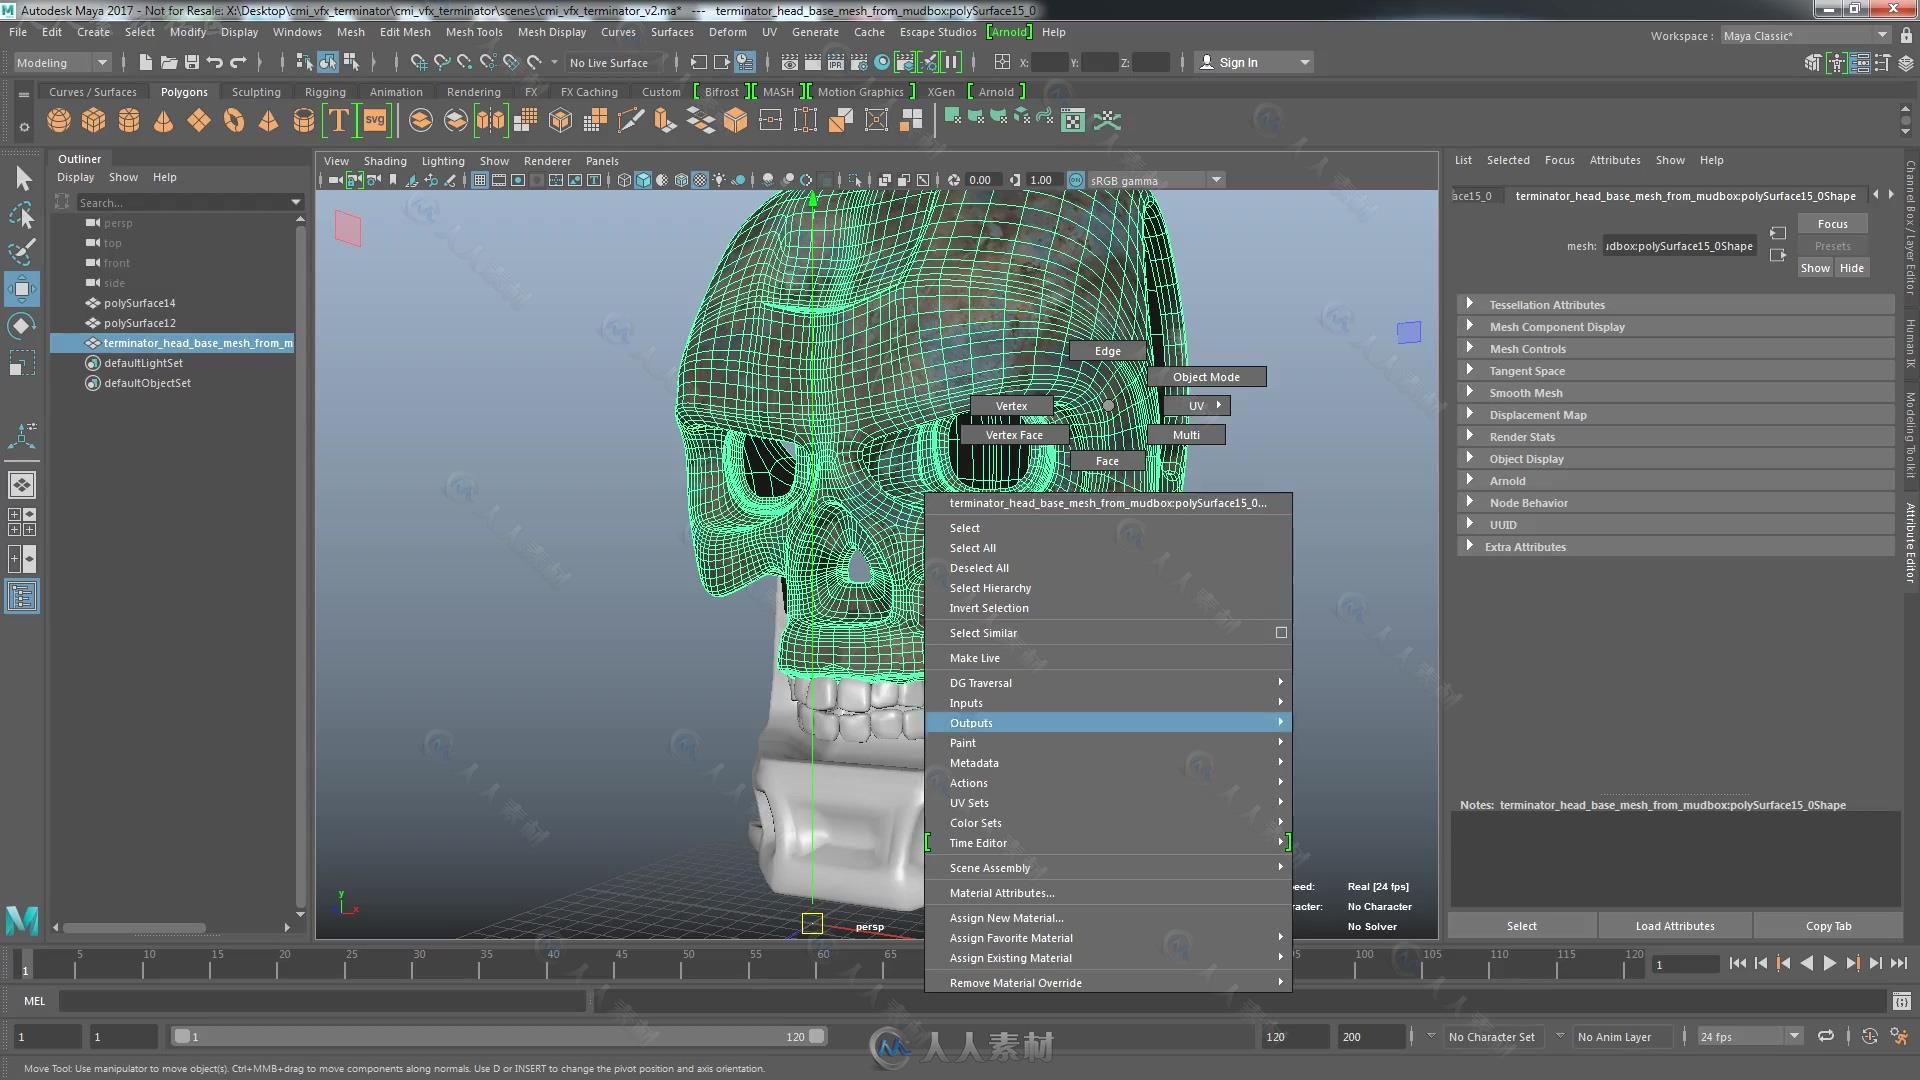
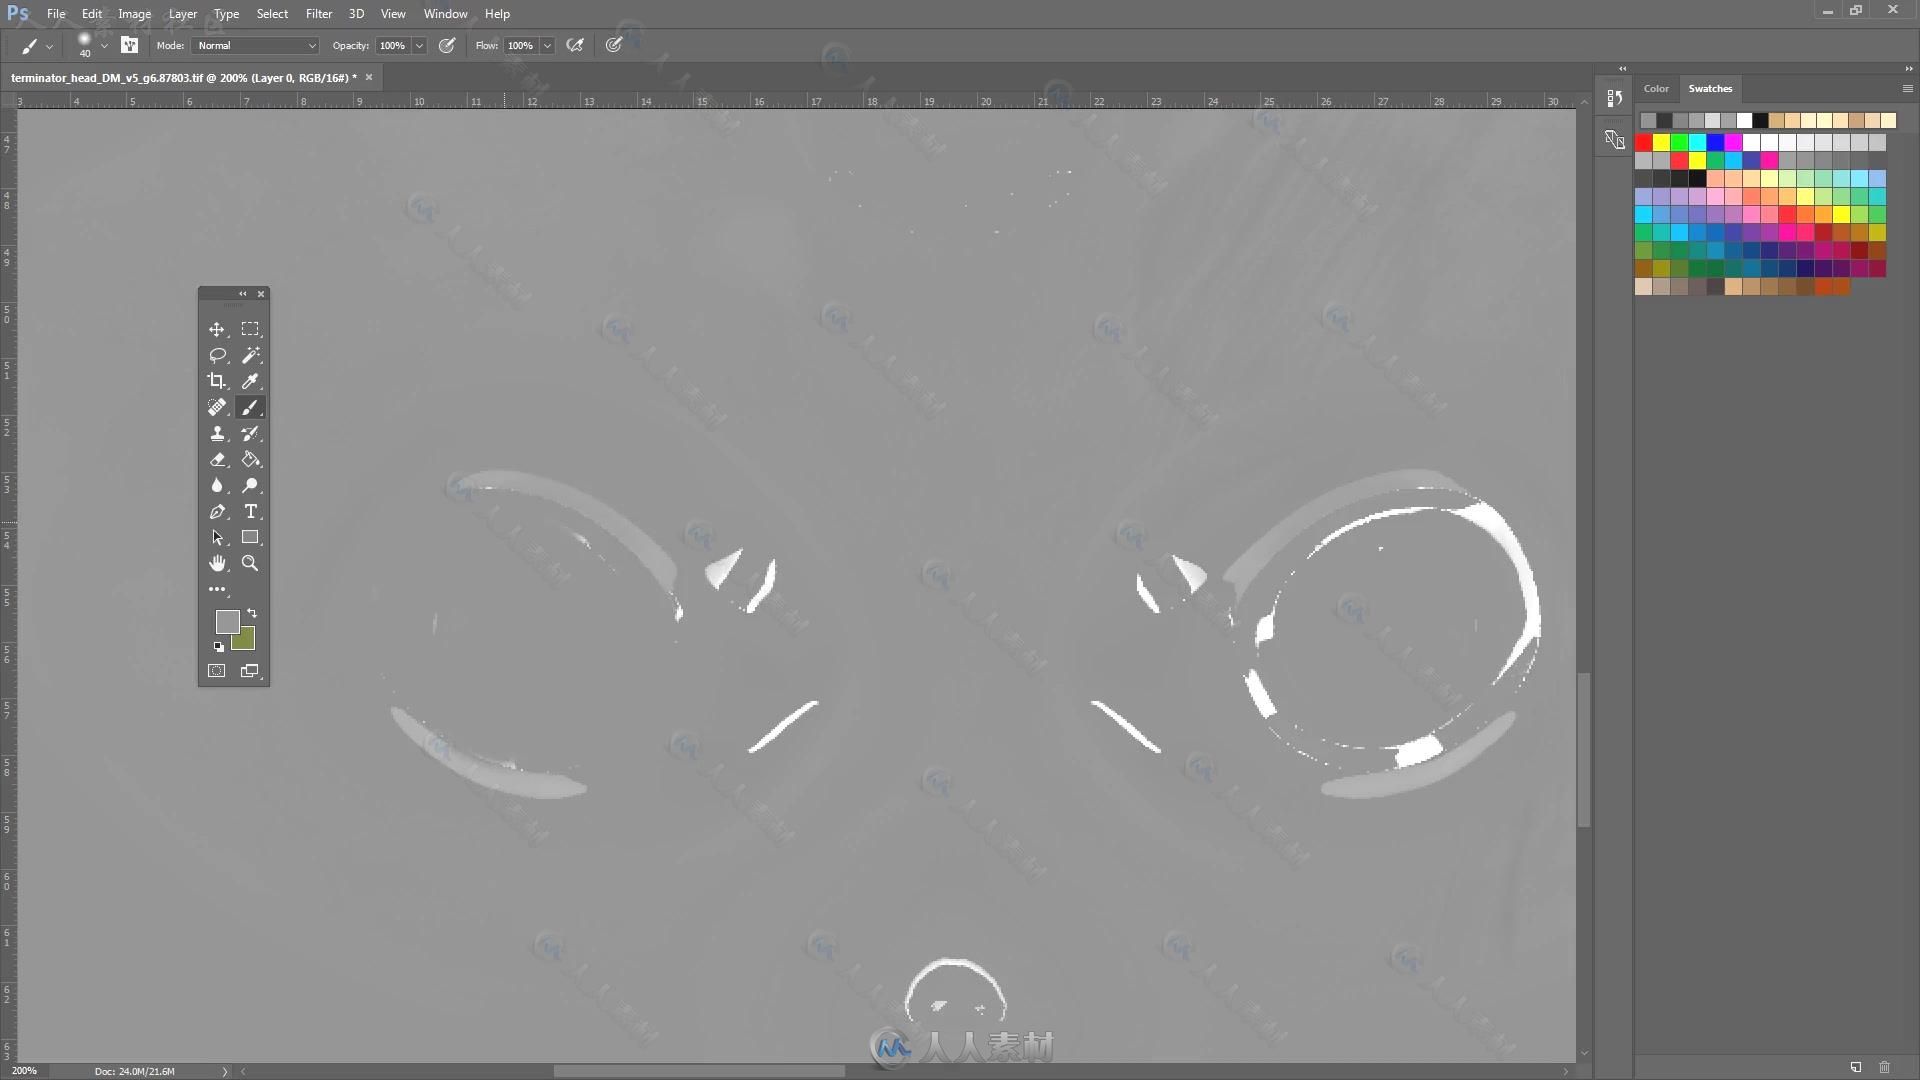
That’s a rough introduction of what we’re going to be doing. In terms of the techniques that we’re going to be going over, we’re going to be looking at the UVs inside of Maya so that it’s ready to go to Mudbox. And then after that, we’re going to send it to Mudbox and then we’re going to add things like paint layers and show you how to use things like brushes. After that, we’re going to look at how to use stamps and stencils. How to project photographs. How to change the color of the photographs we’re projecting. How to use layer masks. How to export textures from Mudbox to Photoshop. Then, how to import them back to Photoshop. After that, how to create different kinds of channels, for example, specular, reflection, diffuse, and also how to copy between channels, how to transfer images, and about sculpting and some of the nice sculpting features in Mudbox.
After that, once we’re happy, and I’ve shown you how to experiment with the different kinds of photographs for texturing and sculpting, then we’ll importing some of those maps back into Maya. It will be lots of interesting techniques and also a bit of a workflow so you can see how you can use these programs together and how they are used on a frequent basis in the industry.
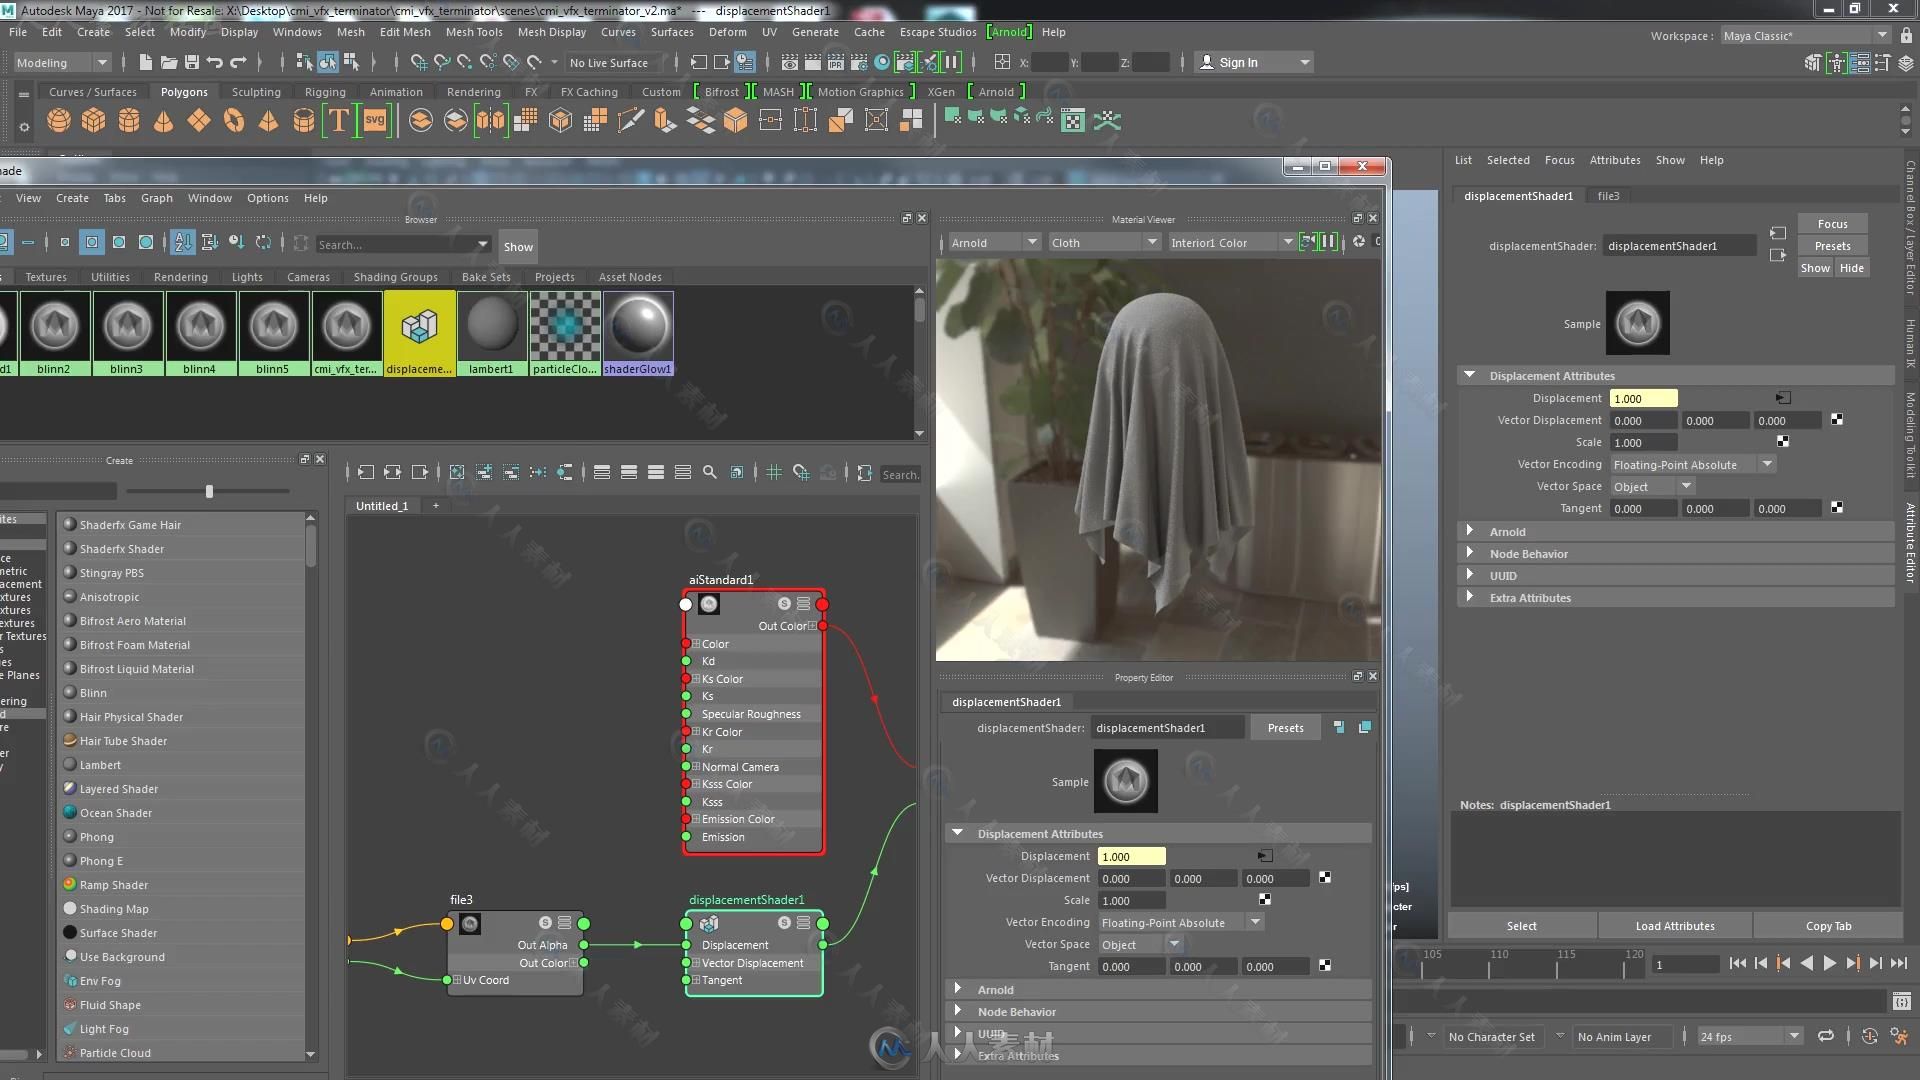
Once we’ve exported all these maps, we’ll put them back into Maya. We’ll put them into, for example, an .ai standard, one of the new Arnold shaders, and we’ll look at adding some light and HDR.
Also, this image, which I textured – I was also quite happy with how it looked – but also for the final thing I wanted it to look like a finished poster. I experimented with some graphics inside of Photoshop, Photoshop brushes and that kind of a thing, to add this rough textural look around the edges. We’ll also go into that briefly, but that part if fairly simple.
Ok great, let’s get started!
更多相关内容请关注:Maya视频教程专区,中文字幕教程专区
|


 /2
/2 